Not so long ago, having a complete home meant having a house complete with furniture, fixtures, fittings, household appliances, entertainment devices, and vehicles. But now, you’d probably think that having a home Wi-Fi network sets your house as a complete residence. However, did you know that a standard home Wi-Fi network is not a standard anymore? The new standard is a Wi-Fi network with a Wi-Fi extender for whole-home coverage.
Netgear produces several outstanding Wi-Fi extenders. We highly recommend Netgear, but do you know how to set up a Netgear Wi-Fi extender? If you don’t, today must be your lucky day because we did extensive research to produce this excellent guide to help you set up your extender.
CONTENTS
Wi-Fi Extender Explained
Before we go further, let’s explain what a Wi-Fi extender is. Your standard home Wi-Fi network may not reach every spot in the house. Depending on the size and structure of your house, you would find multiple dead zones with no or very little signal present.
To fix this problem, router manufacturers came up with a device called a Wi-Fi extender to boost the signals and cover more areas. The basement and upper floors used to be the areas where you could not get good signals. With Wi-Fi extenders, you can now set up a gaming center in the basement and an entertainment center on the upper floors.
What is NETGEAR?
Netgear is a computer networking firm headquartered in San Jose, California, with a presence in 23 countries. It manufactures networking devices for home, business, and Internet Service Providers. The product range covers wireless and wired networking devices, including Wi-Fi routers, extenders, switches, etc. Here are some of the Netgear’s facts and figures:
- Industry: Networking equipment
- Founded: January 8, 1996
- Headquarters: San Jose, California, U.S.
- Revenue: $1.41 billion (2017)
- Number of Employees: 1,008 (2017)
The following section lists some of Netgear’s most popular Wi-Fi extenders.
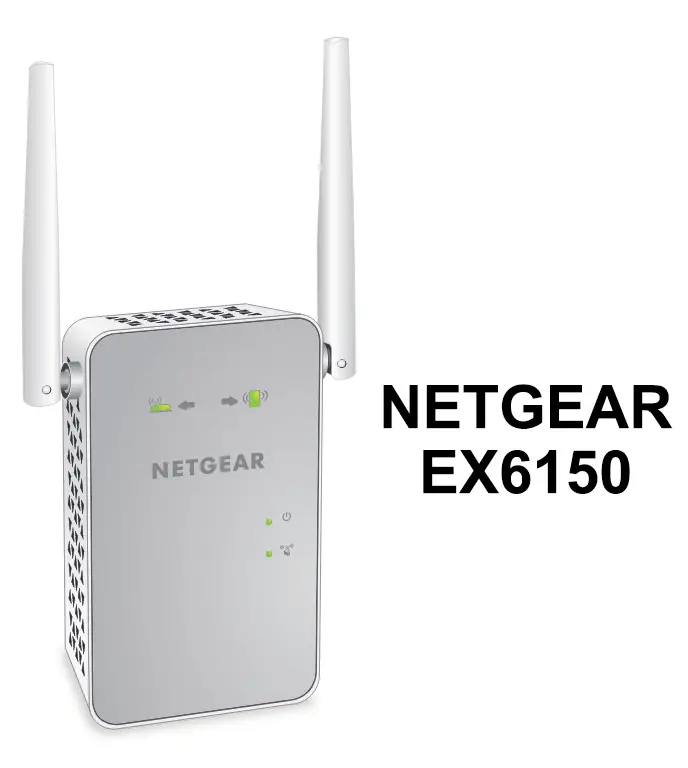
NETGEAR EX6150
Extender features:
- Supports dual-band Wi-Fi – works on 2.4 GHz and 5 GHz Wi-Fi bands.
- Supports WPS Push
- Covers a range of up to 1,200 sq. ft.
- Seamless roaming and maintaining your current network name (SSID) for continuous connection when moving around your home.
- Provides Wi-Fi speeds of up to 1,200Mbps, great for demanding high-definition video streaming and multi-player online gaming.
- Works with most routers, modems, and other wireless devices.
- They are equipped with a Gig wired Ethernet port for maximum performance with games consoles or AR/VR equipment.
- Supports the latest WPA2 wireless security protocols.
- Simple setup with step-by-step instructions via the Nighthawk app.
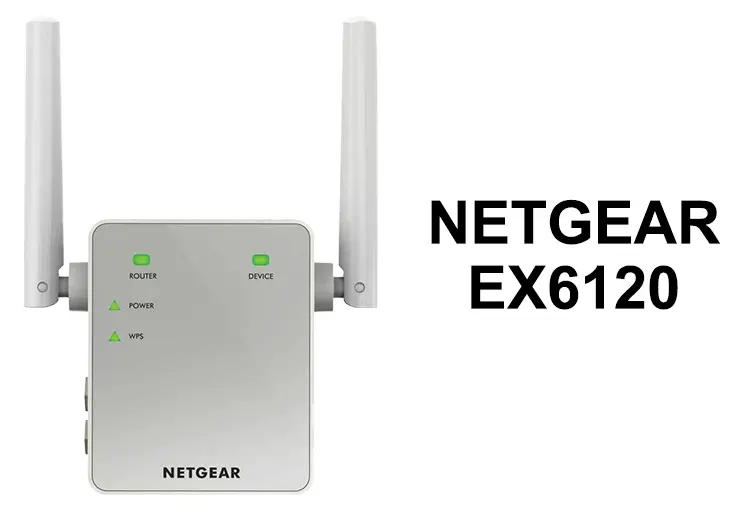
Netgear EX6120
Some great features:
- Supports dual-band frequencies – 2.4 GHz and 5 GHz signals.
- Embedded with an Ethernet port.
- Extends Wi-Fi range of up to 1500 sq. ft. and provides connections to up to 25 devices.
- Provides Wi-Fi speed of up to 1,200Mbps, great for demanding high-definition video streaming and multi-player online gaming.
- Works with most routers, modems, and other wireless devices.
- Supports the latest WPA2 wireless security protocol.
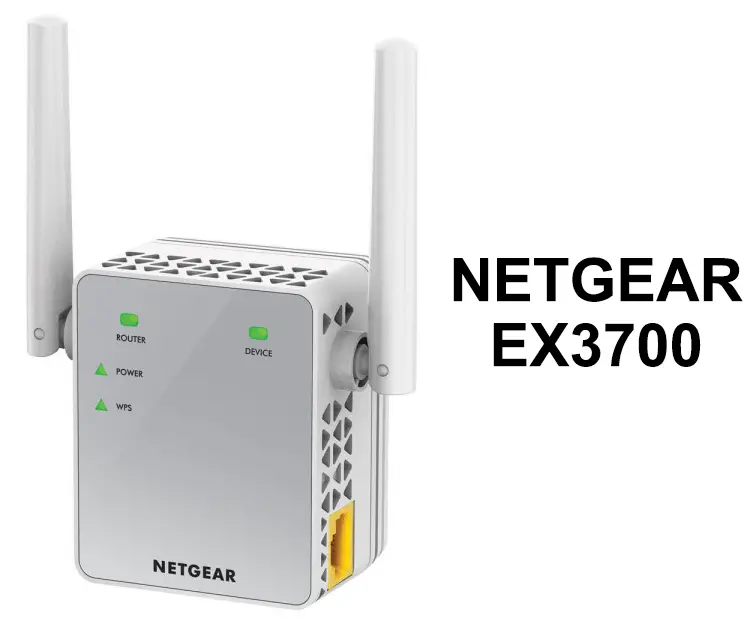
Netgear EX3700
Some great features:
- Supports dual-band – 2.4 GHz and 5 GHz Wi-Fi.
- Embedded with an Ethernet port.
- Extends Wi-Fi range of up to 1,000 sq. ft. and provides connections to up to 15 devices.
- Provides Wi-Fi speeds of up to 750Mbps, great for video streaming and online gaming.
- Works with most routers, modems, and other wireless devices.
- Supports the latest WPA2 wireless security protocol.
- Easy setup with a push of the WPS button to link to the router.
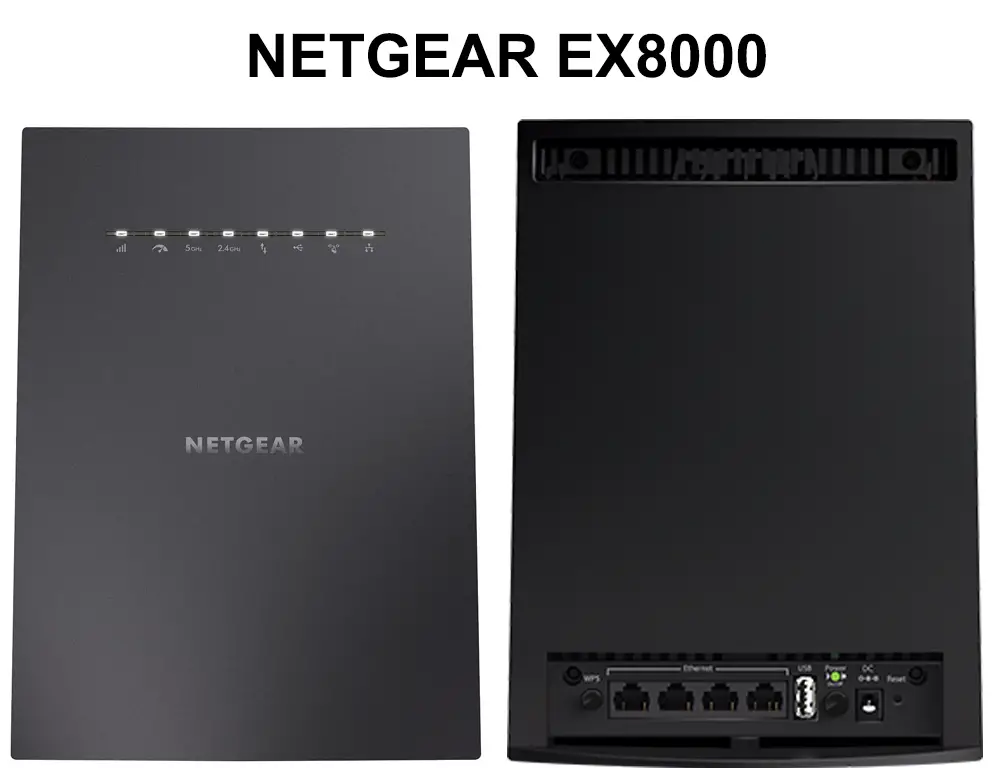
Netgear EX8000
Some great features:
- Extended Wi-Fi range of up to 2,500 sq. ft.
- Can link up to 50 devices.
- Seamless roaming and maintaining your current network name (SSID) for continuous connection when moving around your home.
- Provides speeds of up to a whopping 3,000 Mbps utilizing the tri-band and the fastlane3 (TM) system for demanding UHD/4K video and TV streaming and multi-player online gaming.
- Works with most routers, modems, and other wireless devices.
- Equipped with Gig Ethernet port for maximum performance with games consoles or AR/VR equipment.
- Supports the latest WPA2 wireless security protocols.
Standard Netgear Wi-Fi Extender Setup
- Unbox the extender and plug it in. Make sure the power LED lights are on. If not, press the On/Off button.
- Connect the device you want to use to set up your extender (preferably your laptop or PC) to the extender’s Wi-Fi network or use an Ethernet cable for direct connection. If you’re connecting wirelessly, the Wi-Fi password is probably printed on the extender itself.
- Once you connect to the NETGEAR extender, launch a web browser and type in ‘mywifiext.net‘ or the IP address 192.168.1.250 on the browser’s address bar. 192.168.1.250 is the default IP for most NETGEAR Wi-Fi extenders. If that address doesn’t work for you, use this guide to find your default IP address.
- You will see the New Extender Setup page.
- Click on the ‘NEW EXTENDER SETUP’. Select ‘YES’ or ‘I AGREE’ when prompted at the terms and acceptance page.
- Select your extender’s admin username and password. You will need to use these credentials to access your Wi-Fi extender settings page on the web interface. We recommend using safe and secure credentials to avoid security breaches by unwanted intruders.
- At the drop-down menu, choose and give answers to two security questions. Should you forget the admin credentials later, you can utilize these answers to get back into the page.
- Click on ‘NEXT.’
- Click on ‘CONTINUE’ if the system asks whether you want the NETGEAR genie to help.
- Next, it will search for nearby Wi-Fi networks.
- Choose the SSID (network name) of your network – that’s the network you want to extend. Click ‘See More’ if you don’t see your Wi-Fi network.
- Click on ‘NEXT.’
- Type in your Wi-Fi network’s password and tap on ‘NEXT.’
- Set your extender’s SSIDs (network name) and passwords.
- By default, NETGEAR extenders use the same name as your current network but add suffix _2GEXT (for 2.4GHz band) and _5GEXT (5GHz band). Also, by default, they use the same password as your current network for both bands.
- Click on ‘NEXT.’
- Applying the settings will take some time.
- Your extender may reboot to apply the changes. After it reboots, you should be able to connect to its extended Wi-Fi network. If necessary, you can unplug it and move it further away from the router.
How to Set Up a NETGEAR Wi-Fi Extender Using the WPS Button
How to Set Up a NETGEAR Wi-Fi Extender Using a Web Browser and Installation Assistant
Conclusions
Having one of the best Wi-Fi extenders, now you know how to set up your Netgear Wi-Fi extender. If you still cannot set it up successfully, it’s probably time to call Netgear’s customer service or technical support for help.

Hey, I’m Jeremy Clifford. I hold a bachelor’s degree in information systems, and I’m a certified network specialist. I worked for several internet providers in LA, San Francisco, Sacramento, and Seattle over the past 21 years.
I worked as a customer service operator, field technician, network engineer, and network specialist. During my career in networking, I’ve come across numerous modems, gateways, routers, and other networking hardware. I’ve installed network equipment, fixed it, designed and administrated networks, etc.
Networking is my passion, and I’m eager to share everything I know with you. On this website, you can read my modem and router reviews, as well as various how-to guides designed to help you solve your network problems. I want to liberate you from the fear that most users feel when they have to deal with modem and router settings.
My favorite free-time activities are gaming, movie-watching, and cooking. I also enjoy fishing, although I’m not good at it. What I’m good at is annoying David when we are fishing together. Apparently, you’re not supposed to talk or laugh while fishing – it scares the fishes.

