
When it comes to Geeni light bulbs we can say the following – they are affordable, excellent products, and on top of everything very easy to set up. If you have just purchased your Geeni light bulb (or bulbs), you must be eager to connect it to your Wi-Fi network and try it on.

If that is the case, you are in the right place. In this post, we will explain how to connect a Geeni light bulb to Wi-Fi and what to do if it won’t connect. So, let’s begin!
IMPORTANT: Before you connect your Geeni light bulb to your Wi-Fi network, you need to connect your smartphone to your 2.4GHz network and install the Geeni app. When you install the app, create an account for the Geeni app and log in.
Creating Geeni Account
- Screw the Geeni light bulb into the desired socket. Turn it on and it should start blinking. This indicates that the light bulb is in pairing mode.
- Now, launch the Geeni app on your device.
- On the home screen, in the top-right corner, tap on the plus sign. Choose Smart Lightning.
- Tap on “”Yes, it’s blinking quickly””.
- Select your 2.4GHz network and enter the wireless password to connect to it.
- Click on Next. You will be offered to connect quickly using the Easy Mode or Manual Mode (which is slower). Some models will also have the AP mode. Select Easy mode for quick setup.
- The Connecting Now window should open. Give it some time to detect and connect to the light bulb. When the app finds the light bulb, it will stop blinking.

- Now, you can name the light bulb, so that you can control it later. Once you set it up, you will have full control over the light bulb – you can turn it on and off from your phone, change the light color and intensity, or set a timer.
How to Set Up Geen Light Bulb and Connect It to Wi-Fi
CONTENTS
Geeni Light Bulb Won’t Connect to Wi-Fi – How to Fix It?
Although the Geeni light bulb setup is pretty simple and hassle-free, in some situations your Geeni light bulb may refuse to connect to Wi-Fi. Luckily, there are a few things you can do to fix it, so let’s start troubleshooting this issue.
Check the Network Connection
To work properly, your Geeni light bulb has to be connected to the 2.4GHz network. In case you skipped the note at the beginning of this article and tried to connect the light bulb to your 5GHz network, you have to do it again. This time, connect it to the 2.4GHz!
In case you are using just a 5GHz connection, you will have to log in to your router admin dashboard and enable the 2.4GHz network:
- Log in to your router from a device connected to your network.
- Enter the router IP in the browser’s URL bar, and press Enter or tap on the Go button.
- Enter the admin login details. These are written on a label on the router.
- Head to the Wireless section and you can enable the 2.4GHz network there. Just make sure to name the network differently than the 5GHz one.
- Save the changes, and then go through the Geeni light bulb setup process again.
Check the Light Switch
To operate properly, your Geeni light bulb has to be turned on. So, the light switch needs to be ON all the time. Check this, and if it’s on continue with the troubleshooting.
Connect Through AP Mode
Primarily, your Geeni light bulb should connect using the easy mode. However, if it refuses to connect, make sure to connect it through AP mode (if it supports it). Hopefully, this should fix the problem.
The video below shows how to set up a light bulb in AP mode. The light bulb in this video is not a Geeni Light bulb, but the process is pretty much the same. The video is here for illustration purposes.
Setting Up the Light Bulb Using the AP Mode
Is Your Network Down?
To work properly, your Geeni light bulb has to be connected to the Wi-Fi. However, on certain occasions, our Wi-Fi network can be down for various reasons. Sometimes, it’s a router issue, but it could also be an outage.
To make sure that your ISP isn’t causing the problem, check whether Wi-Fi is working properly on your other devices. You can either contact your ISP and see whether they are experiencing any issues with the network. Alternatively, visit DownDetector.com and see whether other users are reporting internet connection problems. If your ISP is down, you will have to wait until they fix the issue.
Restart the Router
Sometimes a simple glitch can prevent your Geeni light bulb from connecting to the Wi-Fi network. One of the basic troubleshooting techniques is to restart the router.
Disconnect the router’s power cable from the wall outlet. After 3-5 minutes connect the power cable again to the wall outlet, and give it some time to boot. When all the LED lights on the router stabilize, go through the Geeni light bulb setup steps again.
Check the Wi-Fi Password
One of the most common issues when setting up the Geeni light bulb or any other smart appliance that requires a Wi-Fi connection is entering the wrong Wi-Fi password.
You may have made a typing mistake or entered a completely wrong password. In both cases, the light bulb will not connect to Wi-Fi. So, what should you do? Double-check your password or find the right one, and start the setup process again.
Move the Router and the Light Bulb Closer to Each Other
In some cases, the signal is too weak and unstable. To make it stronger, move the light bulb closer to the router. After that, try to connect the Geeni light bulb to Wi-Fi again and see whether this solves the problem.
Final Words
In this article, we did our best to explain how to connect a Geeni light bulb to Wi-Fi. Hopefully, you have managed to connect it successfully, and you are now exploring all the available features.
If your Geeni light bulb refuses to connect to your Wi-Fi, we are pretty sure one of the solutions presented here will help you fix the problem. Just make sure to follow the directions carefully.
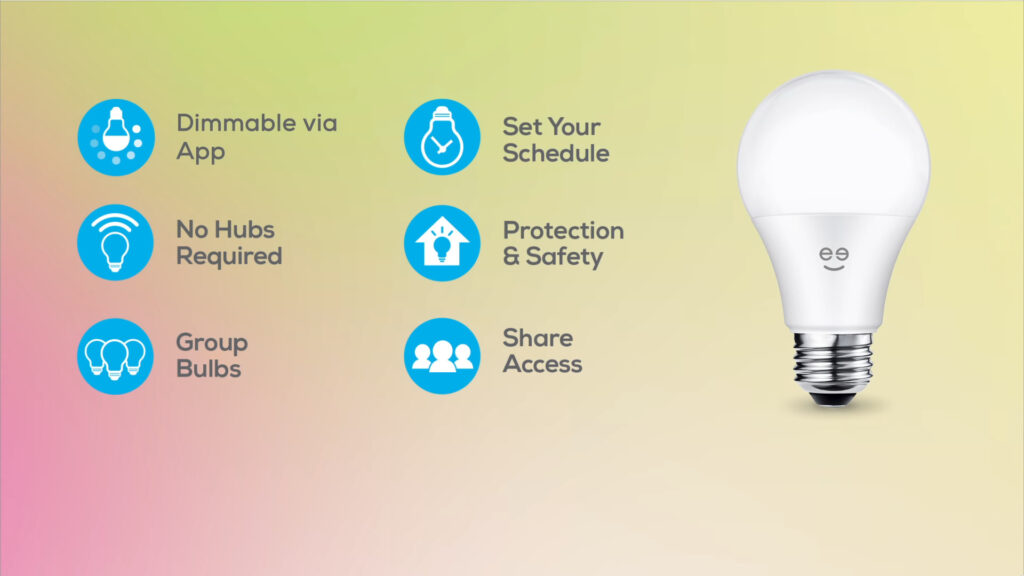
Introducing Geeni Light Bulbs

Hey, I’m Jeremy Clifford. I hold a bachelor’s degree in information systems, and I’m a certified network specialist. I worked for several internet providers in LA, San Francisco, Sacramento, and Seattle over the past 21 years.
I worked as a customer service operator, field technician, network engineer, and network specialist. During my career in networking, I’ve come across numerous modems, gateways, routers, and other networking hardware. I’ve installed network equipment, fixed it, designed and administrated networks, etc.
Networking is my passion, and I’m eager to share everything I know with you. On this website, you can read my modem and router reviews, as well as various how-to guides designed to help you solve your network problems. I want to liberate you from the fear that most users feel when they have to deal with modem and router settings.
My favorite free-time activities are gaming, movie-watching, and cooking. I also enjoy fishing, although I’m not good at it. What I’m good at is annoying David when we are fishing together. Apparently, you’re not supposed to talk or laugh while fishing – it scares the fishes.