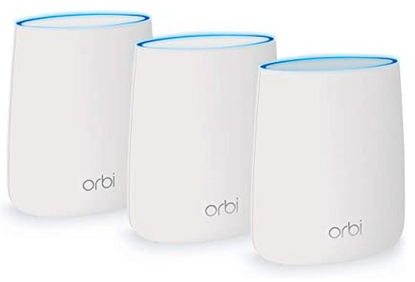
As far as home wireless solutions go, Netgear’s Orbi is a mesh Wi-Fi system that can easily cover your entire home. It’s easy to set up, and it’s something that lets our house have seamless Wi-Fi in every corner.
However, even this solution needs a fix now and then. Especially when our device can’t find the network. That’s why in this article we cover how Orbi works, how to set it up properly, and how to fix the “not found” issue.
CONTENTS
How Does Orbi Network Work?
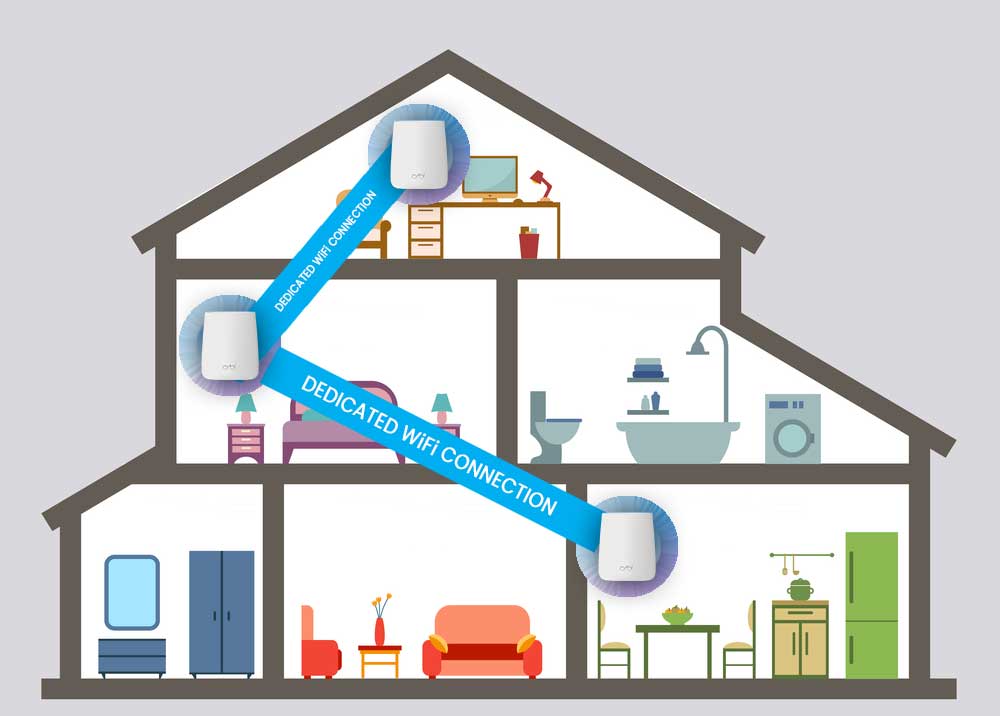
Netgear’s Orbi system is a mesh network, the network that comprises a router and many satellites depending on how many square feet your home has. We usually connect the router to the modem using an ethernet cable.

The satellites connect to the router wirelessly, and we can place them anywhere in our home. So, instead of using Wi-Fi routers or range extenders all over the house, we have a singular network with different points.
The reason to opt for a mesh network instead of range extenders or multiple routers is because the network name is the same. Imagine having to connect to a different network when you enter another room or go upstairs.
The Orbi mesh system works by Wi-Fi signals being broadcast from all the Wi-Fi points you place around the house. There’s a wireless connection between the points, and these points can route the data effectively to one another. Let’s see the proper setup.
How to properly set up Orbi?

To set up the Orbi mesh Wi-Fi system, we need to have the Orbi app installed on our smartphone. First, disconnect from the old Wi-Fi router, and make sure that you’re not connected to other Wi-Fi networks on your phone.
Once you disconnect, unplug the old router. You need to have an internet connection, so it’s best to use your smartphone’s data. When we open the Orbi app, we can create an account or log into one that we already have with Netgear.
There is a prompt to install a new Netgear product. We tap Yes and enable the camera to scan the QR code on the Orbi router. Now, we need to reboot the modem by unplugging it and plugging it back in.
Once we do that, we can tap Next on the app. Then, we need to connect the modem and the Orbi router with the ethernet cable provided in the box. After that, we tap Next and we position the satellites around the house.
Plug in the satellites and tap Next. The setup is on its way, the router connects to the network, it detects the satellites, and then we customize the network settings like the network name and password and our admin login.
Finally, the Orbi checks for new firmware which we need to update if it’s available. It’s very important to update the firmware. There you have it, your mesh Wi-Fi system is all set up. What if you already have it set up, but there are still issues?
Orbi Common Issues
As any router or mesh system out there, even Orbi experiences some issues from time to time. Luckily, we can fix these issues by following a few simple steps. It’s still good to remember that proper setup is key, however there are other fixes.
Orbi RBR50 firmware update
Unfortunately, when the RBR50 router, the main device of the Orbi mesh system updates, there’s an issue in internet connection speeds. This doesn’t mean that the firmware update is unstable, it just means that it wasn’t tested properly.
Don’t get the wrong idea, the update probably went through the “clean install” testing phase, and it probably worked fine. That’s why it’s sometimes necessary to do a factory reset before installing the update.
A factory reset allows a clean install. There’s a Reset button on all the devices in the mesh system. Use a paperclip to reset them like so: push the button, wait for the green light to turn to amber, and there you have it. Now, follow the setup procedure and it should work properly.
Satellites aren’t connected to router
If there’s no communication between the router and the satellites the Wi-Fi signal isn’t broadcast throughout the entire home. We should initially set up the system in one room. After that, we can take the satellites to different rooms within the reach of the router’s signal.
There’s another way to connect the satellites. The first thing to do is connect satellites to the router using an ethernet cable. Enter the Orbi login page, access the Advanced tab, go to Advanced Setup > Wireless Settings > Enable Daisy-Chain Topology.
This allows the satellites and the router to communicate using the ethernet connection. Next, go to the Basic tab and click on Add Orbi Satellite. You should be able to add the satellite that’s missing.
Orbi router not found
This is a very common issue during the installation process. In the setup, once you connect the router to the modem and connect to the Orbi network, the app says “Router not found.”
Make sure that the ethernet cable you’re using to connect the Orbi router to the modem works. Test it on two different devices. If it doesn’t work, get a new one.
You can also try restarting the Orbi router and the modem. If restarting doesn’t work you can do a factory reset.
Orbi network not showing up
If there was a power outage, and the network SSID stops showing up once the power is back, the power surge might have damaged the hardware. However, if the hardware is intact, then it’s necessary to do a factory reset.
Follow all the prompts when setting up the mesh system through the app again, make sure to use a different network name from your previous one.
If everything’s perfectly fine with the power, and the network isn’t showing up suddenly, the Orbi lights on the back of all the Orbi devices are green, then it might be time to update your network drivers.
Conclusion
A mesh system like Orbi covers the entire home, but as with any other piece of hardware it comes with some glitches. Fortunately, we solve most issues by setting up the hardware properly.
However, sometimes the network isn’t discoverable, the router isn’t detected during the setup, the updates interfere with internet speed, and the satellites aren’t connected. We can do a lot about these from the Orbi login page and the Orbi App.
Finally, the easiest way to fix any piece of hardware is to do a factory reset. If that doesn’t fix your issue, then you can always contact support. The support techs will guide you on how to handle the problem properly.

Hey, I’m David. I’ve been working as a wireless network engineer and a network administrator for 15 years. During my studies, I also worked as an ISP field technician – that’s when I met Jeremy.
I hold a bachelor’s degree in network engineering and a master’s degree in computer science and engineering. I’m also a Cisco-certified service provider.
In my professional career, I worked for router/modem manufacturers and internet providers. I like to think that I’m good at explaining network-related issues in simple terms. That’s exactly what I’m doing on this website – I’m making simple and easy-to-follow guides on how to install, set up, and troubleshoot your networking hardware. I also review new network equipment – modems, gateways, switches, routers, extenders, mesh systems, cables, etc.
My goal is to help regular users with their everyday network issues, educate them, and make them less scared of their equipment. In my articles, you can find tips on what to look for when buying new networking hardware, and how to adjust your network settings to get the most out of your wi-fi.
Since my work is closely related to computers, servers, and other network equipment, I like to spend most of my spare time outdoors. When I want to blow off some steam, I like to ride my bike. I also love hiking and swimming. When I need to calm down and clear my mind, my go-to activity is fishing.
