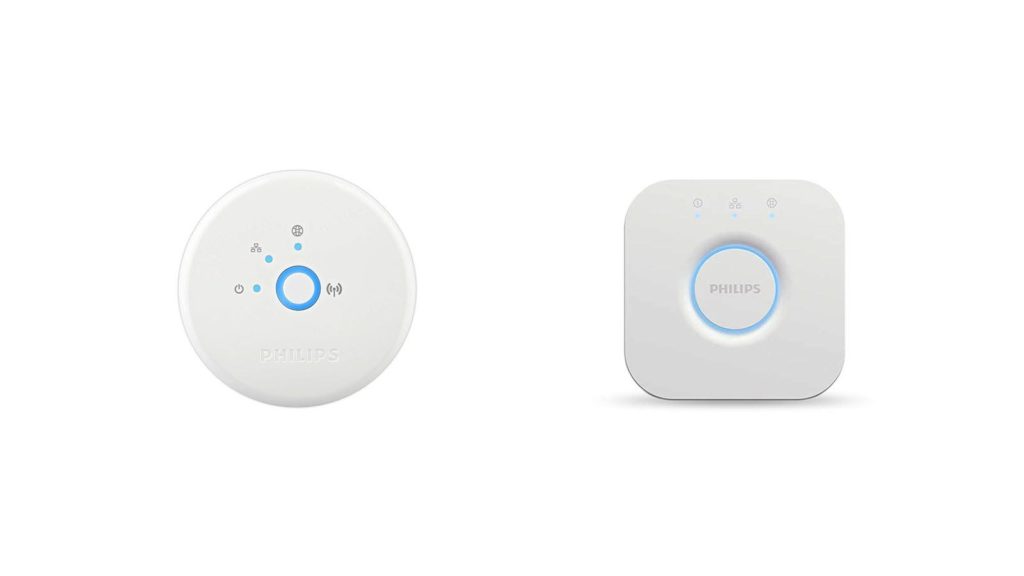
Philips Hue Bridge is a great little device. Isn’t it? This elegant and compact controller seamlessly integrates into almost any smart home ecosystem and allows you to control up to 50 lights and/or other different accessories.

Not only can you turn the lights on and off, but you can also do so much more in terms of setting up different sceneries and layouts. And it comes with voice control. That is quite an impressive piece of modern home tech in my book.
When you know all the features described above, you would imagine Philips Hue Bridge will work without connecting it to the home network using an ethernet cable. Unfortunately, that is not the case.
It is made and programmed so that you have to keep it plugged at all times. Well, maybe not initially designed since it has built-in Wi-Fi radio, but something probably went wrong during that process, making Philips disable that module. But more on that later in the article.
CONTENTS
So, How to Connect the Hue Bridge Without an Ethernet Cable?
Just like we mentioned earlier, there is no way to connect Hue Bridge without an ethernet cable while preserving the device’s warranty and full functionality. That being said, there are two ways to make it work without connecting it directly to the main router.
One fix will allow you to place the Hue Bridge almost anywhere in your home without the need to lay the ethernet cable from the main router to the Hue Bridge, but it will make you spend a few bucks, while the other will give you the most functionalities but void warranty.
Did we tickle your curiosity? Good. Let’s check out both options.
Connect Hue Bridge Using Wi-Fi Router in Bridge Mode
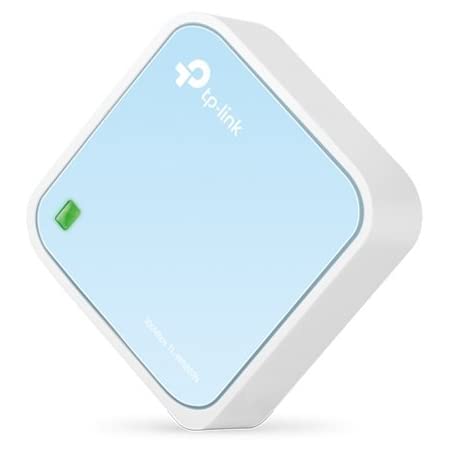
If you want to avoid placing an ethernet cable between the main router and the Philips Hue Bridge, you’ll need another router. More specifically, the one that can work in bridge mode. There are many options on the market, with one of the most recommended ones being TP-Link N300 Wireless Portable Nano Travel Router (TL-WR802N). It is affordable, reliable, easy to set up, and has both features you’ll need to make this work.

- It can be set up as an extender and
- It has a LAN port
In this article, we will use a TP-Link as an example. If you choose a different router, the steps will remain the same. However, the default IP address, administrator credentials, and options may differ.
Now, let’s see how this will work.
The TP-Link N300 Wireless Portable Nano Travel Router(TL-WR802N) in bridge mode becomes an extender. In other words, it will extend the Wi-Fi signal from the router so you can use it to have a stronger wireless signal in some areas of your home. You may use this as a bonus. However, that’s not why we need it here. It also has an ethernet port.
Recommended reading:
- How to Connect Xbox 360 to Wi-Fi Without Adapter?
- What is RG6 Coaxial Cable Used For? A Detailed Guide to RG6 Coaxial Cables
- How to Connect an Echo Dot to Wi-Fi?
You can place the Philips Hue Bridge anywhere in the house where you have a Wi-Fi signal, then put the TP-Link router next to it. Set it up to work in bridge mode and connect the Hue bridge to the router using a short ethernet cable that comes with the device.
Let’s go through this step by step.
Step No 1 – Find a Suitable Location
The first thing you need to consider when planning how to do this and where to place both Hue Bridge and the router is the Wi-Fi signal from the main router. The location needs a usable Wi-Fi signal and two available power sockets.
Step No. 2 – Configure the Router
You’ll need to configure the TP-Link router to work in the bridge mode. The easiest way would be to connect it to a PC using an ethernet cable. Once you do that, power up the router and wait for a few minutes.
You’ll do all settings from the web browser. Open the browser and type the default IP address into the address bar. For the TP-Link, it will be 192.168.0.1.
Enter default administrator credentials (usually printed on a sticker at the backside of the router) Username: admin
Password: admin
Click on Login
Once inside the admin panel, you can go through the quick setup or set things up manually. Quick setup is a more straightforward solution since you’re configuring everything for the first time.
Click on the Quick setup option on the left side of the screen, then click Next.
Choose Range extender then Next.
The router will now scan for all wireless networks it can detect. Check the box next to your home network, scroll down if needed, and click Next.
On this screen, choose the security level for the TP-Link, enter the Wireless password that you use for the primary router, and choose to use the same SSID as the primary router or a different one. For the security, choose WPA/WPA2-PSK and for the SSID, you can either leave it or change it to something else. Once you’re ready, click Next.
Leave the DHCP and subnet mask settings on default values unless your main router has a different setup. If that is the case, match the TP-Link to the main router. Click Next.
Check if everything looks OK, scroll down to the bottom, click on Finish, then Reboot, and Ok.
Step No.3 – Connect the Philips Hue Bridge To the Network
Once the TP-Link reboots, unplug the PC and connect the Hue Bridge with the same ethernet cable you used to configure the router. Power up the Bridge and wait for all three lights to turn on. Once you see them, the Bridge is ready. Now you need to connect it with the app.
Step No 4. – Connect the Bridge To the App
For this step, you’ll need a device with Wi-Fi. A Tablet or a mobile phone will work just fine. Go to the app store and find the Hue Philips app.
Install and open the app.
Once the app opens, click on Search to find your Hue Bridge. Once the app finds the Bridge, click on Set up and press the big, round button on the Hue Bridge. The app will automatically connect to the Hue Bridge and offer available updates. When you update the Bridge, click on Done.
You can start using the app to configure the bridge and all connected devices.
DIY Electronics Guru Method
More curious and techy users found the solution to connect the Hue Bridge to the home network without using a network cable. Philips designed and manufactured a Hue Bridge with the Wi-Fi radio module but decided not to activate it or make it available.
However, if you are willing to void the warranty, are handy with soldering iron, and have good knowledge of rooting and configuring devices, there is a good article with a step-by-step process for turning your Hue Bridge into a wireless device.
Summary
There isn’t a way to connect your Hue Bridge to the home network without a network cable. Well, ok. But only for a tiny percentage of users willing to void the warranty by opening a device and soldering a few bits. On top of that, you’ll have to know how to root the device and configure it to use Wi-Fi. If you are one of them, check the link in the paragraph above.
For the rest of us, there is only one real choice: To place the Hue Bridge next to the router or buy a second router, configure it to run in the bridge mode, and place it somewhere next to the desired Hue Bridge location.

Hey, I’m Jeremy Clifford. I hold a bachelor’s degree in information systems, and I’m a certified network specialist. I worked for several internet providers in LA, San Francisco, Sacramento, and Seattle over the past 21 years.
I worked as a customer service operator, field technician, network engineer, and network specialist. During my career in networking, I’ve come across numerous modems, gateways, routers, and other networking hardware. I’ve installed network equipment, fixed it, designed and administrated networks, etc.
Networking is my passion, and I’m eager to share everything I know with you. On this website, you can read my modem and router reviews, as well as various how-to guides designed to help you solve your network problems. I want to liberate you from the fear that most users feel when they have to deal with modem and router settings.
My favorite free-time activities are gaming, movie-watching, and cooking. I also enjoy fishing, although I’m not good at it. What I’m good at is annoying David when we are fishing together. Apparently, you’re not supposed to talk or laugh while fishing – it scares the fishes.

Hello! I am having trouble getting this to work. I am in a special case where my internet is community wifi that is password protected. I purchased a Netgear AC1750 R6700 router that has bridge mode. Sadly I could not get the hue bridge to connect to the intent using an ethernet port on the router. I may have done the prices incorrectly though.
Hi,, everything worked like a charm , set up the same router you used,, configured it ,, 1 problem,, I can’t get it to connect from App to bridge ,, it can’t find the bridge … any help would be greatly appreciated…
Thanks
Jeff