Dealing with Wi-Fi signal disruptions and connection downtimes can be frustrating, especially if you don’t know the source of the problem.
The issue could emanate from ISP outages, network congestion, faulty equipment, digital attacks, and natural disasters.
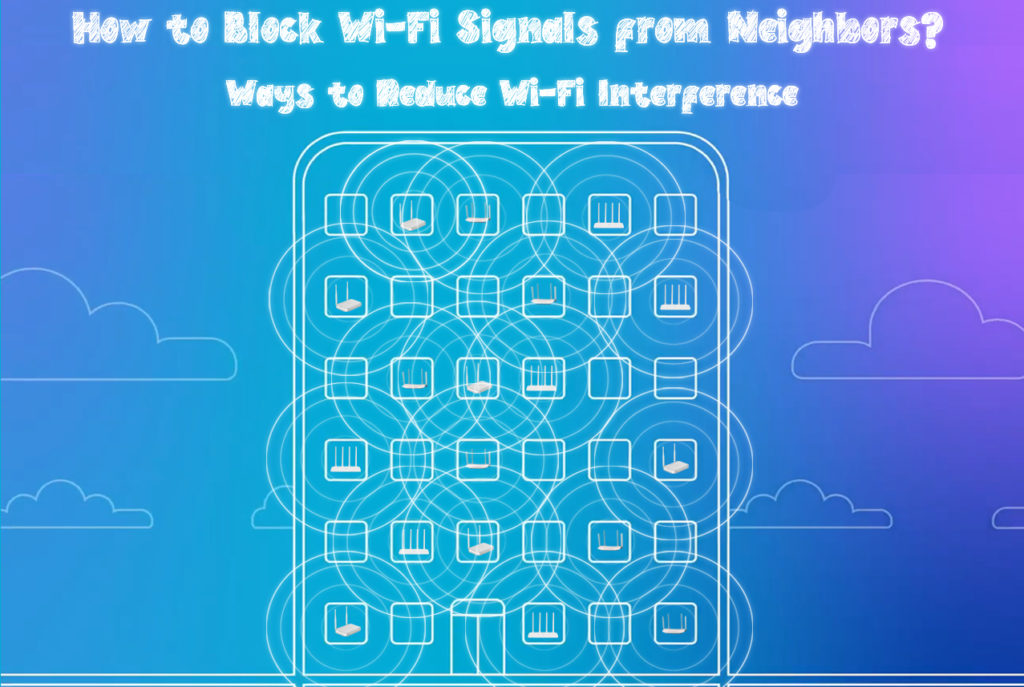
Interestingly, Wi-Fi signals from neighbors could also be the source of frequent interference and internet interruptions in your home, especially if your connection is weaker.
As such, blocking these signals is the only viable solution to preventing further disruptions and restoring your connection.

Here are the steps:
CONTENTS
1. Check Your Neighbor’s Wi-Fi Signal Strength and Frequency
Your first step is to test your neighbor’s Wi-Fi signal strength to establish if it is the primary cause of the problem before taking appropriate action.
If your neighbor’s signals are stronger, they could overlap your network and cause unnecessary disruptions.
Fortunately, checking Wi-Fi signal strength is not complicated. You only need to:
- Go to Wi-Fi settings on your phone or laptop
- Turn on Wi-Fi to search for nearby networks
- Check the signal bar of your neighbor’s Wi-Fi network and compare it with yours
- Tap or click the Wi-Fi network to check the radio frequency band used
You should expect signal interference and network congestion if your devices operate on the same frequency band as your neighbor’s.
You should also expect network disruptions if your neighbor’s Wi-Fi signal is seemingly stronger than yours.
Measuring Wi-Fi signal strength
2. Reposition Your Wi-Fi Router
The quickest way to deal with network interference from your neighbor’s Wi-Fi signals is to reposition your router.
Changing the position of your wireless router can help minimize disruptions and block intrusive Wi-Fi signals.
Try different positions, one at a time, until you find the ideal location.
You can also talk to your neighbor to find out the location of their Wi-Fi router so you can position your router farther away.
Finding the Perfect Place for Your Wi-Fi Router
3. Change Your Wi-Fi Frequency
You can “block” Wi-Fi signals from your neighbors by switching to a different frequency band.
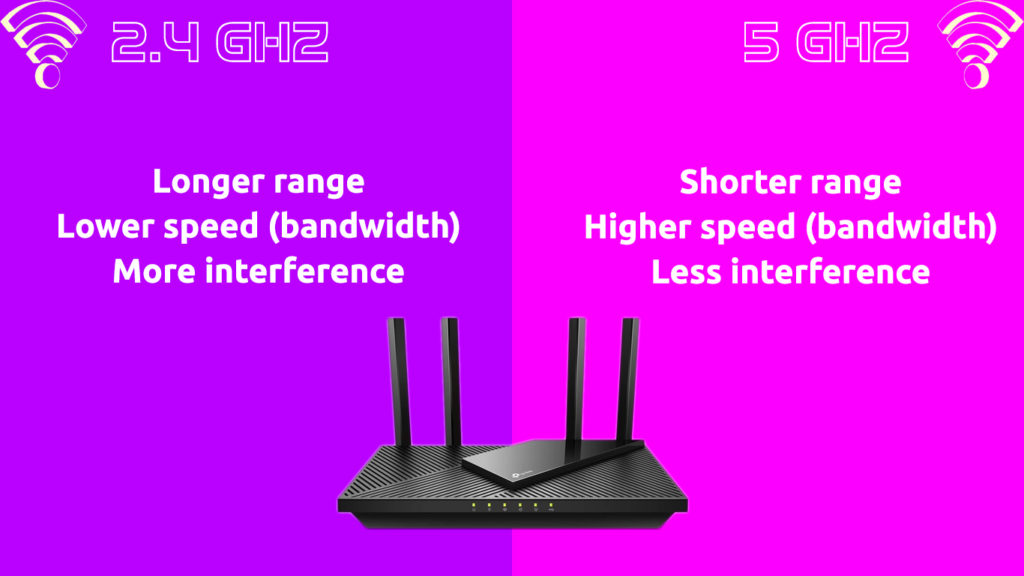
The two primary frequency bands that transmit Wi-Fi signals are the 2.4 GHz and the 5 GHz bands.
The 2.4 GHz band is the most common frequency band and is renowned for its extended range and ability to penetrate through thick walls and physical obstacles.
Recommended reading: What Blocks Wi-Fi Signals? (Things in Your Home that Block Wi-Fi Signals)
Unfortunately, many wireless devices and appliances such as baby monitors, cordless phones, and microwaves operate on this frequency band, making it prone to congestion and interference.
If your neighbor’s Wi-Fi operates on the 2.4 GHz band, consider switching to the 5 GHz band to prevent network disruptions.
The 5 GHz band is comparatively faster and less prone to interference since not many devices use this frequency.
The only downside with the 5 GHz band is that it has a poor range and cannot penetrate walls and physical obstacles.

4. Shift to a Different Frequency Channel
If changing the Wi-Fi frequency is not an option, consider shifting to a different Wi-Fi channel.
Wi-Fi routers can send and receive data over two (or three) Wi-Fi bands, but each Wi-Fi band consists of multiple Wi-Fi channels.
These channels are effectively mini frequency bands that broadcast signals from your router to connected devices within your network.
The 2.4 GHz frequency band has 11 channels, with three non-overlapping, while the 5 GHz band has 45 channels, with 24 non-overlapping.
What Wi-Fi Channel to Select?
Some routers use artificial intelligence to select the best-suited channel to transmit data automatically, while others, particularly the older versions, require your intervention in switching channels.
Follow these steps to switch channels manually:
- Launch your preferred browser on your phone or laptop
- Enter the default IP address of your router to open the login screen
- Enter your login credentials to access the router’s admin page
- Go to Wireless Settings
- Under Wireless Parameters, click the Wireless Channel drop-down menu
- Select your preferred channel from the available options
- Click OK to apply and save changes
5. Blacklist Your Neighbor’s SSID
Another straightforward method to block Wi-Fi signals from neighbors is to blacklist their SSID names.
Every wireless network has an SSID, which is generally the network name.
Blacklisting the SSID will block the Wi-Fi network from appearing in Wi-Fi search results on your devices.
This option is relatively effective since no wireless device will pull signals from your neighbor’s network.
Here are the steps to use the blacklist option:
- Go to the Windows search bar
- Type CMD to open the command prompt
- Right-click the command prompt menu and click run as administrator
- Type the following command: netsh wlan add filter permission=block ssid=“name” networktype=infrastructure
(replace the “name” with the SSID name of your neighbor’s wireless network)
6. Decongest Your Wi-Fi Network
If blocking Wi-Fi signals using the above tips does not resolve the issue, consider decongesting your network to minimize interference from other wireless devices.
Your Wi-Fi network could be having issues because of too many connections from freeloaders and unidentified devices.
You can decongest your Wi-Fi network by changing your password or blocking freeloaders and unknown devices.
Follow these steps to change your network password:
- Launch your preferred browser on your phone or laptop
- Enter the default IP address to log into your router’s configuration page
- Enter your login credentials to access the admin site
- Click Administration
- Enter your old password
- Set a new password and click OK to apply changes
Here are the steps to block freeloaders:
- Launch your preferred browser on your phone or laptop
- Enter the default IP address to log into your router
- Enter your login credentials to access the router’s admin page
- Go to User Management settings
- Click unknown or unidentified devices and add them to your blacklist
- Click OK to apply and save changes
7. Use Ethernet Cables
Setting up a wired network is another viable way to avoid disruptions and interference caused by Wi-Fi signals from your neighbors.
Using Ethernet cables is an excellent way to block Wi-Fi signals from neighbors since wired connections are less prone to interference from wireless devices.
Conclusion
Dealing with network interruptions caused by Wi-Fi signals from neighbors can take a toll on your productivity and leave you frustrated.
Fortunately, our proven tips can help you overcome this issue, minimize interference, and restore your Wi-Fi connection.

Hey, I’m Jeremy Clifford. I hold a bachelor’s degree in information systems, and I’m a certified network specialist. I worked for several internet providers in LA, San Francisco, Sacramento, and Seattle over the past 21 years.
I worked as a customer service operator, field technician, network engineer, and network specialist. During my career in networking, I’ve come across numerous modems, gateways, routers, and other networking hardware. I’ve installed network equipment, fixed it, designed and administrated networks, etc.
Networking is my passion, and I’m eager to share everything I know with you. On this website, you can read my modem and router reviews, as well as various how-to guides designed to help you solve your network problems. I want to liberate you from the fear that most users feel when they have to deal with modem and router settings.
My favorite free-time activities are gaming, movie-watching, and cooking. I also enjoy fishing, although I’m not good at it. What I’m good at is annoying David when we are fishing together. Apparently, you’re not supposed to talk or laugh while fishing – it scares the fishes.

