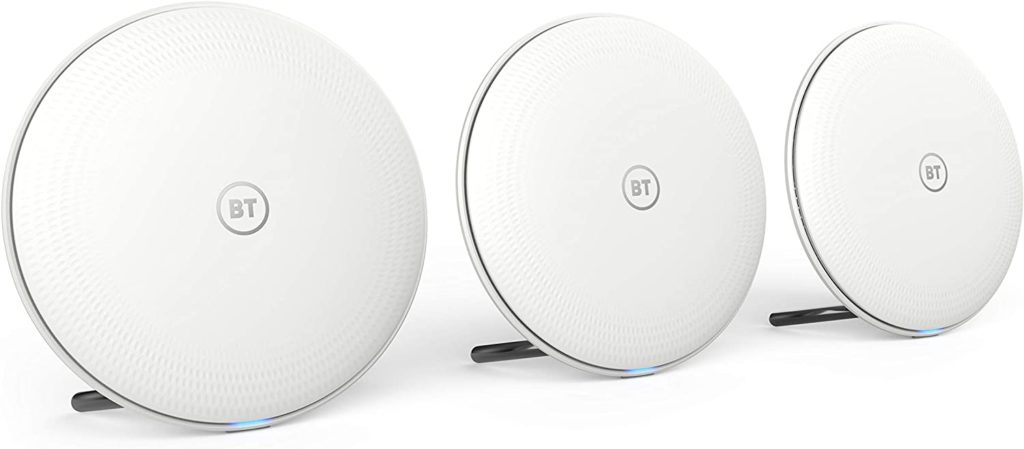
BT Wi-Fi disc helps you extend the internet signal to your whole house and makes the internet connection much better! But, before you start enjoying your new gadget, you’ll need to set it up. Thankfully, if you follow our easy steps, you’ll be able to make the most of your fast internet connection in no time!

CONTENTS
1. Set Up the BT Wi-Fi Disc via the Ethernet Cable
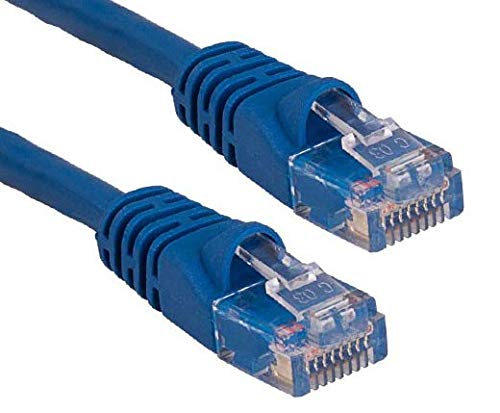
The first way you can set the BT Wi-Fi Disc up is via the Ethernet cable that came with your BT hub. In case yours is damaged, you shouldn’t try to use it, as that can be pretty dangerous. Simply go to the nearest store or order a new one online.
Connecting the BT Disc
Once you have the Ethernet cable, you should plug one end into the yellow socket that’s on the back of the disc. The socket will have “Ethernet” written above it. Then, you’ll have to connect the BT disc to the power outlet.
The other end of the Ethernet cable should go into the BT hub. You’ll then have to wait for a few seconds for the connection to be made. You’ll know that the hub and the disc are successfully linked once you see a solid blue light on the BT disc.

Your next step will be unplugging the disc from the cable. Then, move it to a more suitable location in your home. The blue light will inform you when the disc is at its optimal place. If you don’t want to spend too much time trying to find the best place to put your BT disc, we have some tips you might find useful.
Firstly, you should try placing the disc halfway between the hub and the room where you’ll need the strongest internet signal. In case you need the stronger signal upstairs, and the hub is on the ground floor, the disc should be near the top of the ceiling of the ground floor or near the floor of the second one. But you should never place the BT disc on the ground.
You’ll have to find some type of stand to place the disc on. That’s because the floor can mess up the internet connection. In addition, the BT disc shouldn’t be near any other electrical devices. Moreover, it’s best to place it in a room that you ventilate more often.
2. Set Up the BT Wi-Fi Disc via the Mobile App
The BT Mobile app now goes under the name “My BT.” You should switch to the My BT if you already have an app, as the original app will be closing pretty soon. Thankfully, My BT is so much easier to manage.
The new version will allow you to quickly check the mobile allowance and data usage. What’s more, you will be able to check, download, as well as pay your bills. Furthermore, you’ll have the option to track orders and faults. Finally, the My BT app will let you test the speed and check BT services in the area where you live.
Setting Up the My BT app
If you’re not the mobile account holder, you will need to ask the original holder to create a separate ID for your part of the account. We should mention that, once you receive the BT ID, you’ll only see your own BT usage.
In case you’re the BT account holder, you should log into your account with your username and password. If you forgot your info, you’d easily be able to get them on the official BT website. Those without an account will also have to visit the BT site to set it up. You’ll need to put your BT phone number and postcode to create it.
Recommended reading:
- How to Setup a Network Switch and Router?
- How to Setup Wi-Fi Router Without Computer?
- How Far Apart Can Google Wi-Fi Points Be?
Then, you should download the My BT app. It’s available on both the App Store and Google Play. Depending on your location, you could also text “My BT” to 81192. The company will send you the download link. Lastly, you can find the My BT QR code and scan it.
Connecting the App to the BT Wi-Fi Disc
After you successfully log into the app, you can connect it to the Wi-Fi disc. The reason why using the app is a better option than the Ethernet cable is that you can place the disc where you want it to be before even connecting it to the internet.
You should put down the disc, turn it on, and then find it on the My BT app. You can then connect these two. The app will also help you find the optimal location for the BT disc with the Wi-Fi signal checker feature. In addition, you’ll be able to personalize the network name and password and view all of the devices connected to the disc.
How to Know if There Is a Problem With the BT Disc Setup
The simplest way to see whether there are any issues with the setup of your Wi-Fi disc is to look at the lights. In case you see a solid blue light, that means there is a good internet connection and that everything is working properly. The blue light that’s flashing means that the disc is in the process of pairing and that you should give it a couple of minutes to connect.
The purple light indicates that the device is slowly turning on. It will take the disc a minute to start working correctly. The orange light tells you that the connection is made but that the Wi-Fi signal isn’t the best. Thus, you should try moving the disc elsewhere.
On the other hand, the red light informs you that there is a problem with the connection. In that case, you should turn the hub and disc off using the power buttons. It’s best that you wait for a few minutes before turning them on. If that doesn’t help, you should take a paper clip to press the factory reset button on the disc.
What to Do if You Have Issues with Setting the BT Disc Up
In case any problems occur, you should simply visit the Help section of the official BT website. If you can’t find the solution to your issue there, you can click “Chat” on the same site to get help. Finally, you can call the number indicated on the BT website in case the first two attempts don’t fix the problem.
In Conclusion
There you have it – two easiest ways to set up your BT Wi-Fi disc! We tried to make the process as simple as possible so you can enjoy your improved internet signal without any issues. Hopefully, you now have a fantastic internet connection with no interruptions!

Hey, I’m Jeremy Clifford. I hold a bachelor’s degree in information systems, and I’m a certified network specialist. I worked for several internet providers in LA, San Francisco, Sacramento, and Seattle over the past 21 years.
I worked as a customer service operator, field technician, network engineer, and network specialist. During my career in networking, I’ve come across numerous modems, gateways, routers, and other networking hardware. I’ve installed network equipment, fixed it, designed and administrated networks, etc.
Networking is my passion, and I’m eager to share everything I know with you. On this website, you can read my modem and router reviews, as well as various how-to guides designed to help you solve your network problems. I want to liberate you from the fear that most users feel when they have to deal with modem and router settings.
My favorite free-time activities are gaming, movie-watching, and cooking. I also enjoy fishing, although I’m not good at it. What I’m good at is annoying David when we are fishing together. Apparently, you’re not supposed to talk or laugh while fishing – it scares the fishes.
