The Toshiba Corporation is a conglomerate with a rich history that spans decades. Toshiba specializes in various electronics that help make our everyday lives easier, leading to its catalog of tablets. The corporation’s innovations produced some of Japan’s first electronics. For instance, Toshiba is responsible for making Japan’s first microwave oven and color cathode ray tubes.
Toshiba tablets are among the pioneer tablets that ruled the market when tablets were establishing their niche. Although Toshiba no longer produces tablets, some people still have the gadgets, and they still work despite being produced a decade ago.
Therefore, if you wish to use your Toshiba tablet to connect to the internet through Wi-Fi, this article will help you connect any Toshiba tablet to Wi-Fi without a fuss.
CONTENTS
Connecting Toshiba Tablets to Wi-Fi
To effectively connect your Toshiba tablet to Wi-Fi, you have to know the OS it runs on. For instance, legacy Toshiba tablets, i.e., the Toshiba Thrive, use Android 3.2.1 or Android 4 as the pre-installed operating system.
Therefore, the connection procedure will depend on the tablet’s OS.
Tablets Using the Android OS
Toshiba Thrive and tablets in the Toshiba Excite line are some Toshiba tablets that use the Android platform. Some Toshiba Thrive tablets come pre-installed with Android 3.2.1 and can be upgraded to use Android Jelly Bean.
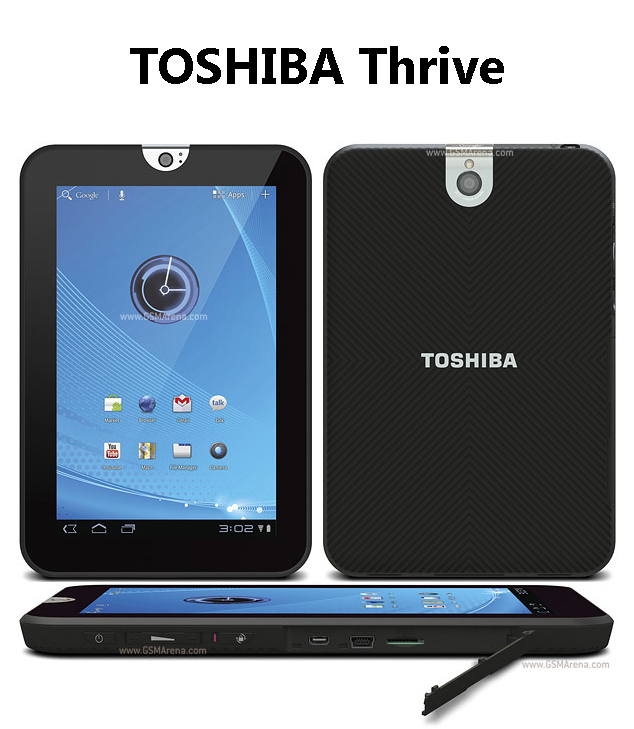
On the other hand, Toshiba Excite tablets come pre-installed with the Android Jelly Bean version or Android 4, as it is sometimes known.
Navigate Settings > About tablet > Android version to see what version of Android your tablet is running on.
To connect an Android tablet to Wi-Fi:
- Tap on the Settings app from the home screen. You can also launch all the device’s apps to access Settings by swapping up from the home screen or tapping on the Apps icon on the top right of the screen.
- Alternatively, access settings by tapping the clock on the bottom right of the status bar, tapping on the expanded clock, and finally, tap Settings.
- Next select Wi-Fi & Networks > Wi-Fi. Ensure Wi-Fi is enabled by checking for a green check mark in the box next to Wi-Fi. Note that other versions of the OS will use a toggle switch instead of a green check mark.
- If the box next to Wi-Fi has no green check mark, tap on the box to enable Wi-Fi. If the device uses a toggle switch, ensure the switch is highlighted in blue and is not grey.
- Once Wi-Fi is enabled, click on Wi-Fi settings if the tablet uses Android 3. If the tablet uses Android 4, tap on Wi-Fi.
- The tablet will show you a list of available Wi-Fi networks, tap on the one you wish to connect to, and a pop-up will appear on the screen. If the network is an open network, tap Connect to finish setting up your connection.
- If the network is secured, enter the Wi-Fi password, then tap Connect.
Connecting TOSHIBA Tablet Running on Android OS to Wi-Fi
As of September 2021, Google no longer supports Play Services on Android Jelly Bean; therefore, you will likely face challenges when using the Android tablet. Consider exchanging your current tablet for a newer one for efficiency.
Tablets Using Windows 8.1
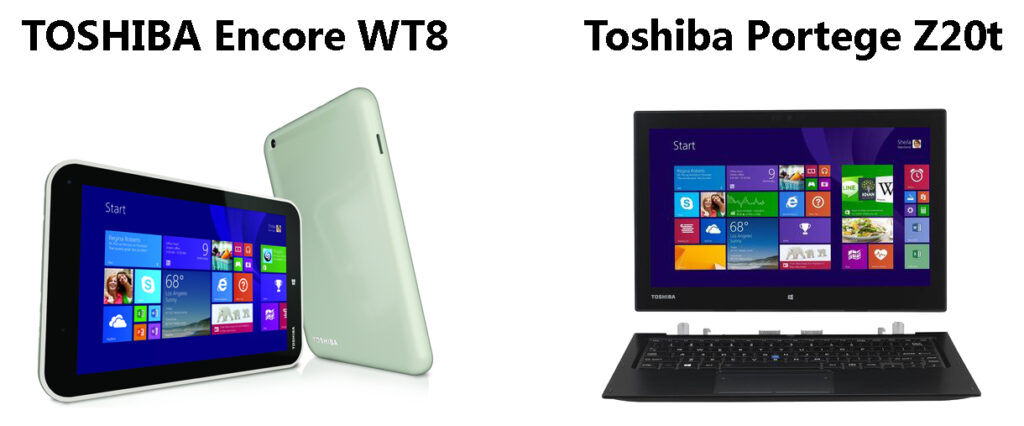
Toshiba tablets that come pre-installed with the Windows 8 platform include; Tablets in the Encore series and the Toshiba Portege Z20t.
Follow the steps below to connect a Windows 8 tablet to Wi-Fi;
- Launch the Charms menu by swiping left from the right side of the screen.
- Next, tap on Settings and select the wireless connections icon. It resembles bars arranged vertically from the smallest to the largest.
- Ensure the slider under Wi-Fi is on the right to indicate that Wi-Fi connectivity is enabled.
- Select the wireless network you wish to connect to from the available networks around you.
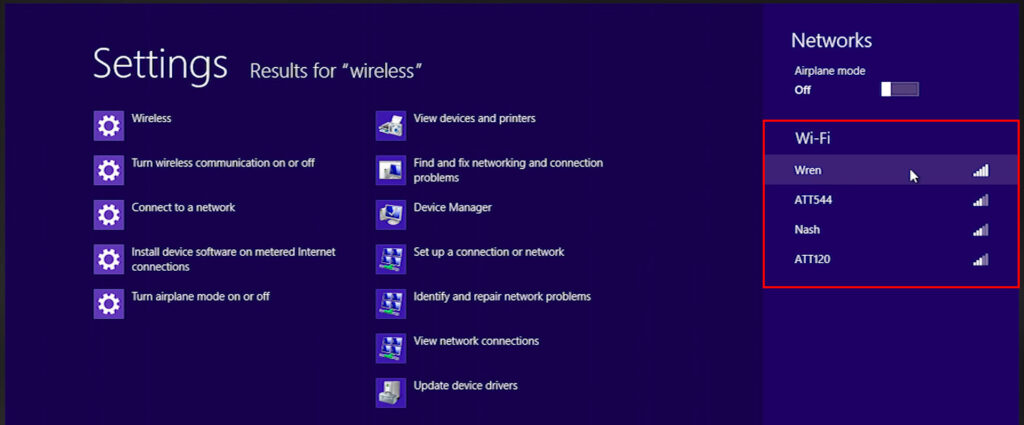
- If the network is open, tap Connect to complete the setup. If it is a protected network, tap Connect, enter the Wi-Fi password and complete the process by tapping Next.
Tablets Using Windows 10
The Toshiba Dynapad comes pre-installed with the Windows 10 OS. Also, most Toshiba tablets that use Windows 8 can be upgraded to Windows 10, but such upgrades are known to make your device lag. That happens because the tablet does not have the necessary memory capacity to handle Windows 10.
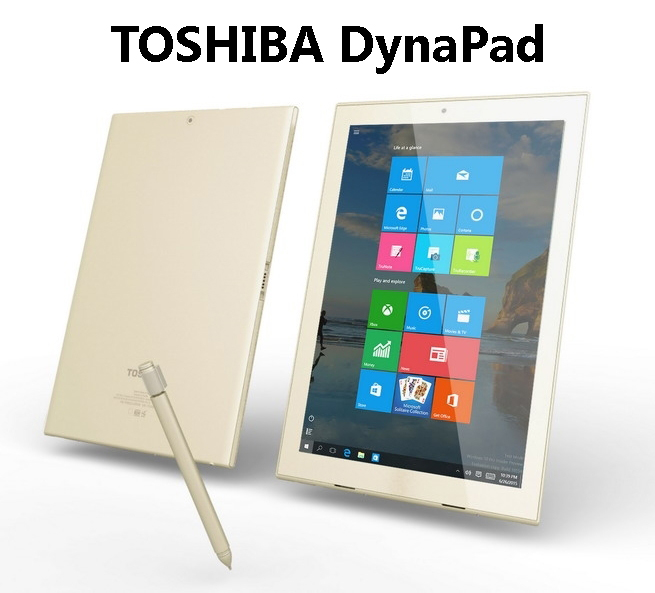
You can connect a Windows 10 Toshiba tablet to Wi-Fi using the steps below;
- Tap on the Networks icon from the taskbar. If you cannot see the icon in the taskbar, tap the Up arrow to reveal hidden icons, the network icon might be there.
- You will know Wi-Fi is enabled if the Wi-Fi option is highlighted. If Wi-Fi is off, tap on the Wi-Fi icon to activate it.
- The tablet will display all the available nearby Wi-Fi networks; tap on the one you wish to use.
- Next, tap on Connect, and if the network does not require a password wait for your tablet and the Access Point to establish a connection.
- If the network is secured, once you tap on Connect, you will be prompted to enter the network’s security key; therefore, enter the Wi-Fi password and tap Next.
- Wait as your tablet establishes a wireless connection.
Alternatively, access the tablet’s Wi-Fi connectivity by tapping the Windows logo at the bottom left corner of the screen. Then scroll to Setting > Network & Internet > Wi-Fi.
Next, tap the slider next to Wi-Fi to ensure it is highlighted. That’s an indication the Wi-Fi on the tablet is on. Tap on Show available networks, and a panel with all the available networks will pop up.
Recommended reading:
- Why Do So Many Wi-Fi Networks Show Up? (How to Connect to the Right Network?)
- Can I Connect My Old Phone to Wi-Fi? (What Can I Do with an Old Phone Connected to Wi-Fi?)
- How to Restrict Internet Access on Home Wi-Fi Network? (Ways to Block Devices from Your Wi-Fi)
Now tap on your preferred network, then Connect and enter the password, then tap Next to finalize the process.
Connecting a Toshiba Tablet Running on Windows 10 to Wi-Fi
Frequently Asked Questions
Question: Does Toshiba still make tablets?
Answer: Unfortunately, the corporation ceased producing personal computers, laptops, and tablets in 2016. This was influenced by Toshiba’s financial woes that forced it to sell shares of its subsidiary Toshiba Client Solutions Co. to Sharp Corporation in June 2018.
The sale consisted of 80% of the shares belonging to Toshiba Client Solutions Co. and resulted in the renaming the subsidiary to Dynabook in January 2019. Toshiba later announced that Dynabook had acquired the remaining shares and Toshiba Client Solutions Co. completely belonged to Sharp under Dynabook as of June 30, 2020.
Question: Why won’t my tablet connect to Wi-Fi?
Answer: There could be many reasons why your tablet has trouble connecting to Wi-Fi. Among them are:
- The router and tablet are far apart; you can remedy this by moving closer to the router.
- A device, either the tablet or router, has outdated software that is causing incompatibility issues. You can prevent this by ensuring all devices are updated with the latest software.
- You could be connecting to the wrong Wi-Fi network or using the wrong password. Always double-check everything and remember that Wi-Fi passwords are case-sensitive.
Conclusion
Hopefully, you can now connect your Toshiba tablet to Wi-Fi without any challenges. The chosen procedures described above are the easiest to follow, even for someone with little to no technical knowledge. If you face any challenges, contact the manufacturer of your device’s OS for further assistance.

Hey, I’m Jeremy Clifford. I hold a bachelor’s degree in information systems, and I’m a certified network specialist. I worked for several internet providers in LA, San Francisco, Sacramento, and Seattle over the past 21 years.
I worked as a customer service operator, field technician, network engineer, and network specialist. During my career in networking, I’ve come across numerous modems, gateways, routers, and other networking hardware. I’ve installed network equipment, fixed it, designed and administrated networks, etc.
Networking is my passion, and I’m eager to share everything I know with you. On this website, you can read my modem and router reviews, as well as various how-to guides designed to help you solve your network problems. I want to liberate you from the fear that most users feel when they have to deal with modem and router settings.
My favorite free-time activities are gaming, movie-watching, and cooking. I also enjoy fishing, although I’m not good at it. What I’m good at is annoying David when we are fishing together. Apparently, you’re not supposed to talk or laugh while fishing – it scares the fishes.
