If you’ve recently switched to DIRECTV, you might have some questions on the proper ways to connect it to your wireless network. Luckily, we are here to provide all the answers you need! In case you’re not up for using the connection kit and are looking for ways to establish a direct internet connection, you’ve come to the right place.
Today, we’re presenting you with all of the methods of linking the DIRECTV receiver to the internet without the connection kit.

CONTENTS
Can You Connect DIRECTV to Wi-Fi Without the Connection Kit?
Fortunately, yes, you can connect DIRECTV to the internet without using their special connection kit. The connection will be as stable as with the kit, and you’ll be able to avoid adding extra devices to your home system. Here is how you do it.
Ways to Connect DIRECTV to Wi-Fi
1. Use the Ethernet Cable
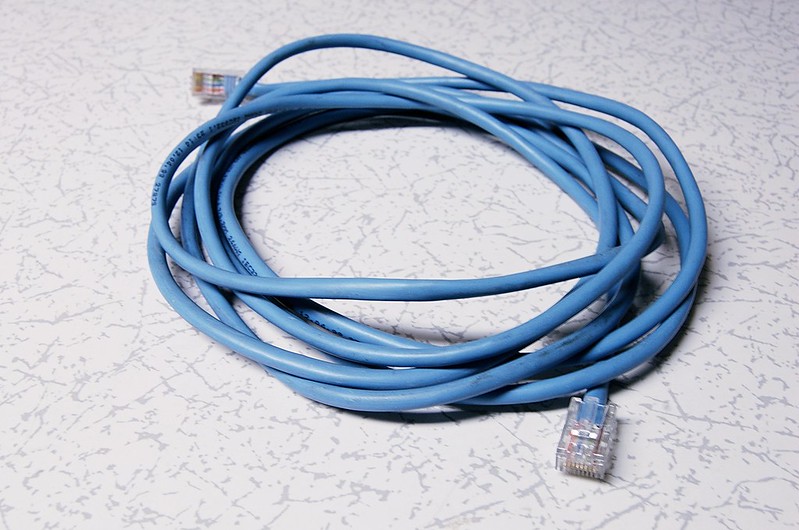
Many people prefer an actual hardwired connection to connect their devices. That makes sense, as the general opinion is that this one is more stable and provides a stronger signal. For this type of connection, you will need an Ethernet cable.
Before you plug it into your devices, you should first check its state. In case you have an older Ethernet cable, there is a chance that it was damaged over time or became too old to use. Older cords and those that are in poor condition will not be able to provide a stable connection. That is why you should always opt for a newer cord, especially when you’re connecting something that you’ll use for a longer time, such as DIRECTV.

To connect DIRECTV to Wi-Fi using an Ethernet cable, you should simply take the cord and plug one end into the receiver and the other into the router. Then, wait for a few minutes for the connection to establish. You should see a message on the screen informing you that the receiver now has a Wi-Fi signal.
- Possible Issues with Connecting DIRECTV to Wi-Fi via the Ethernet Cable
Just like with any other type of connection, there’s a chance that you’ll run into some issues while trying to set it up. Luckily, most of the problems can be fixed in a few simple steps.
The first troubleshooting step will be checking whether you attached everything properly. You should examine both ends of the table and verify that you plugged them into the right ports. If the external connection is good, then it’s time to move on to the internal one.
Recommended reading:
- How to Connect Hisense TV to Wi-Fi Without Remote?
- How to Connect LG TV to Wi-Fi Without Remote?
- How to Connect Vizio TV to Wi-Fi Without Remote?
A lot of problems with the connection can be fixed by resetting the network settings of your receiver. You can reset the settings by going to the menu and choosing the Internet Setup option. After that, find the Advanced Setup in the menu and click on Wired Setup.
DIRECTV should now start checking the connection status. After this process is done, the receiver will be successfully linked to the internet.
2. Opt for a Wireless Connection
The process of connecting your DIRECTV to the internet wirelessly is also pretty simple. You will have to go to the menu of your receiver and then find the wireless settings. After that, you should find the option Configure Wireless and wait for the device to finish searching for the available Wi-Fi networks. Once you see the list of available networks, find yours and type in your password. You should then see a message informing you that DIRECTV now has a Wi-Fi signal.

- Possible Issues with Connecting DIRECTV to Wi-Fi Wirelessly
Most of the problems with connecting DIRECTV to the internet wirelessly will happen due to the internet properties not being set up or your receiver. That is why you should go through the steps we’re about to explain to you in case any kind of issue occurs in your connection.
The main purpose of this procedure is to reset the network settings. That will allow your DIRECTV to connect to your network. You can turn the device on and find the Internet Setup menu in the Settings. Then, find the Advanced Setup among options and click on Reset Network. The DIRECTV device will inform you that it’s in the process of resetting. You will have to wait a couple of minutes for it to be over.
When the device informs you that the process is complete, you should go to the Menu and find the Internet Setup option. Then, click on Reconnect Internet and choose “YES” when the device asks you if your internet connection is working. After that, you will see another message about your router’s wireless network settings.
You should choose the Configure Wireless option. The device will then start searching for available networks. Once you see the complete list of the wireless networks, you can choose yours. Repeat the steps we mentioned above to establish a connection.
3. Try the Broadband DECA
The Broadband DECA is the third and final method of connecting your device to Wi-Fi. This type of connection is not as common and is not recommended by most experts. However, if the first two methods don’t work for you for some reason, you can try out this one.
The primary purpose of the broadband DECA adapter is to connect your Wi-Fi network to the DIRECTV satellite receiver. It’s a good way of connecting these two when you have multi-room viewing features enabled.
To connect your DIRECTV to the internet via the Broadband DECA, you’ll have to find the RG-6 cable of the DIRECTV satellite antenna and plug it into the port of the DECA adapter, which has Antenna written below or above it. Then, take the second coaxial cable and plug its first end into the Antenna port of the DIRECTV receiver and the second into the Line Out port of the DECA device. Next, you should take the Ethernet cable and plug one end into the router. The other one goes into the DECA unit. Your DIRECTV should now have a proper internet connection.
Final Thoughts on How to Connect DIRECTV to Wi-Fi Without Connection Kit
We tried to make our guide to connecting your DIRECTV to Wi-Fi as simple and thorough as possible to make things easier for you.
Hopefully, at least one of the three methods worked for you, and you can now access the DIRECTV connect without any issues!

Hey, I’m Jeremy Clifford. I hold a bachelor’s degree in information systems, and I’m a certified network specialist. I worked for several internet providers in LA, San Francisco, Sacramento, and Seattle over the past 21 years.
I worked as a customer service operator, field technician, network engineer, and network specialist. During my career in networking, I’ve come across numerous modems, gateways, routers, and other networking hardware. I’ve installed network equipment, fixed it, designed and administrated networks, etc.
Networking is my passion, and I’m eager to share everything I know with you. On this website, you can read my modem and router reviews, as well as various how-to guides designed to help you solve your network problems. I want to liberate you from the fear that most users feel when they have to deal with modem and router settings.
My favorite free-time activities are gaming, movie-watching, and cooking. I also enjoy fishing, although I’m not good at it. What I’m good at is annoying David when we are fishing together. Apparently, you’re not supposed to talk or laugh while fishing – it scares the fishes.
