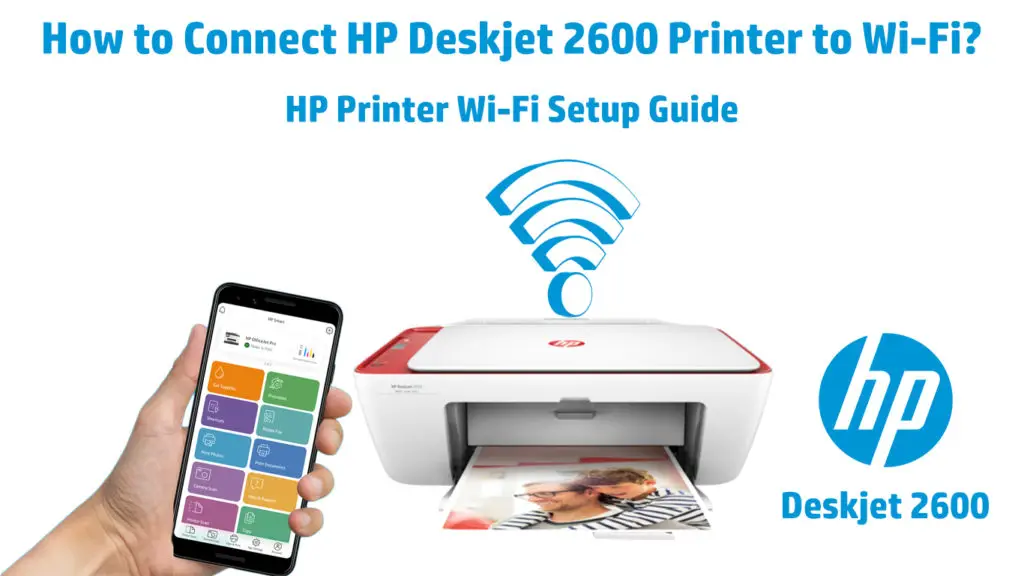
As you may already know, modern printers support wireless connection. So, if you want to print a document or photo from your smartphone, tablet, or laptop, you only need to set up the printer to join your Wi-Fi network.
Unfortunately, connecting a printer to Wi-Fi can be confusing if you don’t know what to do or where to begin.
If you own a Deskjet 2600 printer, this guide highlights how you can connect your printer to a Wi-Fi network.

CONTENTS
Step 1 – Set Up Your HP Deskjet 2600 Printer
You need to set up your HP Deskjet 2600 printer before using it for the first time. Simply:
- Unpack your printer from the box and place it on a table
- Remove all tape from the outside of the printer
- Lower the output tray and remove packaging materials from inside
- Connect the power cord to the printer and the wall outlet
- Press the power button to turn the printer on
- Install the ink cartridges as per instructions on the manual
- Load the input tray with printing paper
- Install your printer’s software (downloaded from the HP website)
Unpacking and Setting Up HP Deskjet 2600
Step 2 – Install HP Smart App
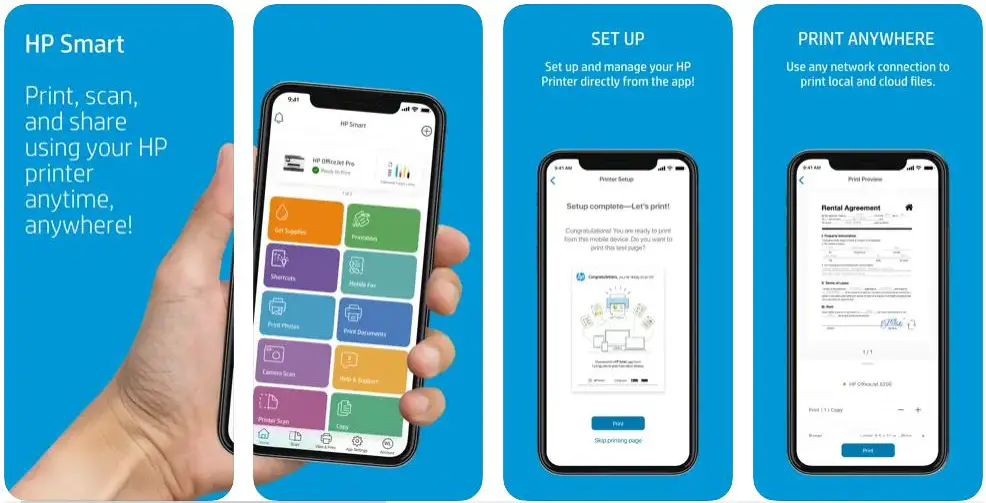
You need the HP Smart app to set up your printer’s wireless connection and print or scan from your PC, tablet, or smartphone.
The application allows you to access, share, manage, and print remotely from any location as long as there’s a compatible HP printer and you have an active HP smart account.

The HP Smart app also gives you access to premium features and support services from the HP platform, allowing you to scan and fax documents via your mobile phone and diagnose and fix common issues.
Follow these steps to install the HP Smart App on your device:
- Download the HP Smart app from HP Smart – Microsoft Store for Windows PC or 123.hp.com for mobile devices (Android, iOS, and iPadOS)
- Install the application on your device
- Create an HP account to access printer functions
- Move your Deskjet 2600 printer and PC or phone near your router
- Turn on Wi-Fi on your PC or smartphone and connect to Wi-Fi
- Turn on your printer
- Enable Bluetooth on your PC or smartphone for the HP Smart app to detect the printer
- Follow the prompts on the app to set up your printer
Step 3 – Connect Your HP Deskjet 2600 Printer to Wi-Fi
After setting up your printer for the first time and installing the HP Smart app, connecting it to your local Wi-Fi network becomes much easier. Below are two ways to go about it:
Method 1 – Using Wi-Fi Protected Setup (WPS)
Wi-Fi Protected Setup (WPS) is an integrated function in selected router models.
This built-in feature allows you to connect supported devices, including wireless printers, security cameras, and smart TVs, to your router without a password.
To connect your printer to Wi-Fi using this method, it must support WPS mode, and the wireless router must have a WPS button.
Recommended reading:
- How to Use a Microsoft Virtual Wi-Fi Miniport Adapter? (What Is It and How to Enable It?)
- How to Connect Canon TS3122 Printer to Wi-Fi? (Wi-Fi Setup Instructions)
- How to Connect Canon MG3620 Printer to Wi-Fi? (Wi-Fi Setup Explained)
Your wireless network must also use a WPA or WPA-2 encryption to connect your printer successfully.
Follow these steps to connect your printer using WPS mode:
- Place your HP Deskjet 2600 printer next to your router
- Press the Power Button to turn on the printer
- Press the Wireless Button on the printer for 5 seconds until the Wireless light and the status icons on the control panel display start to blink
- Press and hold the WPS button on your router until the WPS light starts to flash
- Wait for up to 2 minutes for your printer to establish a connection with the router and connect to Wi-Fi
- The Wireless light or status bar on the printer will stop flashing as soon as it connects to the network
- Once connected, you can print, share files, or manage your printer using the HP Smart app on your PC, smartphone, or tablet
How to Connect any HP Printer to Wi-Fi Using the WPS function
https://www.youtube.com/watch?app=desktop&v=YIjghaR5E-o&feature=emb_title
Method 2 – Using Wireless Setup Mode
If your router does not have a Wi-Fi Protected Setup (WPS) push button, worry not.
You can still connect your HP Deskjet 2600 printer to Wi-Fi through Wireless Setup Mode. Simply:
- Place your printer near your Wi-Fi router
- Press the Power Button to turn the printer ON
- Press and hold the Wireless and Cancel Buttons simultaneously until the Power Button starts to flash
- Wait for a few seconds for the Wireless light to start flashing
- Your printer is now in Wi-Fi Setup Mode
- Launch the HP Smart app on your phone
- Click the + option on the HP Smart app to add your printer
- Select Set Up a New Printer
- Minimize the HP Smart app and go to your phone’s settings
- Tap Network & Internet
- Tap Wi-Fi (your printer will appear under available Wi-Fi networks)
- Tap on your printer’s Wi-Fi name
- Go back to the HP Smart app (the app will automatically detect the added printer)
- Enter your Wi-Fi password
- Tap Continue
- Wait for the printer to connect to your wireless network
How to Set Up an HP Printer and Connect it to Wi-Fi Using the HP Smart App on Windows 10
https://www.youtube.com/watch?v=tg2BHRfT2a4
Testing Your Printer’s Wi-Fi Connection
The quickest way to test your printer’s Wi-Fi connection is to print a Wireless Test Report.
This report highlights your printer’s wireless status and functions. It shows details such as the Wi-Fi network name, signal strength and quality, security settings, and connectivity.
To print a Wireless Network Test page, simply:
- Press the Power Button to turn your printer ON
- Press the Wireless and Information Button simultaneously
- The printer will produce two reports: a Wireless Network Test and a Network Configuration Page
Conclusion
Connecting your HP Deskjet 2600 printer to Wi-Fi is a seamless, hassle-free process. You only need to install the HP Smart app on your PC or smartphone and follow our tips to connect HP Deskjet 2600 printer to Wi-Fi.

Hey, I’m Jeremy Clifford. I hold a bachelor’s degree in information systems, and I’m a certified network specialist. I worked for several internet providers in LA, San Francisco, Sacramento, and Seattle over the past 21 years.
I worked as a customer service operator, field technician, network engineer, and network specialist. During my career in networking, I’ve come across numerous modems, gateways, routers, and other networking hardware. I’ve installed network equipment, fixed it, designed and administrated networks, etc.
Networking is my passion, and I’m eager to share everything I know with you. On this website, you can read my modem and router reviews, as well as various how-to guides designed to help you solve your network problems. I want to liberate you from the fear that most users feel when they have to deal with modem and router settings.
My favorite free-time activities are gaming, movie-watching, and cooking. I also enjoy fishing, although I’m not good at it. What I’m good at is annoying David when we are fishing together. Apparently, you’re not supposed to talk or laugh while fishing – it scares the fishes.
