The Philips Hue Bridge is a smart lighting system that allows you to conveniently connect and control multiple lights and accessories from anywhere in your home using a smartphone app.
This innovative device can power up to 50 smart home lights in your garden, kitchen, living room, and bedrooms, leaving you feeling safer and more secure.
Besides, you can organize and customize your indoor and outdoor lights by zone or room, giving you more control over your lighting system.

You can also sync the lights to your on-screen content when watching a movie or playing games for an immersive viewing experience.
The best part is that the Philips Hue Bridge supports voice commands, meaning you can turn the lights on or off without using the smartphone app.
Its simple setup and intuitive controls make it easy to install, even for novice or less tech-savvy users.
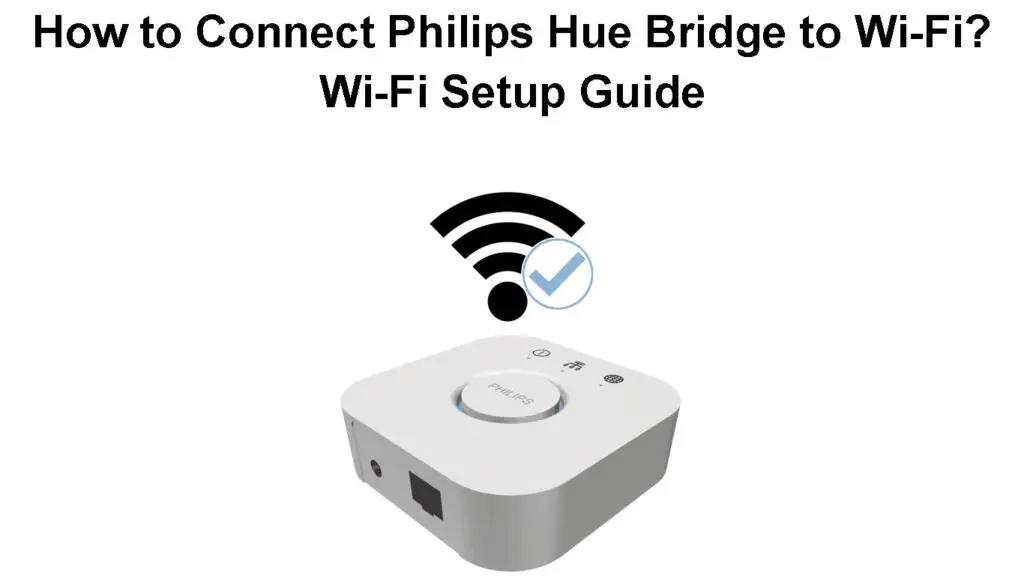
You only need to connect the Philips Hue Bridge to your home network for a personalized lighting experience. If you’re looking for a way to connect it wirelessly, you’ll be disappointed to find out that Philips Hue Bridge doesn’t support Wi-Fi – it can only be connected to your router via an Ethernet cable. Luckily, there are some workarounds you can try if you want to place your Hue Bridge further away from the router.
CONTENTS
Installing the Philips Hue Bridge Starter Kit
Installing the Philips Hue Bridge starter kit is a straightforward task.
You only need to gather the necessary equipment, such as your light bulb, Philips Hue Bridge, and smartphone.
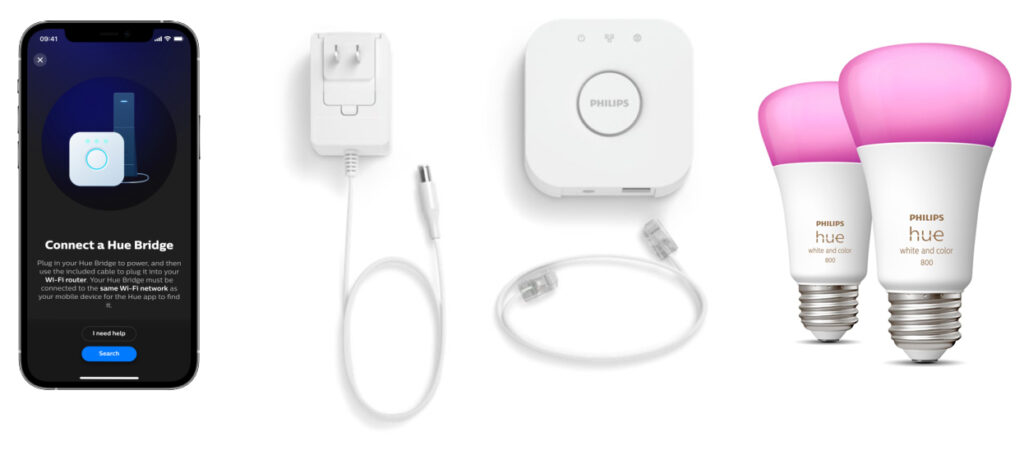
Here’s how to go about it:
- Turn off the light switches
- Insert your light bulb into an available light fixture or socket
- Turn on the light switches
- Plug the power cord into the Philips Hue Bridge
- Connect an Ethernet cable from your Wi-Fi router to the Philips Hue Bridge
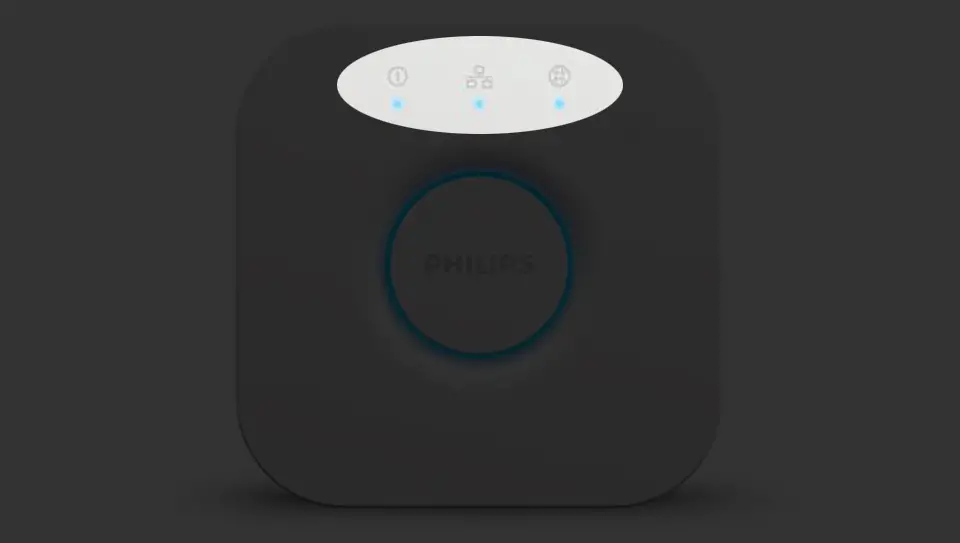
- Wait for the three blue LED lights to come on and stabilize
- Download the Philip Hue app from Google Play Store or the Apple App store
- Install the Philip Hue app on your phone
- Launch the app and tap setup
- Press the link button on the Bridge
- You can now control and program your lighting in whichever way you like
NOTE: Philips Hue Bridge DOES NOT support Wi-Fi. So, you can’t connect it wirelessly to your Wi-Fi router. If you want to place it in a different room and your home is not pre-wired for Ethernet, you could try installing a Wi-Fi extender or a powerline extender next to your Hue bridge, and then connecting the Hue Bridge to the extender via an Ethernet cable.
Philips Hue Bridge – Initial Setup
Step-by-Step Guide to Connect Philips Hue Bridge to Wi-Fi
Installing the Philips Hue Bridge starter kit might seem straightforward, but mistakes are likely to happen if you don’t pay keen attention during the setup process.
Here is a detailed guide on how to connect Philips Hue Bridge to Wi-Fi:
Step 1 – Connect the Bulbs
The first step to setting up your Philips Hue Bridge with your Wi-Fi network is to connect the bulbs.
After all, the essence of this innovative device is to connect and control your home lighting system.
Philips Hue bulbs are compatible with standard light sockets from A19 to E12, making them easy to install.
After connecting the bulbs, you can turn on the light switches as you prepare to pair them with your lighting system.
Step 2 – Set Up the Philips Hue Bridge
Since the Philips Hue Bridge requires an internet connection to function appropriately, the next step is to set it up with your Wi-Fi router using an Ethernet cable.
Plug the power cord into the Hue Bridge and the AC adapter into an available power outlet near your Wi-Fi router.
Connect one end of the Ethernet cable to the Hue Bridge and the other end to an open slot in the Wi-Fi router.
Step 3 – Install the Philips Hue App
With the Philips Hue Bridge now connected to Wi-Fi, you must install the Philips Hue app to control the device and lighting system.
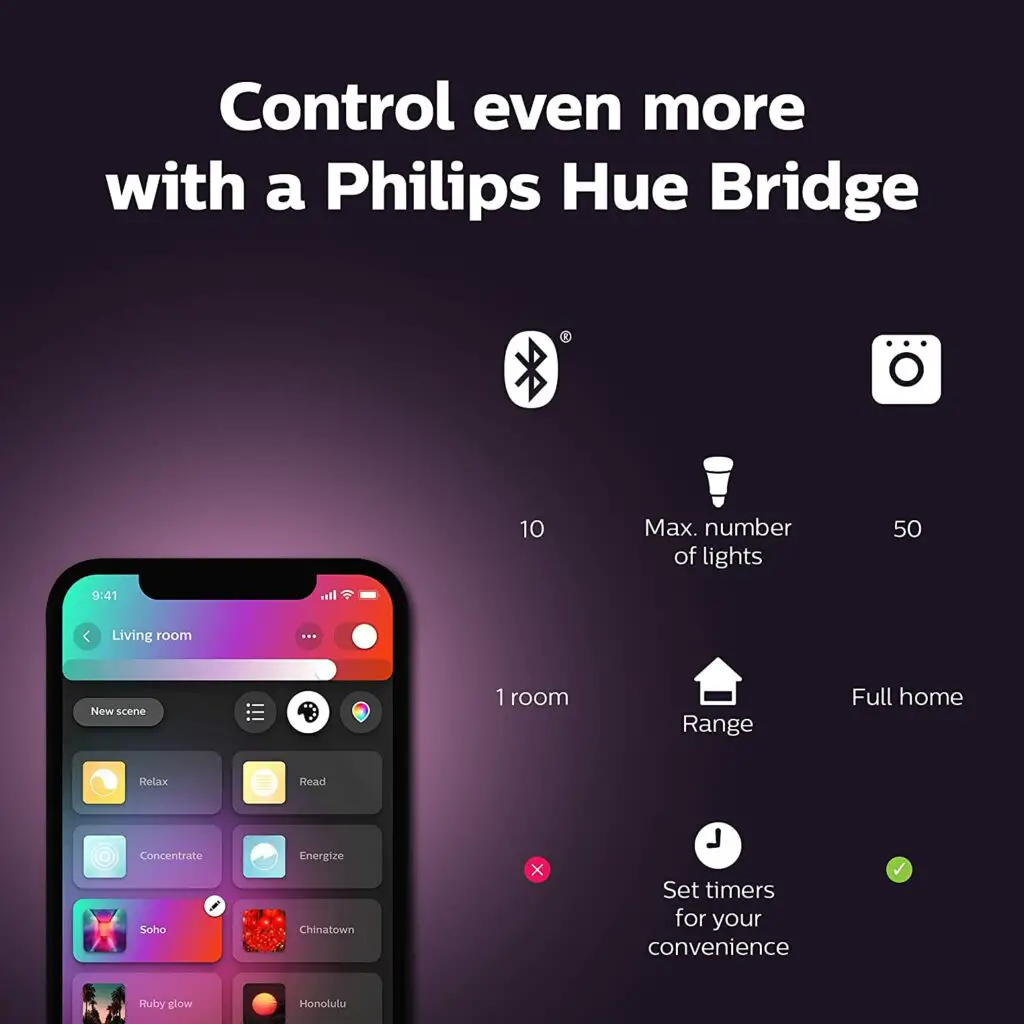
The app manages all operations around the Philips Hue Bridge, and you can download and install it from Google Play Store for Android devices or the Apple App store for iOS devices.
Step 4 – Pair the App with the Bridge
Once you install the Philips Hue app on your smartphone or tablet, you can now pair the app with the Philips Hue Bridge.
Launch the app on your device and tap the setup button once the app discovers the Hue Bridge device on your wireless network.
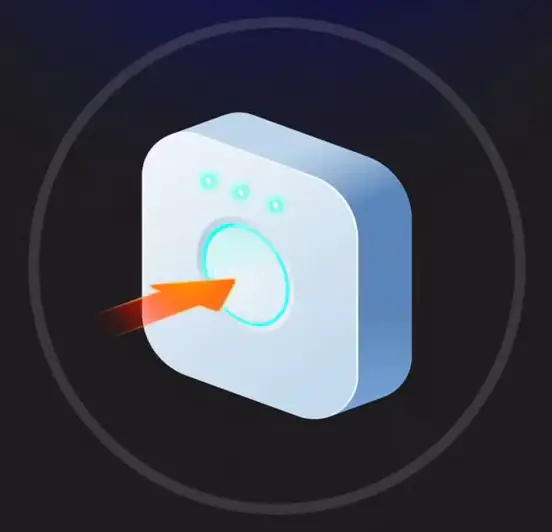
Next, tap the push-link button at the center of the app that appears like the Hue Bridge device.
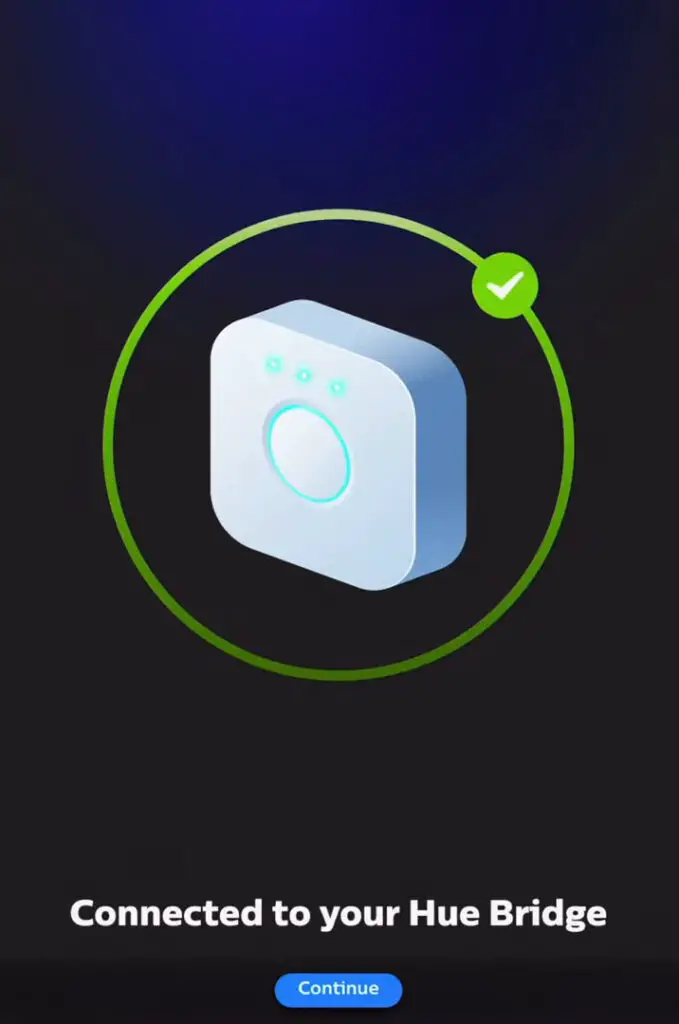
Press the push link button on the Philips Hue Bridge to pair the device with the app.
Tap Accept on the app to agree to the terms and conditions, and finish by tapping Done.
Step 5 – Add Lights
The Philips Hue Bridge connects and controls up to 50 indoor and outdoor lights.
You can add as many smart home lights to the lighting system so long as they do not exceed this limit.
To add lights to the Philips Hue Bridge:
- Launch the Philips Hue app on your smartphone
- Tap the + sign on the app
- Tap search to start searching for your bulbs
- Tap the information (i) icon to rename your bulbs
- Tap the + sign to add more bulbs if you wish
- Tap Next to complete the process
Step 6 – Create Light Zones
The Philips Hue Bridge allows you to organize and customize your indoor and outdoor lights by rooms or zones, giving you more control over your lighting system
To create lights zones and rooms:
- Launch the Philips Hue app on your smartphone
- Tap the + sign or Create Room at the bottom right corner of the screen
- Type the name of the room or zone, e.g., garden, living room, or bedroom
- Tap the drop-down menu and select the room type
- Select the room type
- Tap New to add more rooms
- Tap Save to apply changes
- Tap Lets Go to finish setting up your lights and zones
How to Create Light Zones with the Philips Hue App
Step 7 – Controlling the Lights
The Philips Hue app allows you to control your lights in whichever way you want. Using the app, you can:
- Turn your lights ON or OFF
- Change the bulb color
- Adjust the brightness
- Select a scene for the light
- View all lights in a room
Things You Can Do with Philips Hue
Conclusion
The Philips Hue Bridge lighting system is a game changer in smart living. The device allows you to connect, control and manage your lights throughout your space.
However, it requires an Ethernet connection to function optimally, since it doesn’t have built-in Wi-Fi.
By following the above steps, you’ll be able to connect your Philips Hue Bridge to your home network like a pro.

Hey, I’m Jeremy Clifford. I hold a bachelor’s degree in information systems, and I’m a certified network specialist. I worked for several internet providers in LA, San Francisco, Sacramento, and Seattle over the past 21 years.
I worked as a customer service operator, field technician, network engineer, and network specialist. During my career in networking, I’ve come across numerous modems, gateways, routers, and other networking hardware. I’ve installed network equipment, fixed it, designed and administrated networks, etc.
Networking is my passion, and I’m eager to share everything I know with you. On this website, you can read my modem and router reviews, as well as various how-to guides designed to help you solve your network problems. I want to liberate you from the fear that most users feel when they have to deal with modem and router settings.
My favorite free-time activities are gaming, movie-watching, and cooking. I also enjoy fishing, although I’m not good at it. What I’m good at is annoying David when we are fishing together. Apparently, you’re not supposed to talk or laugh while fishing – it scares the fishes.
