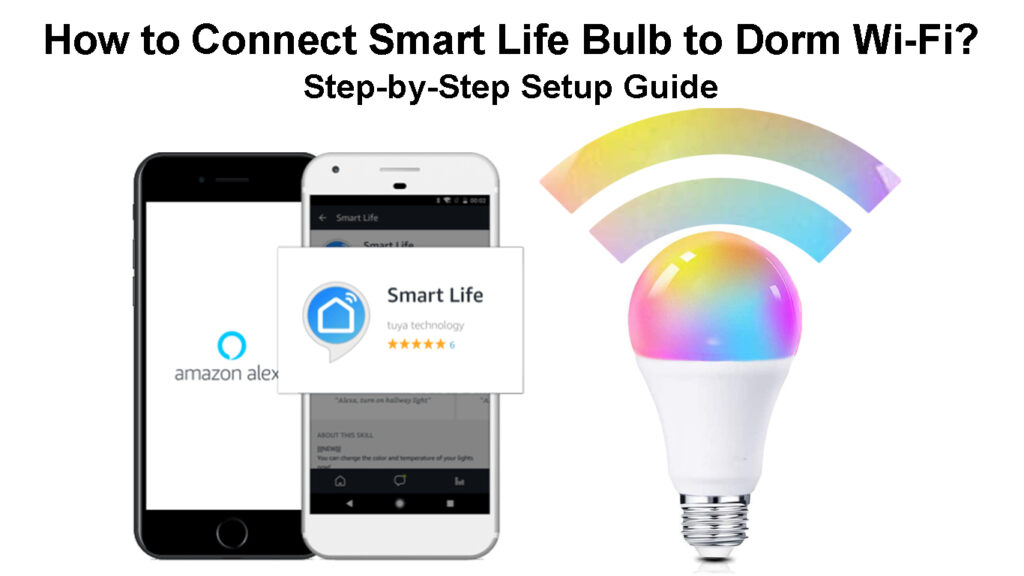
Smart devices are time savers and give the user more control. It, therefore, makes sense that most campus students would want to use smart devices to enhance their dorm living experience. Unfortunately, most institutions make it hard for students to connect smart devices like smart plugs and bulbs to the dorm Wi-Fi.
We will look at how you can connect a Smart Life bulb to the dorm Wi-Fi so that you can fully control your living space while on campus. We will also discuss why some campus networks deny access to smart devices, and what you can do to get around this.

CONTENTS
Connecting Smart Life Bulb to Dorm Wi-Fi
The following procedure applies to any Wi-Fi network, including dorm Wi-Fi. You should first try this procedure, and if it fails, then you can proceed to the suggested bypass methods to ensure the bulb connects to the dorm Wi-Fi network.
The standard connection procedure for connecting Smart Life bulbs to Wi-Fi is as follows:
- Once you have the bulb and are in the dorm, connect to the available 2.4GHz Wi-Fi network and download the Smart Life App from the App Store or Google Play, depending on your phone’s OS.

- Launch the app and tap Agree to accept the user agreement and privacy policy.
- Then tap Register to create a new account or tap Log in with an existing account if you have already registered an account with Smart Life.
- Assuming you tapped Register, enter your email address or phone number.
- Then tap the Get verification option to proceed to the next window.
- Wait to receive a verification code via email or text message. How you receive the code is determined by what contact information you provided in ii above.
- Once you receive the code, enter it in the available slots, and the app will proceed to a new window prompting you to create a password.
- Remember to follow the given password guidelines, i.e., using a password with 6 to 20 characters consisting of letters and numbers, then tap Done.
- Tap on Add device and choose whether to add the bulb manually or automatically.
Introducing Smart Life App
Adding the Bulb Automatically
Before proceeding further, ensure your phone’s Bluetooth is turned on, and the location services are activated. When the app asks for permission to access your location, allow it to do so.
The app will then automatically scan for nearby Smart Life devices, ensuring the bulb is in pairing mode.
You can get the bulb in pairing mode by resetting it. The resetting procedure entails switching the bulb off and on three times, i.e., on-off-on-off-on, while waiting at least two seconds between each switching interval.
You will know it is in pairing mode when it starts ‘blinking’ or pulsating. Once the bulb pulsates, you can tap on ‘Confirm the light has flashed’
You can also tap on the app’s QR code scanner icon and scan the QR code on the bulb’s packaging to automatically connect the bulb to the app. The QR scanner icon is on the top right corner of the app.
Adding the Bulb Manually
You can also add the bulb to the app manually by
- Tapping Add device or the + icon on the top right corner of the app’s home screen.
- Then tap on Lighting under Add manually so the app can display all the compatible bulbs.
- Select your light source type, whether BLE + Wi-Fi or only a Wi-Fi light source. If you selected Wi-Fi + BLE, proceed to the next step. If you selected Wi-Fi, skip the next two steps.
- Ensure the bulb is in pairing mode, then tap ‘Confirm that the indicator is blinking or breathing rapidly.’
- Select the status of the lighting behavior, i.e., is blinking rapidly or slowly.
- The current window will display a message directing you to select a 2.4GHz network and enter its password. If you were already on a 2.4GHz network, tap the box labeled password and enter your network’s Wi-Fi password.
Note: If you were on a Wi-Fi band apart from a 2.4GHz band, tap the (⇌) symbol next to the Wi-Fi SSID (on the right side). This will direct you to your phone’s Wi-Fi settings page, where you can shift to a 2.4GHz network.
- Once you enter the password, press Next and wait for the app and bulb to connect.
- Once done, the bulb will stop blinking, and a message notifying you that the connection is complete will appear on the screen.
- You can tap the pencil icon on the top of the screen to rename the smart bulb as you please, then tap Save.
- Finally, tap Done to finish the manual setup process.
Connecting a Smart Life Bulb to Wi-Fi Via Smart Life App
Why Won’t My Smart Life Bulb Connect to Dorm Wi-Fi?
If the above procedure fails to establish a connection between your phone and your bulb, consider retrying the above procedure before trying any troubleshooting measures.
If you are certain the bulb should have connected to the dorm’s Wi-Fi but did not, then the dorm’s Wi-Fi may be the problem. Most institution Wi-Fi networks require users to log in using their email and username.
That poses a problem for smart devices as they cannot access the interface (captive portal) that facilitates entering the username/email and password. Eduroam is one such network. If this is your institution’s Wi-Fi, proceed to the next section for the measures you can take.
In emphasis, smart devices are compatible with WEP/WPA/WPA2-PSK security protocols and cannot connect to WPA-Enterprise or open/unsecured Wi-Fi networks.
Recommended reading:
- How Do I Connect My AcuRite Weather Station to Wi-Fi? (AcuRite Weather Station Wi-Fi Setup)
- How to Connect Telefunken TV to Wi-Fi? (Step-by-Step Guide)
- How to Connect Global Media Box to Wi-Fi? (Global Media Box Setup Instructions)
Some institutions also register the MAC addresses of students’ devices so they can connect to the dorm Wi-Fi without entering a password. If you were to connect a smart bulb to such a network, it asks for a password and denies you access since the IT department has not registered the bulb’s MAC.
Such practices are meant to regulate what devices students can connect to the school’s Wi-Fi; IoT devices are often not allowed.
In summary, public Wi-Fi networks in institutions are configured so that it is hard to connect smart devices to them, but it is not entirely impossible. Below are some workarounds that could help you connect that smart bulb to your dorm’s Wi-Fi.
Connecting Smart Bulb to Dorm’s Wi-Fi – Workarounds
You can do a few things to grant smart devices, like the Smart Life bulb, access to the institution’s Wi-Fi.
Before trying anything, remember that most institutions will penalize you or even expel you, depending on the regulations, if you attempt these suggestions and get caught. So, follow them at your own risk.
If you are near an access point or router, you can purchase a personal router or Wi-Fi extender and connect it to the school’s network via Ethernet. You can connect the Smart Life bulb to your new router without problems.
However, this method works if the school does not use a MAC address to authenticate devices on the network. If it does, you can try the next suggestion.
You could also open a hotspot from a laptop connected to the dorm’s Wi-Fi, then connect the bulb to the laptop. That is assuming your school allows hotspot networks to be formed while connected to their network.
The only legal or acceptable way to add a smart device to the dorm Wi-Fi is if someone from the IT department does it for you. Also, some institutions have guidelines on how to connect smart devices to their network; therefore, check if yours does.
Conclusion
Connecting a smart bulb to dorm Wi-Fi can be a complicated task, and the bulb might even end up not working. We have seen ways to connect your bulb to dorm Wi-Fi but remember that those procedures will also put you at risk. Therefore, make sure you understand your institution’s Wi-Fi regulations before trying to force smart bulbs to work on the dorm’s Wi-Fi.

Hey, I’m Jeremy Clifford. I hold a bachelor’s degree in information systems, and I’m a certified network specialist. I worked for several internet providers in LA, San Francisco, Sacramento, and Seattle over the past 21 years.
I worked as a customer service operator, field technician, network engineer, and network specialist. During my career in networking, I’ve come across numerous modems, gateways, routers, and other networking hardware. I’ve installed network equipment, fixed it, designed and administrated networks, etc.
Networking is my passion, and I’m eager to share everything I know with you. On this website, you can read my modem and router reviews, as well as various how-to guides designed to help you solve your network problems. I want to liberate you from the fear that most users feel when they have to deal with modem and router settings.
My favorite free-time activities are gaming, movie-watching, and cooking. I also enjoy fishing, although I’m not good at it. What I’m good at is annoying David when we are fishing together. Apparently, you’re not supposed to talk or laugh while fishing – it scares the fishes.
