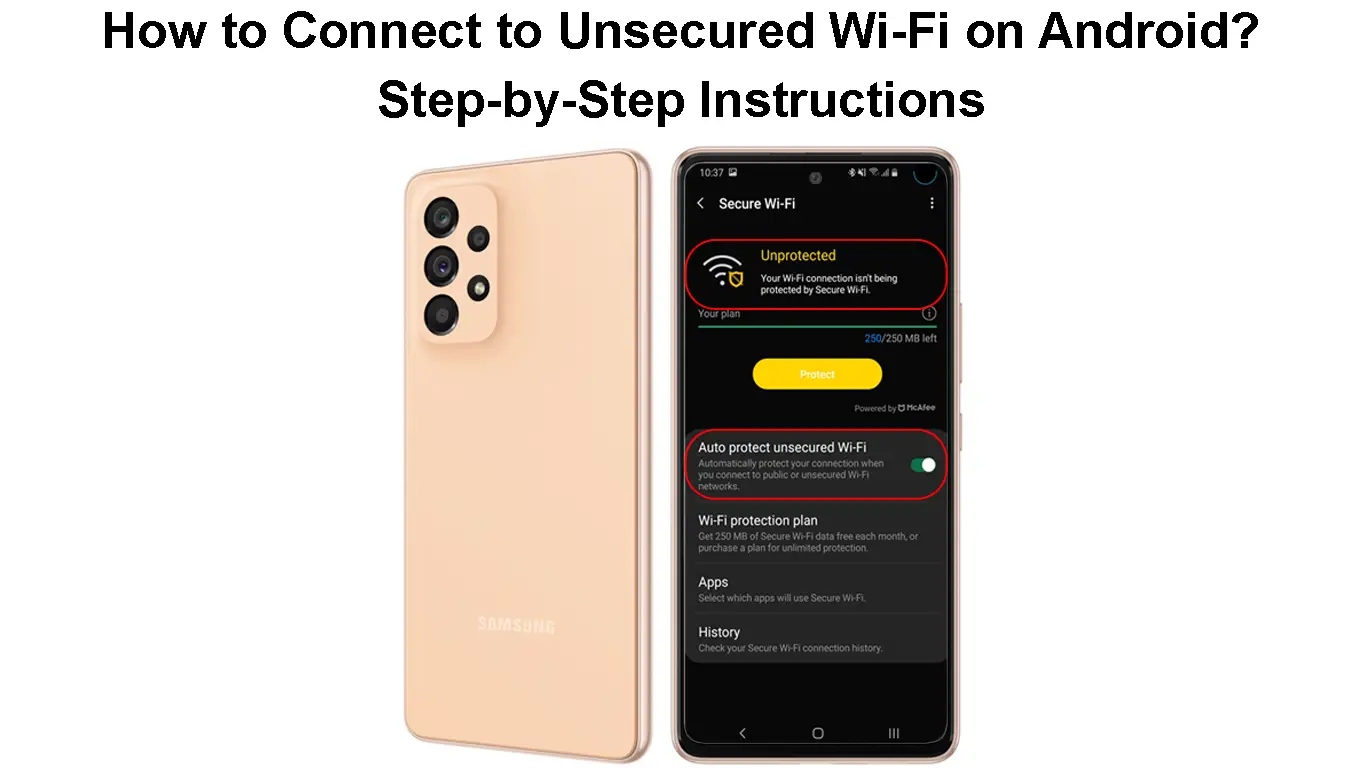
When someone mentions unsecured Wi-Fi, it means free Wi-Fi network offered at cafes, retail stores, or other public places. Basically, anyone can gain access to the Wi-Fi network without needing to pass through a screening process or showing a special pass. In short, anyone can utilize the unsecured Wi-Fi network.
Everyone likes free products or services. When you have free Wi-Fi around, everyone gets excited about it and wants to gain access to it. If you have an Android mobile device, do you know how to connect to unsecured Wi-Fi on Android? Well, you’ve hit the jackpot – in this post, we’ll give a guide on how to set up your Android smartphone or tablet and get access to free, unsecured Wi-Fi.
CONTENTS
What is Android?
Android is Google’s mobile operating system that runs many mobile devices like smartphones and tablets. It was first used in 2008 as an answer to Apple’s iOS, which ran iPhones a year before. Since then, many smartphone and tablet makers, with the likes of Samsung, Sony, Xiaomi, Oppo, and Vivo, have been adopting Android to run their devices.
Currently, 70% of smartphones run on Android, and there are three billion monthly active users, with Google Play Store featuring more than three million applications.
Android OS Basics
Before engaging in public Wi-Fi, it’s important to know that these are unsecured Wi-Fi networks. Everyone can easily log in and use the network, including unwanted visitors and malicious hackers. These unscrupulous people have bad intentions and want to collect your personal data, such as your bank account information and credentials, to steal your money, for instance. They can also use your online account and act as an imposter to do unlawful activities using your account.
Therefore, you need to secure your network connection with at least standard online safety procedures, such as installing anti-malware software on your Android device. In addition, two-factor authentication is useful to protect your account and login credentials.
Connecting to Unsecured Wi-Fi on Android
Logging in to an unsecured Wi-Fi on your Android device is a pretty simple process. All you need is your Android phone or tablet and bring it close to the Wi-Fi network. Then, follow these instructions:
- First and foremost, make sure you have upgraded your device.
- On your Android device, go to the Settings app (the gear-like icon).
- Next, you need to choose Network and Internet.
- Then go ahead and tap Internet.
- Your device will list several nearby Wi-Fi networks available by their names or SSIDs (Service Set Identifiers).
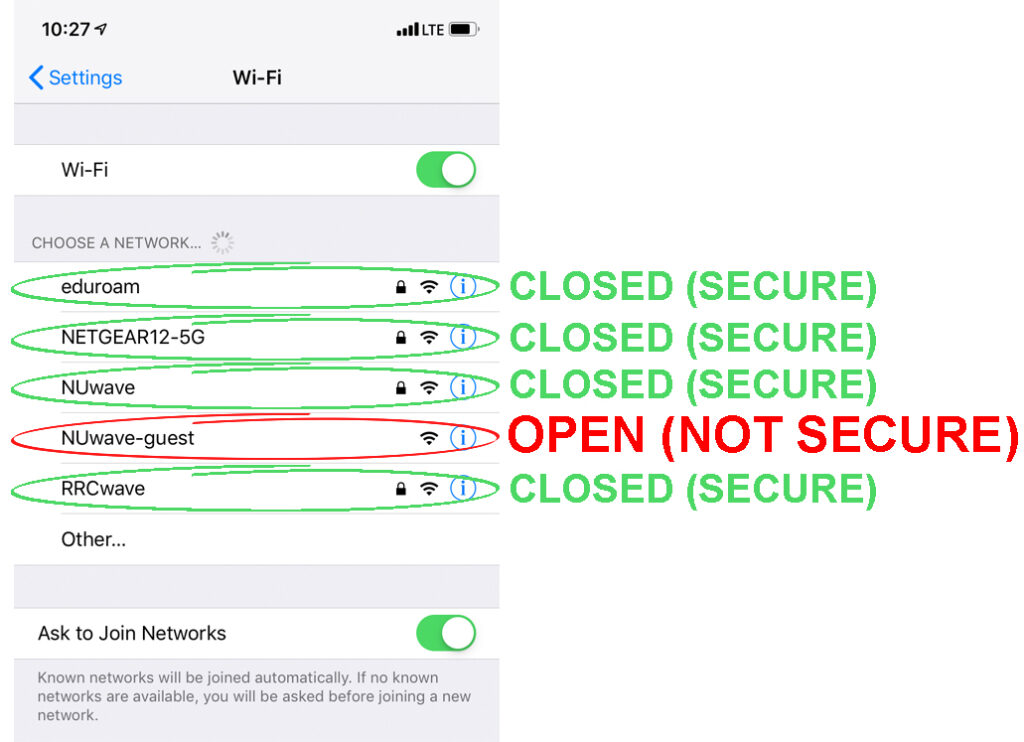
- Most Wi-Fi networks are locked with a password, where you can see the lock icon next to the SSID. However, in some rare cases, you can also find open Wi-Fi networks which appear without the lock icon. Anyone can access these Wi-Fi networks without the need to enter a password – just like that.
- You will know the strength of a Wi-Fi network when you look at the icon next to it – an icon with fuller signal lines represents a stronger signal.
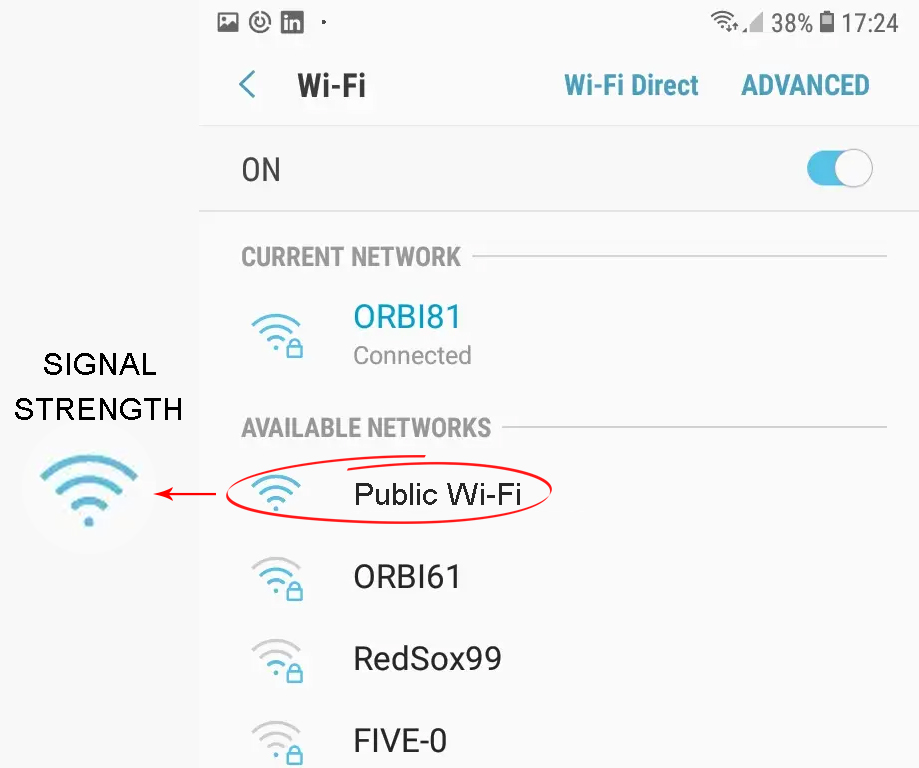
- Choose your desired Wi-Fi network by tapping the SSID.
- For locked networks, you’ll need the password to log in. For example, if you’re at a cafe, you can get the password from the attendant or cashier.
- That’s it – your Android is on a Wi-fi network.
Note: Once you have connected to a Wi-Fi network, it will automatically be saved on your device. The next time you’re close to the Wi-Fi network, your phone will automatically connect.
Connecting Android Phone to Unsecured/Public Wi-Fi (How to Force the Captive Portal)
https://www.youtube.com/watch?v=U2a6WpZuBVQ
Adding a Wi-Fi Network
Sometimes, the network that you want to connect to does not appear in the list of SSIDs even though your Android device is close to it. Well, don’t get agitated that easily because you have two methods of how to add a Wi-Fi network to the list.
Method 1
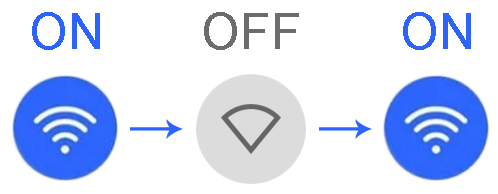
Wait for a while, and the desired network may take time to appear. If it still doesn’t appear, you may need to tap Wi-Fi off and on again to see if it will refresh and show the network you wanted.
Method 2
Follow these steps to add a network:
- On your Android device’s setting app, tap Network & internet.
- Then, choose Internet.
- As usual, you will see a list of Wi-Fi networks available in the surrounding area.
- If your desired network is not there, go to the bottom of the network list and select Add Network.
- Enter the network name (SSID) and password.
- You may find the network you want to connect to appears on the list.
Adding a Wi-Fi Network Manually (Android Devices)
Disconnecting from Unsecured Wi-Fi on Android
Disconnecting your Android device from an unsecured Wi-Fi network is even simpler. Follow these steps:
- Go to your device’s Settings and tap the icon.
- Select Network & internet.
- Select Internet.
- Select Wi-Fi.
- You can view the Wi-Fi settings icon next to the Wi-Fi network that you’re connected to. Tap it.
- Select Disconnect, and you’re off.
Securing a Wi-Fi Connection
Earlier in this post, we mentioned how to make your connection secure. In addition, there is another way to make it even more secure by using a VPN. VPN stands for Virtual Private Network. As the name suggests, it’s a private network, and it’s virtual, not physical.
VPN Explained
When you connect to an unsecured public Wi-Fi network via a VPN, your account is not visible to other users on the network. That way, no one can detect your online activities and therefore your data and personal details like ID, cell number, or financial information are invisible to others.
With increasing cybercrime rates these days, we’d recommend securing a VPN with a paid subscription (affordable fees are widely available online) to ensure your device and data security.
Frequently Asked Questions
Question: How can I find Android’s Wi-Fi settings?
Answer: here are the steps to find Wi-Fi settings on your Android device:
- Grab your Android smartphone or tablet.
- Bring out the Settings app / tap the gear-like settings icon.
- Select the followings: Network & internet > Internet.
- Select Network preferences at the bottom of the screen.
- Change the Wi-Fi settings there.
Question: Why is the Wi-Fi name called SSID?
Answer: In technical terms, the Wi-Fi name is SSID – Service Set Identifier. It’s the name to identify your wireless network. To find your SSID on your Android phone, go to Wi-Fi. In the list of SSID, look for the one you’re connected to – the one next to the word “Connected.”
Question: When my Android phone connects to a public Wi-Fi network, it says, “Your wireless connection is unsecured”, what does it mean?
Answer: A public Wi-Fi network is unsecured because everyone can gain free access to it, including malicious intruders and hackers! When your Android device connects to an unsecured public Wi-Fi network, your device and data are susceptible to intrusions from other network users. For that matter, hackers can easily collect your personal information, such as passwords, messages, and even your financial account information and credentials.
Question: How do I protect my data when my device connects to a public network?
Answer: Firstly, apply some basic security measures when you’re engaged in online activities. For starters, connect via a VPN. A VPN (Virtual Private Network) will encrypt your data and transactions when you connect to a private network. Therefore, it’s harder for malicious hackers to intercept your online activities and steal your data.
Question: What happens if my Android device cannot connect to public Wi-Fi?
Answer: There could be tons of reasons why you cannot connect to public Wi-Fi on your Android device. For starters, you must ensure that your Android device is not on Airplane Mode, and the Wi-Fi toggle is “on.”
Sometimes, your device says Wi-Fi is already connected, but you cannot access the internet. In this case, it probably works if you forget the network and try reconnecting to the Wi-Fi.
How to Forget a Wi-Fi Network (Samsung Phone)
Conclusion
You’d probably be thrilled with the idea of connecting to public Wi-Fi free of charge. When you have a limited cellular data plan on your phone, it is a big deal since you can save cellular data when you’re not at home with your Wi-Fi network.
This guide shows you how to connect to unsecured public Wi-Fi on your Android devices, and how to make your connection a little more secure.

Hey, I’m Jeremy Clifford. I hold a bachelor’s degree in information systems, and I’m a certified network specialist. I worked for several internet providers in LA, San Francisco, Sacramento, and Seattle over the past 21 years.
I worked as a customer service operator, field technician, network engineer, and network specialist. During my career in networking, I’ve come across numerous modems, gateways, routers, and other networking hardware. I’ve installed network equipment, fixed it, designed and administrated networks, etc.
Networking is my passion, and I’m eager to share everything I know with you. On this website, you can read my modem and router reviews, as well as various how-to guides designed to help you solve your network problems. I want to liberate you from the fear that most users feel when they have to deal with modem and router settings.
My favorite free-time activities are gaming, movie-watching, and cooking. I also enjoy fishing, although I’m not good at it. What I’m good at is annoying David when we are fishing together. Apparently, you’re not supposed to talk or laugh while fishing – it scares the fishes.

