While the history of Wi-Fi is pretty long, it was not until a couple of decades ago that it was available commercially. It became increasingly popular over time, and now almost every home worldwide has Wi-Fi.
With the advent of mobile communication, more mobile facilities, such as public Wi-Fi hotspots, entered the market. However, not all Wi-Fi networks are secured. In this post, we have prepared a guide on how to connect to unsecured Wi-Fi on Windows 10.

Sometimes, you will encounter a message that says you have connected to an unsecured Wi-Fi network. You will be surprised that some networks still use older Wi-Fi security standards, such as WEP and TKIP. Follow these methods to fix this issue:
- Go off the current unsecured Wi-Fi network and find another recognizable and trusted Wi-Fi network within range.
- If your home Wi-Fi router gives you this issue, then you’ll need to change its name (SSID), password, and security type. These are the steps:
- Go to Wireless Setup.
- Check your wireless encryption and make sure it has at least WPA2 encryption (WPA3 is the latest protocol, but it’s still new, and not many devices have the capability yet).
- Don’t keep the default Wi-Fi name (SSID) – it will give a clue on what brand your router is, which makes it an easier target to hackers and cybercriminals. Change your Wi-Fi name (SSID) to something else that’s unrelated to brands or specific names.
- Change your Wi-Fi network password and your router admin password to a more complex password (Tip: never use your personal information like your name or birthdate as a password).
- If you still use an outdated router, you should consider changing to a newer router that offers the latest security standards and protocols.
Connecting to Unsecure Wi-Fi Networks on Windows 10
Windows used to connect to open Wi-Fi hotspots automatically, but that has changed. However, you can still connect to the Wi-Fi hotspots you’ve joined before. This won’t happen with new and unknown Wi-Fi hotspots.
Recommended reading:
- What Are Credentials on a Wi-Fi Network? (Everything You Need to Know About Wi-Fi Network Credentials)
- How to Find Previous Wi-Fi Connections on iPhone? (Easy Ways to See Saved Wi-Fi Networks)
- How to Connect to Wi-Fi if You Are Blocked? (Ways to Connect a Blocked Device to Wi-Fi)
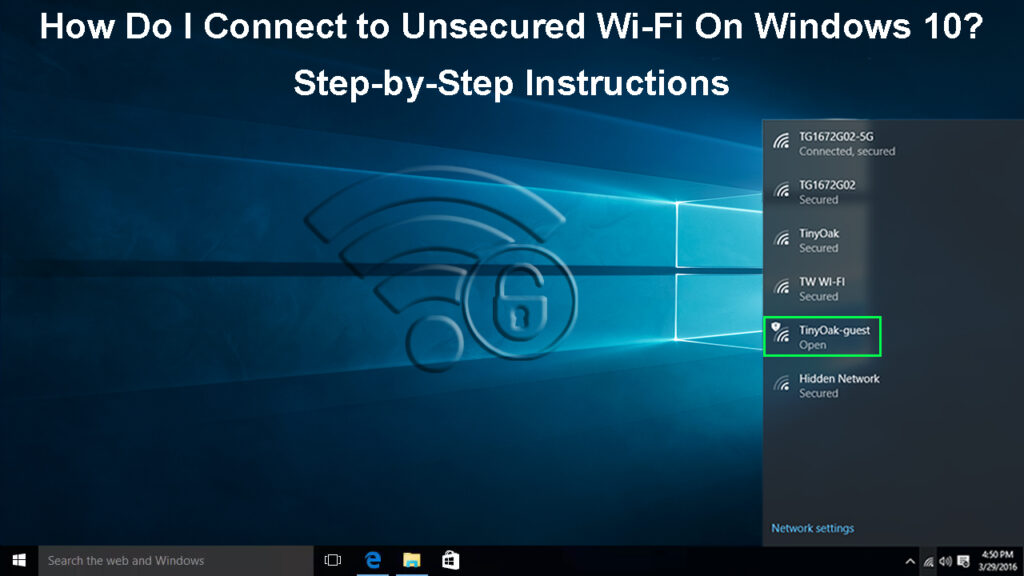
Anyway, you can always connect to any Wi-Fi network (including unsecured ones) appearing in the list of available networks. Here’s the guide to joining the Wi-Fi network if you’re using Windows 10:
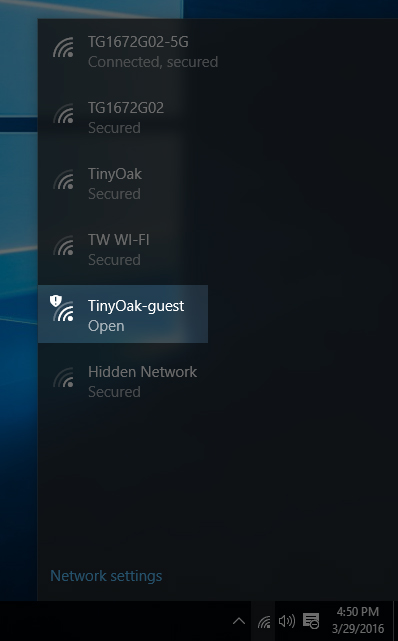
- Look at the bottom-right corner of the screen to find the Wi-Fi network icon.
- When you click on the icon, you’ll see a list of wireless networks available around your computer (usually, your home Wi-Fi network will have the strongest signal since it’s right there, close to your computer).
- Choose the unsecured Wi-Fi network that you want to connect to.

- If it’s an open network, all you need to do is click on the network, and you’re in. But most Wi-Fi networks have a password you need to key in before gaining access.
- That’s it, and you’re connected to the unsecured Wi-Fi network.
In this video, you’ll learn how to connect to Wi-Fi on Windows 10
Frequently Asked Questions
Question: Is it safe to connect to public Wi-Fi networks?
Answer: Public Wi-Fi networks are usually unsecured, but you’ll not immediately experience security issues when you connect to one. It’s essential to understand the exposure to malicious online acts and take the necessary precautions to stay safe when you join such networks.
For example, you can connect via a VPN, which stands for Virtual Private Network. When you join the network using a VPN, other users on the network cannot see you since your device will be “invisible”. In addition, you will also disguise all your online activities during your connection period.
Security Risks of Public Wi-Fi Networks
Question: What limitations should you have when using public Wi-Fi?
Answer: You should avoid doing online activities that require entering sensitive personal information, such as your social security number, bank account number, or even your home or office address. Imagine if any of this information falls into the wrong hands – you could end up losing money on properties.
How to Stay Safe on Public Wi-Fi Networks
Question: What should I do if I cannot join an unsecured network?
Answer: Please follow these steps:
- Go to the network settings by clicking on the Windows logo at the bottom-left corner.
- Click on the gear-like settings icon.
- Select Network & Internet.
- Select Wi-Fi from the menu on the left.
- Select Manage known networks.
- Select the unsecured network in question.
- Click on the Forget box.
- Next, try to connect to the network again from scratch and see if it works this time.
Question: How to update my home Wi-Fi network’s Security Settings?
Answer: Follow these three steps to update security settings on your home Wi-Fi network:
- When you first set up your router, you’d have a default username and password. It’s highly recommended that you change these credentials to make your network safer and upgrade its security measures.
- Your router runs on a system called firmware. If you subscribe to the firmware platform, your router firmware will typically update automatically. However, it is possible to miss the updates, so it’s best if you could manually check for the updates and upgrade the firmware regularly.
Updating NETGEAR Router’s Firmware
- Change your Wi-Fi Security Settings – Click on Configure Firewall and Security settings on your Wi-Fi network page. You can configure any setting that you wish.
Question: What are the steps involved in securing your Wi-Fi network?
Answer: Stick to the following steps to secure your Wi-Fi network:
- As mentioned before, you will have a default Wi-Fi name (SSID) – change it to another name, preferably a name that doesn’t give a clue on what brands or types of router you use, e.g., MyNighthawk or MyTPLink.
- Also, change the default Wi-Fi password – try to create a strong password that contains a combination of letters, numbers, and allowed special characters. The more unique and complicated, the better.
- While most routers come with standard encryption, the feature is not active by default. Therefore, make sure you turn on the encryption settings with the latest or most used protocol like WPA2 or WPA3 (although WPA3 is still new and not available on most devices).
- Update your router’s firmware regularly.
- Join a Wi-Fi network via a VPN (Virtual Private Network) because it disguises your Wi-Fi name ad your online activities.
Conclusion
Hopefully, you can now connect to unsecured Wi-Fi on Windows 10. This comes in handy when you’re out on the move and don’t want to waste your cellular data when you have free Wi-Fi to join. A point to note, though, is when you join unsecured Wi-Fi, you are jeopardizing the safety of your device and your data.

Hey, I’m Jeremy Clifford. I hold a bachelor’s degree in information systems, and I’m a certified network specialist. I worked for several internet providers in LA, San Francisco, Sacramento, and Seattle over the past 21 years.
I worked as a customer service operator, field technician, network engineer, and network specialist. During my career in networking, I’ve come across numerous modems, gateways, routers, and other networking hardware. I’ve installed network equipment, fixed it, designed and administrated networks, etc.
Networking is my passion, and I’m eager to share everything I know with you. On this website, you can read my modem and router reviews, as well as various how-to guides designed to help you solve your network problems. I want to liberate you from the fear that most users feel when they have to deal with modem and router settings.
My favorite free-time activities are gaming, movie-watching, and cooking. I also enjoy fishing, although I’m not good at it. What I’m good at is annoying David when we are fishing together. Apparently, you’re not supposed to talk or laugh while fishing – it scares the fishes.
