
A virtual Wi-Fi hotspot is a phrase used when you convert your laptop into a wireless router, allowing you to share your internet connection with nearby Wi-Fi-compatible devices.
There are so many reasons you may want to create a virtual Wi-Fi hotspot on your laptop.
First, it is convenient and portable, allowing you to share your wireless connection anywhere and anytime, as long as you have an active data plan. A virtual Wi-Fi hotspot also allows you to access geo-blocked content using a streaming VPN.
Whether you have a macOS or Windows laptop, setting up a free virtual Wi-Fi hotspot is fairly easy and straightforward.
Read on to find out how to go about it.

CONTENTS
Creating a Virtual Wi-Fi Hotspot Using Windows 10
With the emergence of Windows 10 as one of the most popular operating systems, creating a free virtual Wi-Fi hotspot on your laptop has never been easier.
Windows 10 comes with various built-in tools, wizards, and programs that make it easy to create a virtual wireless hotspot from scratch with a few clicks of the mouse.
Follow these steps to create your Wi-Fi hotspot using Windows 10:
- Check your Windows 10 Version
Windows 10 is available in different versions, and not all support the creation of virtual Wi-Fi hotspots.
Windows 10 version 1607 or later are the only ones that allow you to turn your computer into a wireless hotspot.
To check your Windows 10 version, type winver on the search bar and press the Enter key.

- Update Windows 10 to the Anniversary version
If your Windows 10 OS is under the 1607 version, consider upgrading it to the Anniversary Version before proceeding to the next step.
Simply visit Microsoft’s Windows 10 update page to download and install the latest Anniversary Version for your laptop. The process should take one hour or less.
How to Update Windows 10
https://www.youtube.com/watch?v=L2r-VV9X2Hc
- Access the Wireless Hotspot Settings
After installing the Anniversary Version, the wireless hotspot settings will become available from the Start Menu.
Click the Start Menu and navigate to Windows settings. From the Settings window, click Network & Internet to access the wireless hotspot settings.
- Select Mobile Hotspot
From the Network & Internet window, tap on Mobile Hotspot on the left panel. This option is only available on the Windows 10 Anniversary Version.

- Edit Mobile Hotspot Settings
When you click on Mobile hotspot, you will notice various info related to your wireless network, including your Network name and Network password.
You can change your network name and password by clicking “Edit.” Make sure you create a lengthy and complex password to keep hackers and freeloaders at bay.

- Select Network Connection to Share
The next step is to choose the type of network connection you want to share with other devices or users.
Since you intend to create a free virtual Wi-Fi hotspot on your laptop, choose Wireless Network Connection under the “Share my internet connection from” drop-down menu.

- Enable Mobile Hotspot
The penultimate step is to enable Mobile hotspot by toggling the slide button from OFF to ON.
With the Mobile Hotspot turned ON, your free virtual Wi-Fi hotspot is ready for connection.

- Connect your other wireless devices
You can connect a maximum of eight devices simultaneously using your laptop’s wireless hotspot.
You can also view the number of gadgets that are using your Wi-Fi hotspot from the Mobile hotspot menu.
How to Create a Virtual Wi-Fi Hotspot Using Windows 10 (2 Methods)
Creating a Virtual Wi-Fi Hotspot Using Windows 7 and 8
If you are yet to upgrade to Windows 10, worry not. You can still create a virtual Wi-Fi hotspot on your laptop using Windows 7 or 8.
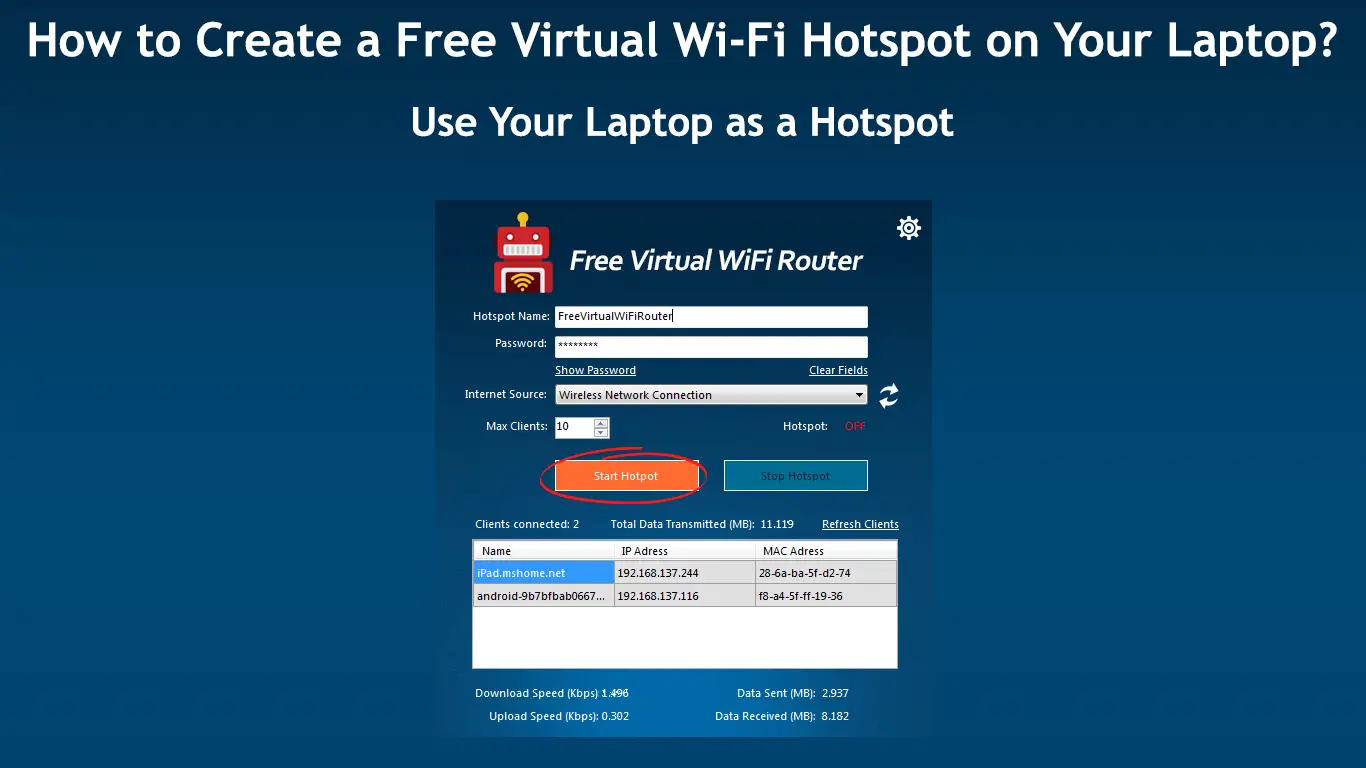
However, since Windows 7 and 8 do not support the creation of a Wi-Fi hotspot, your only option is to download a virtual router or use a third-party application like Connectify.
Here are the steps on how to go about it:
- Download and install Virtual Router Software
The first step to set up a virtual Wi-Fi hotspot on Win 7 or 8 is to download and install the Virtual Router program. You can choose one of many available programs. The most popular, at the moment, is Connectify Hotspot. In this example, we will use another program called Virtual Router Manager.
The Virtual Router program is designed to convert your laptop’s wireless network card into a Wi-Fi hotspot.
- Launch Virtual Router
Once the installation process is complete, open the Virtual Router program. Click Virtual Router Manager to access the app.
You can launch the application from the Start Menu or via the desktop icon.
- Enter Network Name and Create Password
You need to check the network name and create a password for security purposes. The default SSID name and password are easy for hackers and freeloaders to crack.
New users have to enter your password to connect to your wireless network.

- Select Active Network Connection
The next step is to click the “Shared Connection” to view a list of your network connection.
From the drop-down menu, select Wi-Fi as your active network connection since your primary goal is to create a free virtual Wi-Fi hotspot.
- Launch Your Free Virtual Wi-Fi Hotspot
Click Start Virtual Router to launch your free virtual Wi-Fi hotspot on your laptop. You can now connect your devices to your wireless hotspot.

If you prefer to use Connectify, follow these steps to set up your Wi-Fi hotspot:
- Visit Connectify.me using your preferred browser
- Download and install the Connectify program on your laptop
- Launch the Connectify application on your laptop
- Give your Wi-Fi hotspot a network name and create a strong password
- Click the Start Hotspot button
- Share your internet connection and connect your devices
Note: The benefit of using Connectify is that it comes with a built-in ad blocker that saves up to 60% internet bandwidth. Moreover, you can use it to share all kinds of internet connections ranging from Wi-Fi to LAN to 3G/4G. The downside is that only the basic version is free. If you want to use additional features, you will have to pay.
Creating a Virtual Wi-Fi Hotspot Using MacOS
If your laptop runs on macOS, you can set up a virtual Wi-Fi hotspot for it, like any other operating system.
Here are the steps:
- Connect your Mac laptop to the network via an Ethernet cable
- Click the Apple icon and navigate to System Preferences
- Click the sharing icon and check the Internet Sharing option
- Click the “Share your connection from” menu and select your connection (Wi-Fi or Ethernet)
- Under “To Computer Using” list, check the Wi-Fi box
- Click the Wi-Fi hotspot button to edit your wireless hotspot settings accordingly
- Give your wireless network a unique name
- Create a strong password for your wireless network to keep hackers and freeloaders at bay
- Check the Internet Sharing box to activate your wireless network
- Connect your devices to your free virtual Wi-Fi hotspot
Note: You must enter your password in each device to connect to your Wi-Fi hotspot. All connected devices won’t have access to the files and folders on your laptop.
How to Create a Virtual Wi-Fi Hotspot Using a Computer Running on macOS
Conclusion
Creating a free virtual Wi-Fi hotspot on your laptop does not have to be complicated. The process is much easier than you think since you only need to follow the steps above to convert your computer into a virtual wireless router. Try these tips and let us know how it goes.

Hey, I’m Jeremy Clifford. I hold a bachelor’s degree in information systems, and I’m a certified network specialist. I worked for several internet providers in LA, San Francisco, Sacramento, and Seattle over the past 21 years.
I worked as a customer service operator, field technician, network engineer, and network specialist. During my career in networking, I’ve come across numerous modems, gateways, routers, and other networking hardware. I’ve installed network equipment, fixed it, designed and administrated networks, etc.
Networking is my passion, and I’m eager to share everything I know with you. On this website, you can read my modem and router reviews, as well as various how-to guides designed to help you solve your network problems. I want to liberate you from the fear that most users feel when they have to deal with modem and router settings.
My favorite free-time activities are gaming, movie-watching, and cooking. I also enjoy fishing, although I’m not good at it. What I’m good at is annoying David when we are fishing together. Apparently, you’re not supposed to talk or laugh while fishing – it scares the fishes.