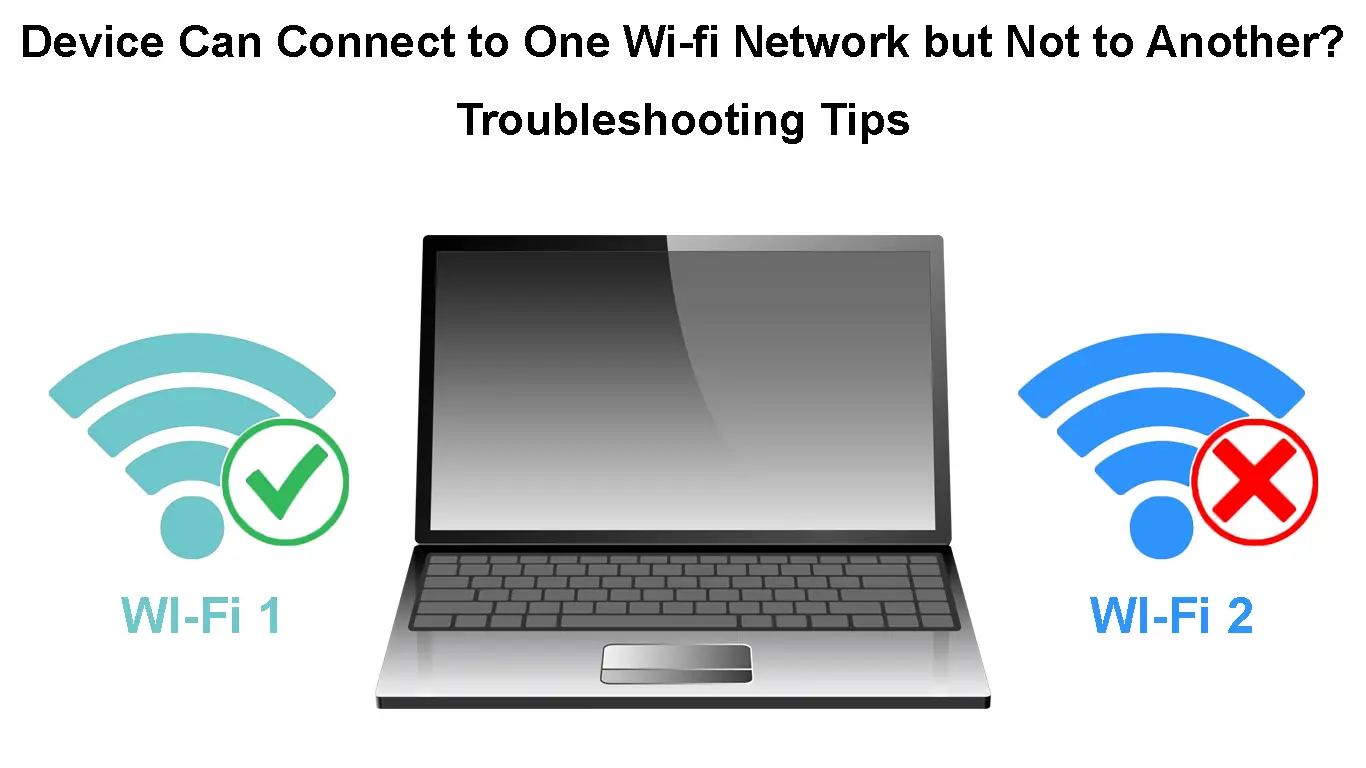
Is your device unable to connect to one Wi-Fi network but it’s connected to another one? This problem is actually more common than you might think!
Many different things can affect the connection between your device and the wireless network. Your job today is to find the exact cause of your issue, while ours is to make the process as easy as possible. Let’s begin!
CONTENTS
Why Your Device Can Connect to One Wi-fi Network but Not to Another
A Bug is Causing Problems with the Connection
Your device may be unable to connect to a Wi-Fi network due to a bug. Luckily, most of the bugs within electronic gadgets should be removed with a simple reboot. It’s important that you reboot every device that you’re using to connect to your wireless network as well as the router of that network. That way, you’ll make sure that every device is effectively working towards a connection.
If your router has a Power button, you can use it to turn off the device. In case it doesn’t, that’s not going to be a problem. You can simply unplug the router from a power source. After a couple of minutes, you can plug it back in.
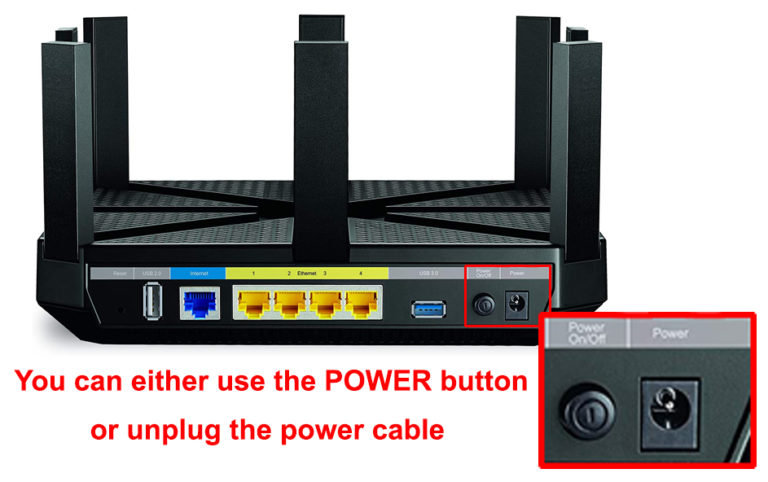
The power cycle won’t be as useful when it comes to your computer, tablet, or phone. These devices don’t operate in the same way. So, you will reset them by turning them off and then switching them back on after a few minutes. When all of your devices are turned on, you can try connecting them to the Wi-Fi network once again.
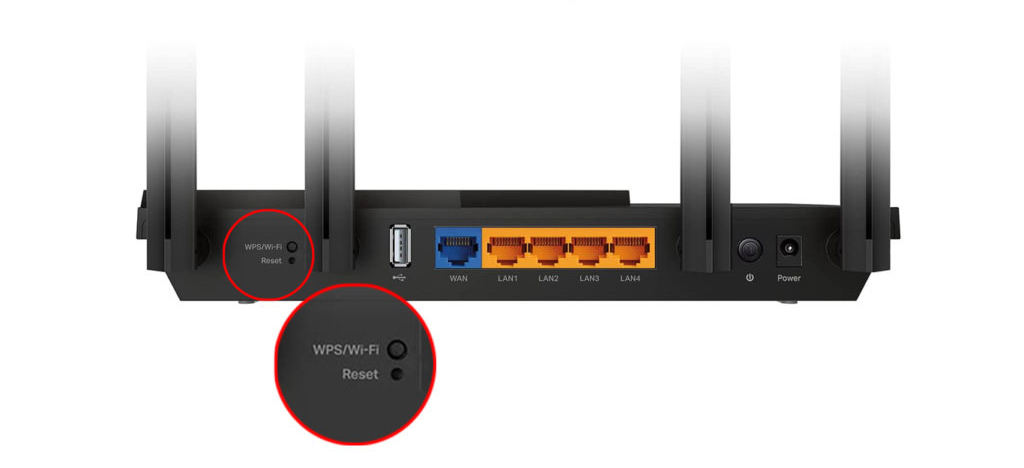
If the simple restart didn’t work, you may have to factory reset your router. That will remove any improperly set configurations that may be causing issues with the connection. You’ll do that by taking a sharp, thin object such as a pin and pressing the Reset button on the device. After a couple of minutes, you should visit the device’s configuration page. Then, you should set the router up again, just like you did the first time you used it.
The Improperly Configured Router Network Settings are Preventing the Connection
One of the main reasons why you’re not able to connect to a specific wireless network is due to an issue within the network settings. The improperly set up configurations can happen both on your device and on the router. Regardless of the exact cause of the problem, your steps will ultimately be the same.
Changing the Router’s Settings
First of all, you should visit your router’s configuration page to check your current settings. The router’s configuration page can be accessed in any browser by typing the website which contains your router’s IP address. You can find the exact page you need within a few clicks online. Alternatively, you can find this info on your computer.
If you have a Windows device, you should go to Command Prompt and type ipconfig /all. After pressing Enter, you’ll get various info about your computer and the Wi-Fi network you’re connected to. You’ll find the IP address under Default Gateway.

In case you own a Mac device, you should hold the Option/Alt button for a few seconds. You should then click on the Wi-Fi icon in the menu. You’ll discover the IP address under the Router Address option. Simply paste the address to the address bar of your browser to access the configuration page.
Once you do, you should log in using your credentials. Then, you’ll need to search for the Advanced Settings or Advanced Wireless section. There, you’ll see the info on channels and the frequencies on which your device operates.
Changing the Network Channel
Within the Advanced Settings section, you will be able to enable the 5 GHz frequency and change the Wi-Fi channel if necessary. This option will be especially useful if the channel your network is currently using is overcrowded, and that’s making it difficult for your device to connect to it. So, changing the channel, resetting the modem, and trying to connect to the Wi-Fi network again is a smart idea.
The Network Settings of Your Computer Are to Blame
Your router may have been properly set up. But that doesn’t mean all other configurations are good as well. That’s because your computer’s network settings can also cause issues with your Wi-Fi connection.
If you’re trying to connect to a 5 GHz network, your first step should be verifying whether your device is even compatible with this band. Windows owners should go to Command Prompt and type netsh WLAN show drivers. After pressing Enter, the system will display different types of network info. You should look for the Radio types supported portion.
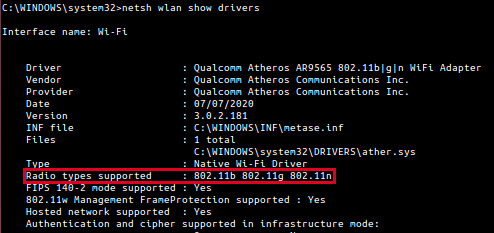
Owners of a MAC device should click on the Apple icon and go to About this Mac. Then, they’ll need to click on System Support. In the Wi-Fi section, they should look for a list of modes under Supported PHY Modes. The 802.11a, 802.11ac, and 802.11n modes likely support both the 2.4 GHz and the 5 GHz connection.
If your device supports both frequencies, there are other reasons why the connection is difficult to achieve. Here are some of the things you can try out.
Resetting the Network Settings
If you suspect that the network settings are to blame for your issue, you should reset them. For Windows computers, you should go to the Start menu and choose Settings. Then, you should go to Network and Internet, pick Status, and choose Network Reset.
Resetting Network Settings in Windows 10
If you own a MAC device, you should go to the Apple menu and click on System preferences. Then, you should choose Network, click on your wireless network’s name and click on the Minus icon. Once you apply the changes, the network settings will be reset.
Updating the Network Drivers
Outdated network drivers are among the most common reasons for various issues with the connection to a Wi-Fi network. In many cases, your network drivers will update on their own or as soon as you update the software on your computer. As a matter of fact, Mac devices don’t provide you with an option to quickly update the network drivers on your own, as this process is automatic.
On the other hand, Windows users can update the drivers on their own. You should go to the Device Manager menu and right-click on the device you would like to update. You’ll then have to click on the option Search automatically for updated driver software and select Update Driver if the option is available.
Updating Network Driver in Windows 10
Alternatively, you can also right-click on the name of your device and select Uninstall. You should then restart your computer and the Windows will reinstall the latest version of that driver when the computer is back on.
The Firewall is to Blame for the Problem
Your firewall may be blocking the connection to the Wi-Fi network you want to connect to. Thus, you should disable it and try connecting to the network once again. Once you do, it’s smart to enable the firewall again as you shouldn’t remain unprotected for too long.
If the connection gets lost again, you may want to choose another method of protection, as this one is clearly preventing you from accessing basic features. You could also try poking around the firewall’s settings to see if there is a way to bypass the current restrictions.
In Conclusion
There are many reasons why your device can’t connect to a particular wireless network. We explored potential issues within the device, the modem, and the firewall. Hopefully, you managed to find the source of the problem among the options we presented, and you can now enjoy unrestricted internet access through your Wi-Fi.

Hey, I’m Jeremy Clifford. I hold a bachelor’s degree in information systems, and I’m a certified network specialist. I worked for several internet providers in LA, San Francisco, Sacramento, and Seattle over the past 21 years.
I worked as a customer service operator, field technician, network engineer, and network specialist. During my career in networking, I’ve come across numerous modems, gateways, routers, and other networking hardware. I’ve installed network equipment, fixed it, designed and administrated networks, etc.
Networking is my passion, and I’m eager to share everything I know with you. On this website, you can read my modem and router reviews, as well as various how-to guides designed to help you solve your network problems. I want to liberate you from the fear that most users feel when they have to deal with modem and router settings.
My favorite free-time activities are gaming, movie-watching, and cooking. I also enjoy fishing, although I’m not good at it. What I’m good at is annoying David when we are fishing together. Apparently, you’re not supposed to talk or laugh while fishing – it scares the fishes.

