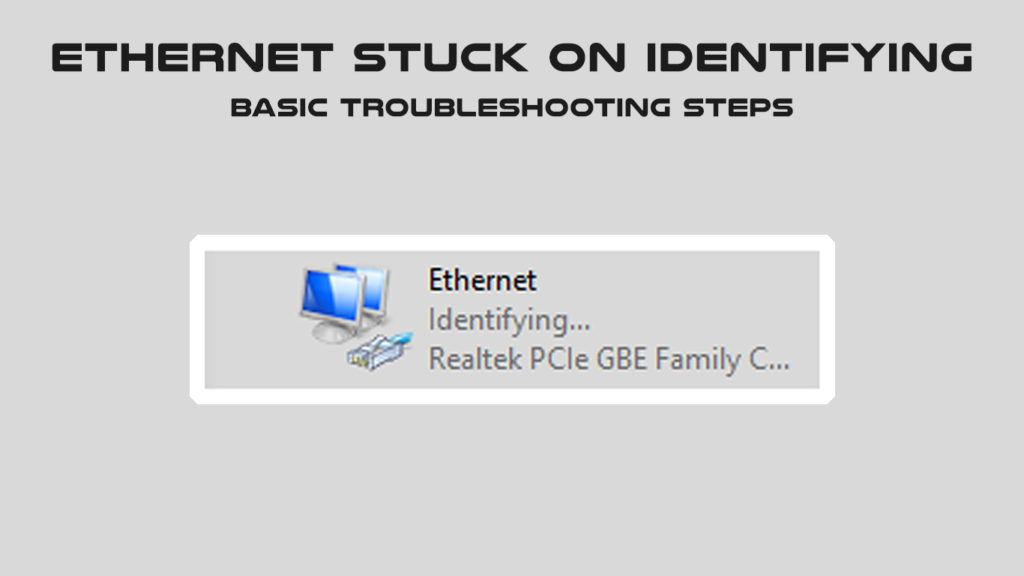
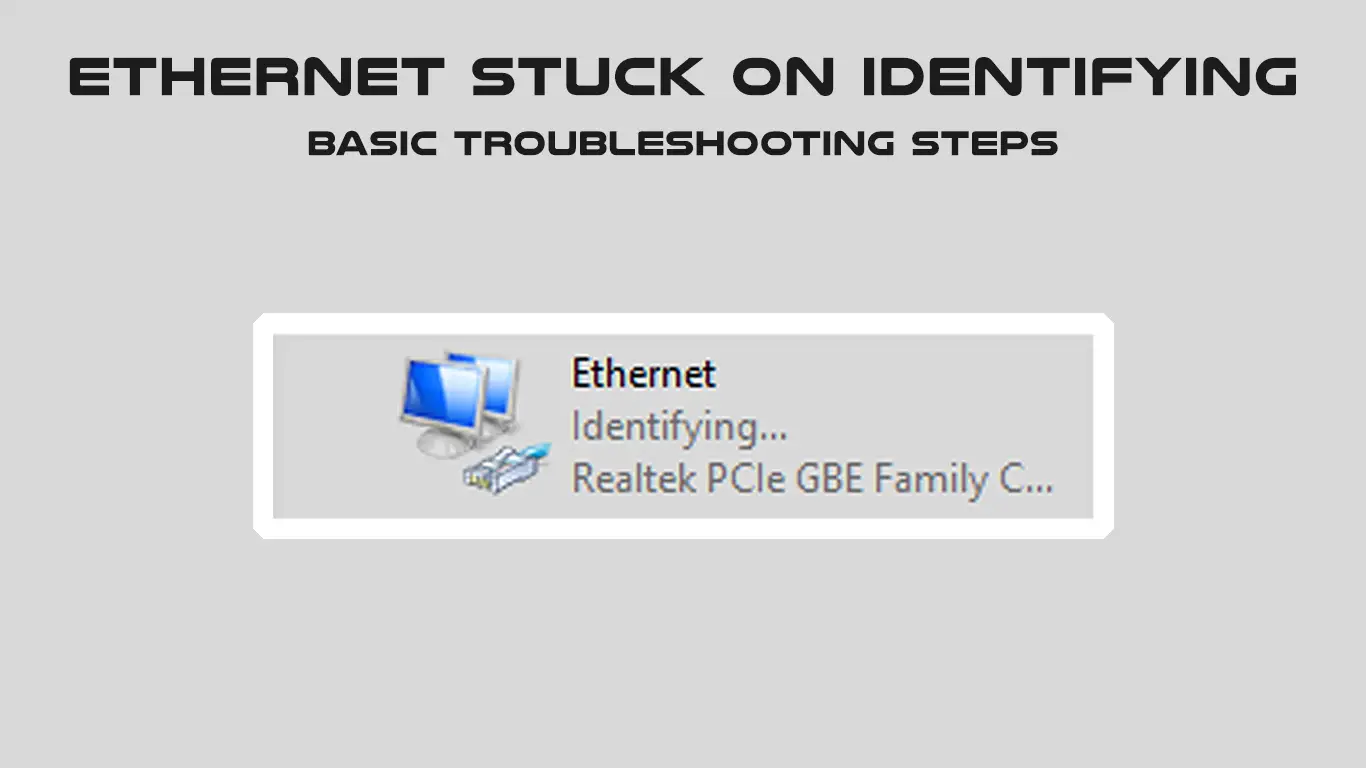
Wi-Fi technology has been developing at its fastest rate in recent years. Demand from various applications accelerates its growth, resulting in more people using wireless Wi-Fi networks. However, a wired Ethernet connection still has the edge over Wi-Fi, offering a speedier and more stable internet signal. But sometimes, you can also get your Ethernet connection stuck on identifying.
If you happen to choose an Ethernet connection for whatever reason and face this issue, you’ve come to the right space. Your computer identifies an IP address provided by the router to connect to the internet. Your Ethernet will get stuck if it can’t identify the IP address.
There are tons of reasons why that could have happened. This post presents a list of possible causes and recommends the best ways to fix them. Let’s jump into it.

CONTENTS
Ethernet Cable
One of the disadvantages of using a wired Ethernet connection is the fact that it uses a physical cable, which can quickly get damaged. Do some simple checks on the cable by searching for visible damage like bent or broken parts. Try running your fingers through it to detect a faulty shield.
Recommended reading: Ethernet Keeps Disconnecting (Troubleshooting Ethernet Connection)
In addition, check the plugs and see if they’re broken, as well as the proper lights on the router. If there is no light on your ethernet port, it’s probably because of the faulty cable. Replacing the cable could get your Ethernet connection running smoothly.
Restart Your Router
Your Ethernet identification failure can also come from your router. Disconnecting and reconnecting the router can remove possible bugs so that your router can freshly run again. Firstly, switch off the router and pull out the plug. Wait for a few moments, and put the plug back in. Then, power the router on, wait for it to boot up, and see if your computer can identify your Ethernet connection.
Try Using the Network Troubleshooter
Windows has a tool named Network Troubleshooter that can assist you in identifying the fault and providing a solution. You can run the troubleshooting function through the Settings page by following these steps:
- Click on the Windows icon in the bottom-left corner of your screen, and choose the Settings icon. The faster way is by pressing the Windows key and the ‘i’ key at the same time, and the Settings page appears immediately.
- Select Update & Security and choose Troubleshoot from the menu on the left.
- Then, select Additional troubleshooters.
- Select Network Adapter and press ‘Run the troubleshooter’.
- It will troubleshoot the Network Adapter and look for a fault.
- Select the Network Adapter to diagnose and click on Ethernet on the next page.
- Detected problems will appear. Follow the recommended solutions and you could have your Ethernet connection running in a minute.
Network Adapter Settings for IP Address
There is a function that allows your computer to obtain the IP address automatically. Follow these steps to ensure that all the right boxes are checked:
- Press the Windows key and the ‘r’ key together.
- Type in <ncpa.cpl> and press the button <OK> to run the program.
- You will come to the Network Connection page.
- Choose Ethernet by right-clicking on it, then select properties.
- Click on TCP/IPv4, and then go to Properties again. Check the following boxes:
<Obtain an IP Address Automatically>
<Obtain DNS Server Address Automatically>
Avoid Fast Startup Function
If you want to launch your system quickly, the Fast Startup tool can do the job. It can do that by loading your device settings based on computer memory and cache instead of going through the whole system. However, the downside is it can cause a misconfiguration.
Disabling it could fix your problem. Follow these steps:
- Go to the Windows icon on the bottom-left of the screen, and right-click on it.
- Choose the Power Option, then Additional Power Option.
- Click on ‘Choose what the power button does’.
- Click on ‘Change settings that are currently unavailable.
- Lookup for ‘Turn on fast startup (recommended)’, and uncheck the box to disable the function.
- Save the setup by clicking the ‘Save’ button. Then you can restart the computer and hope it can identify your Ethernet network.
Disabling Fast Startup in Windows 10
Disable Antivirus Program
It’s pretty common for an internet user to install multiple third-party software and applications on the computer. As useful as they can be, sometimes, they can interrupt your system’s operation, and you might not be able to connect to the internet.
Antivirus software is one of the common culprits since the program has total access to the entire system. Turning off antivirus software might fix the Ethernet connection issue, but you may be exposed to various malicious virus threats, especially when you’re online. It does help if you double-check all your essential settings, and if necessary, contact your antivirus help desk and seek the best solution.
Turn Off VPN
A Virtual Private Network (VPN) lets you connect to the internet safely since outsiders cannot trace your identity or location. With increasing threats from unscrupulous hackers in recent years, a VPN offers a safe environment to many internet users.
Despite its undivided protection from online intruders, a VPN can disrupt your system settings and mess up your Ethernet network connection. Disabling your VPN may fix the problem, but that would cost you some important safety features. However, your VPN’s technical support might be able to offer an alternative solution to avoid the program interrupting your computer settings.
Reset Network Settings
If you have tried all the methods above and still get stuck, you probably need to perform one last method – reset your network settings. Follow these steps that will change your IP address to a new configuration:
- Press the Windows key together with the ‘x’ key at once, and choose ‘Command Prompt’.
- Type the following commands, remembering to press <enter> every time:
- Ipconfig /flushdns
- ipconfig /renew
- nbtstat–R
- nbtstat–RR
- netsh int ip reset c:\resetlog.txt
- netsh Winsock reset
- Next, restart your PC or laptop.
- Press the Windows key, this time together with the ‘r’ key on the keyboard. Then type ‘control panel’.
- Select ‘Network and sharing center’, and the ‘adapter settings’.
- Go to the Ethernet button, right-click on it, and then press ‘Disable’.
- After a few moments, right-click on the Ethernet again, and this time click ‘Enable’.
- Restart the system and see if it fixes the problem.
VIDEO TUTORIAL – Fixing Ethernet Stuck on Identifying Issue
Conclusion
If you have chosen the wired Ethernet connection, you must be one of the users that requires a robust internet signal capable of handling internet-sapping applications, such as 4K Ultra-UHD streaming, high-octane online games, and AR/VR applications. The last thing you want to see is your Ethernet stuck on identifying. Well, we have identified eight causes and recommendations which you can try out. Chances are – one of those methods should fix your problem.

Hey, I’m Jeremy Clifford. I hold a bachelor’s degree in information systems, and I’m a certified network specialist. I worked for several internet providers in LA, San Francisco, Sacramento, and Seattle over the past 21 years.
I worked as a customer service operator, field technician, network engineer, and network specialist. During my career in networking, I’ve come across numerous modems, gateways, routers, and other networking hardware. I’ve installed network equipment, fixed it, designed and administrated networks, etc.
Networking is my passion, and I’m eager to share everything I know with you. On this website, you can read my modem and router reviews, as well as various how-to guides designed to help you solve your network problems. I want to liberate you from the fear that most users feel when they have to deal with modem and router settings.
My favorite free-time activities are gaming, movie-watching, and cooking. I also enjoy fishing, although I’m not good at it. What I’m good at is annoying David when we are fishing together. Apparently, you’re not supposed to talk or laugh while fishing – it scares the fishes.

