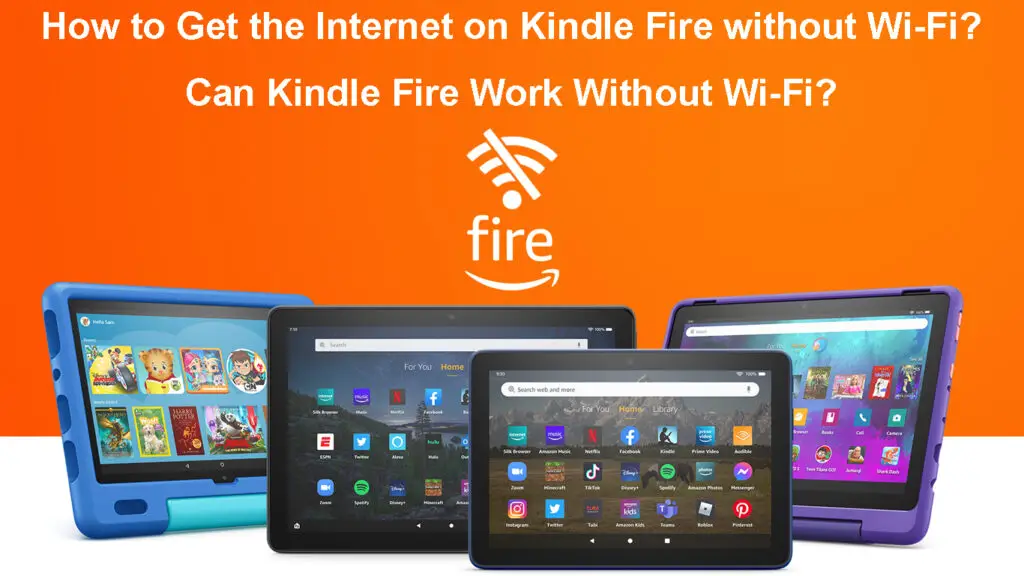
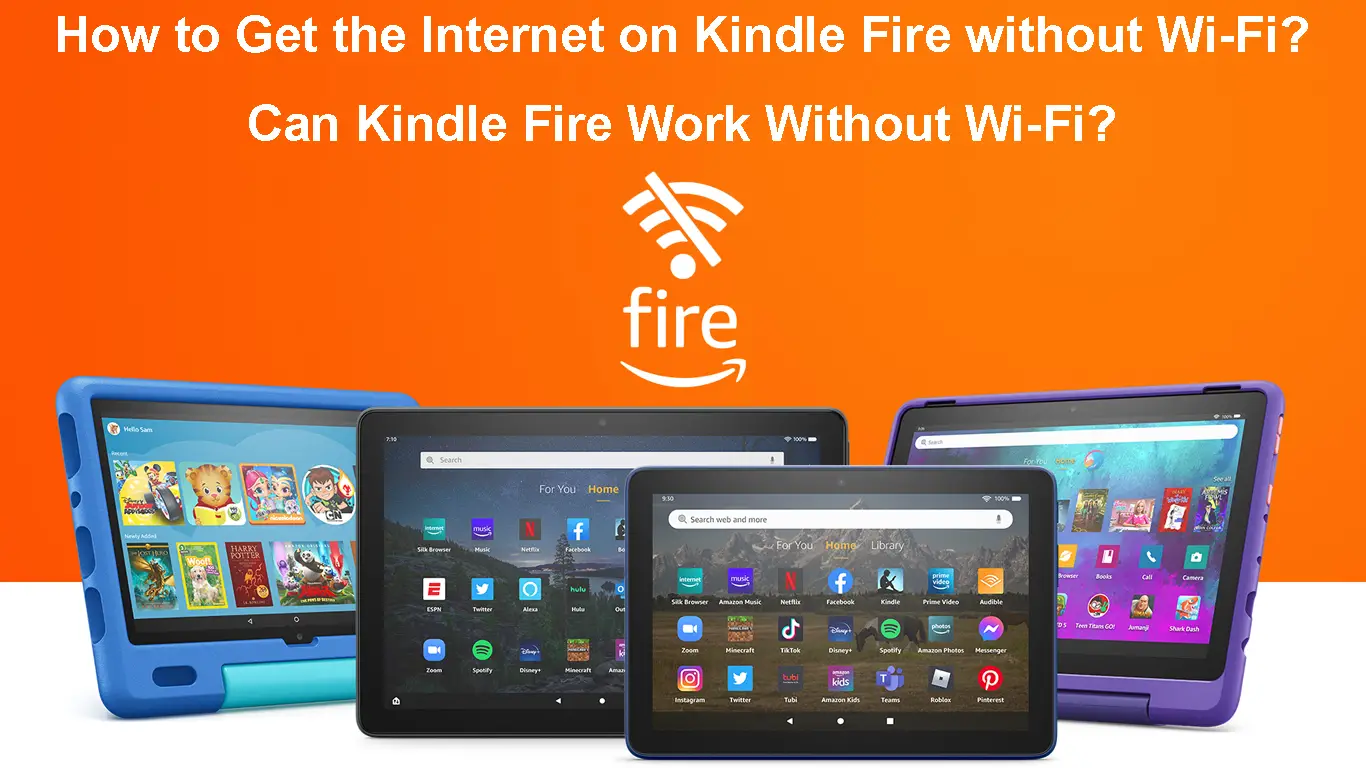
Kindle Fire is a versatile tablet that requires a stable internet connection to perform various tasks.
If you don’t have Wi-Fi, you may have a hard time enjoying the core functions of your tablet.
Fortunately, this does not mean you can’t get the internet on your Kindle Fire without Wi-Fi.
After all, Wi-Fi is not the only internet source, meaning you can connect your device to the web using other connection methods.
This guide explores various practical ways to get the internet on Kindle Fire without Wi-Fi.

CONTENTS
Can Kindle Fire Work Without Wi-Fi?
Even though Kindle Fire requires an internet connection to perform most functions, the device can work without Wi-Fi.
Introducing Amazon Fire Tablets
For instance, you don’t require a Wi-Fi connection on your Kindle Fire to read pre-downloaded e-books, stream saved music files, or watch movies and videos.
A Wi-Fi connection is only necessary if you want to enjoy digital content, play online games, chat with friends, or browse the web.
You may also require a Wi-Fi connection on your Kindle Fire to:
- Register your Kindle account for the first time
- Download digital content from the Kindle library
- Download and update Kindle Fire apps
- Send emails and share digital content
The good news is there are several other ways you can connect your Kindle Fire to the internet without relying on Wi-Fi.
Ways to Get the Internet on Kindle Fire without Wi-Fi
As mentioned above, you can use your Kindle Fire tablet without Wi-Fi, but many functions will remain unavailable until you connect the device to the internet.
Fortunately, using other connection options, you can get the internet on Kindle Fire without Wi-Fi.
These include:
1. Mobile Data
Most Kindle Fire tablets connect to Wi-Fi by default. However, some older models had a SIM card slot (Amazon Kindle Fire HDX 7 LTE used to have it), allowing users to connect to cellular networks and use mobile data.
If you don’t have an active Wi-Fi connection, you can use mobile data instead and enjoy digital content wherever you go.
You only need to purchase a mobile data plan from your preferred cellular provider. The procedure for activating mobile data is similar to smartphones.
Here’s how to go about it:
- Swipe the top edge of the screen down to access the notification bar
- Search for the Wireless option on the notification menu and tap on it
- Tap Mobile Network
- Go to Mobile network settings
- Tap Data enabled to turn mobile data ON or OFF
- Tap the Home icon to return to the home screen
2. Use Mobile Hotspot
Another way to get the internet on your Kindle Fire without Wi-Fi is to connect to a mobile hotspot.
If you don’t have a SIM card for your Kindle Fire but have another device with an active internet connection, you can convert that device into a mobile hotspot.
Alternatively, you can purchase a portable hotspot device (pocket Wi-Fi) and set it up as the default internet source for your Kindle Fire tablet.
Here are the steps to use your smartphone as a mobile hotspot:
- Swipe down from the top of your mobile display to open Quick Settings
- Tap mobile data to enable it
- Tap the Hotspot icon
- Go to your Kindle Fire
- Open the Settings menu
- Toggle Wi-Fi On
- Select your phone’s hotspot name from the network list
- Enter your phone’s hotspot password if prompted
- Tap on Connect
Creating a Personal Hotspot on an iPhone
Kindle Fire Internet Connection Issues
You can get the internet on your Kindle Fire tablet via two alternative methods other than a direct connection to the Wi-Fi router.
However, your Kindle Fire might still have issues connecting to the internet.
Here are a few tips for troubleshooting and fixing Kindle Fire internet connection issues:
1. Reboot Your Kindle Fire
The easiest and quickest way to fix connectivity issues on your Kindle Fire is to restart the tablet.
Here are the steps:
- Press and hold the Power button until the tablet turns off
- Ignore the onscreen option to shut down your Kindle Fire
- Wait for about 40 seconds
- Press the Power button to turn on your Kindle Fire
- Check if you can connect the tablet to the internet
How to Force-Restart an Amazon Fire HD 10 Tablet
2. Disable Airplane Mode
You cannot connect to the internet via mobile data or Wi-Fi if Airplane Mode is active. Ensure Airplane Mode is off before attempting to connect to the internet.
- Swap down the top of the device screen to open the notification menu
- Locate the Airplane icon
- Tap the Airplane icon to turn off Airplane mode
- Check if you can connect your Kindle Fire to the internet without Wi-Fi
3. Clear Background Apps
Background apps can cause slowdowns, internet drops, and connectivity issues on your Kindle Fire tablet.
The quickest way to solve this problem is to disable background apps through the Settings menu.
Here’s how to turn off background apps on your Kindle Fire tablet:
- From the Home screen, go to Settings
- Tap on Applications
- Tap on Manage All Applications
- Select Running Applications
- Tap the app you want to close
- Tap Force Stop
- Repeat Steps 5 to 6 for all apps you want to close
How to Force-Stop Apps on an Amazon Fire Tablet
4. Check Your SIM Network
If you are having connection issues when connecting to mobile data, check your SIM network.
Your cellular provider might be experiencing downtimes or a service outage, leading to connectivity issues on your Kindle Fire tablet.
The only solution to this problem is to wait for the service provider to resolve the issue from their end.
5. Update Your Kindle Fire Firmware
Connection issues may occur because your Kindle Fire runs on outdated firmware or software versions.
The good news is that your Kindle Fire tablet will automatically download firmware updates when connected to the internet.
Here’s how to manually update your device:
- Open the Settings app
- Go to Device Options
- Tap System Update
- Tap Check Now
Note: If your Kindle Fire cannot connect to the internet, you may have to download the latest update on your computer before transferring the extracted firmware files to your tablet.
How to Update an Amazon Fire Tablet Using Wi-Fi
How to Update an Amazon Fire Tablet Manually (Without Wi-Fi)
6. Factory Reset Your Kindle Fire
When everything fails, consider performing a factory reset to restore your Kindle Fire tablet to factory defaults.
Here are the steps:
- Tap the menu button on the home screen
- Go to Settings
- Tap Device Options
- Tap Reset to Factory Defaults
- Tap the Reset button to confirm your selection
How to Factory Reset Your Amazon Fire HD 10 Tablet
Conclusion
Getting the internet on your Kindle Fire without Wi-Fi is as easy as 1,2,3. You don’t have to struggle to connect to the web if you don’t have a Wi-Fi connection. Use our top two suggestions to connect your tablet to the internet.

Hey, I’m Jeremy Clifford. I hold a bachelor’s degree in information systems, and I’m a certified network specialist. I worked for several internet providers in LA, San Francisco, Sacramento, and Seattle over the past 21 years.
I worked as a customer service operator, field technician, network engineer, and network specialist. During my career in networking, I’ve come across numerous modems, gateways, routers, and other networking hardware. I’ve installed network equipment, fixed it, designed and administrated networks, etc.
Networking is my passion, and I’m eager to share everything I know with you. On this website, you can read my modem and router reviews, as well as various how-to guides designed to help you solve your network problems. I want to liberate you from the fear that most users feel when they have to deal with modem and router settings.
My favorite free-time activities are gaming, movie-watching, and cooking. I also enjoy fishing, although I’m not good at it. What I’m good at is annoying David when we are fishing together. Apparently, you’re not supposed to talk or laugh while fishing – it scares the fishes.

