
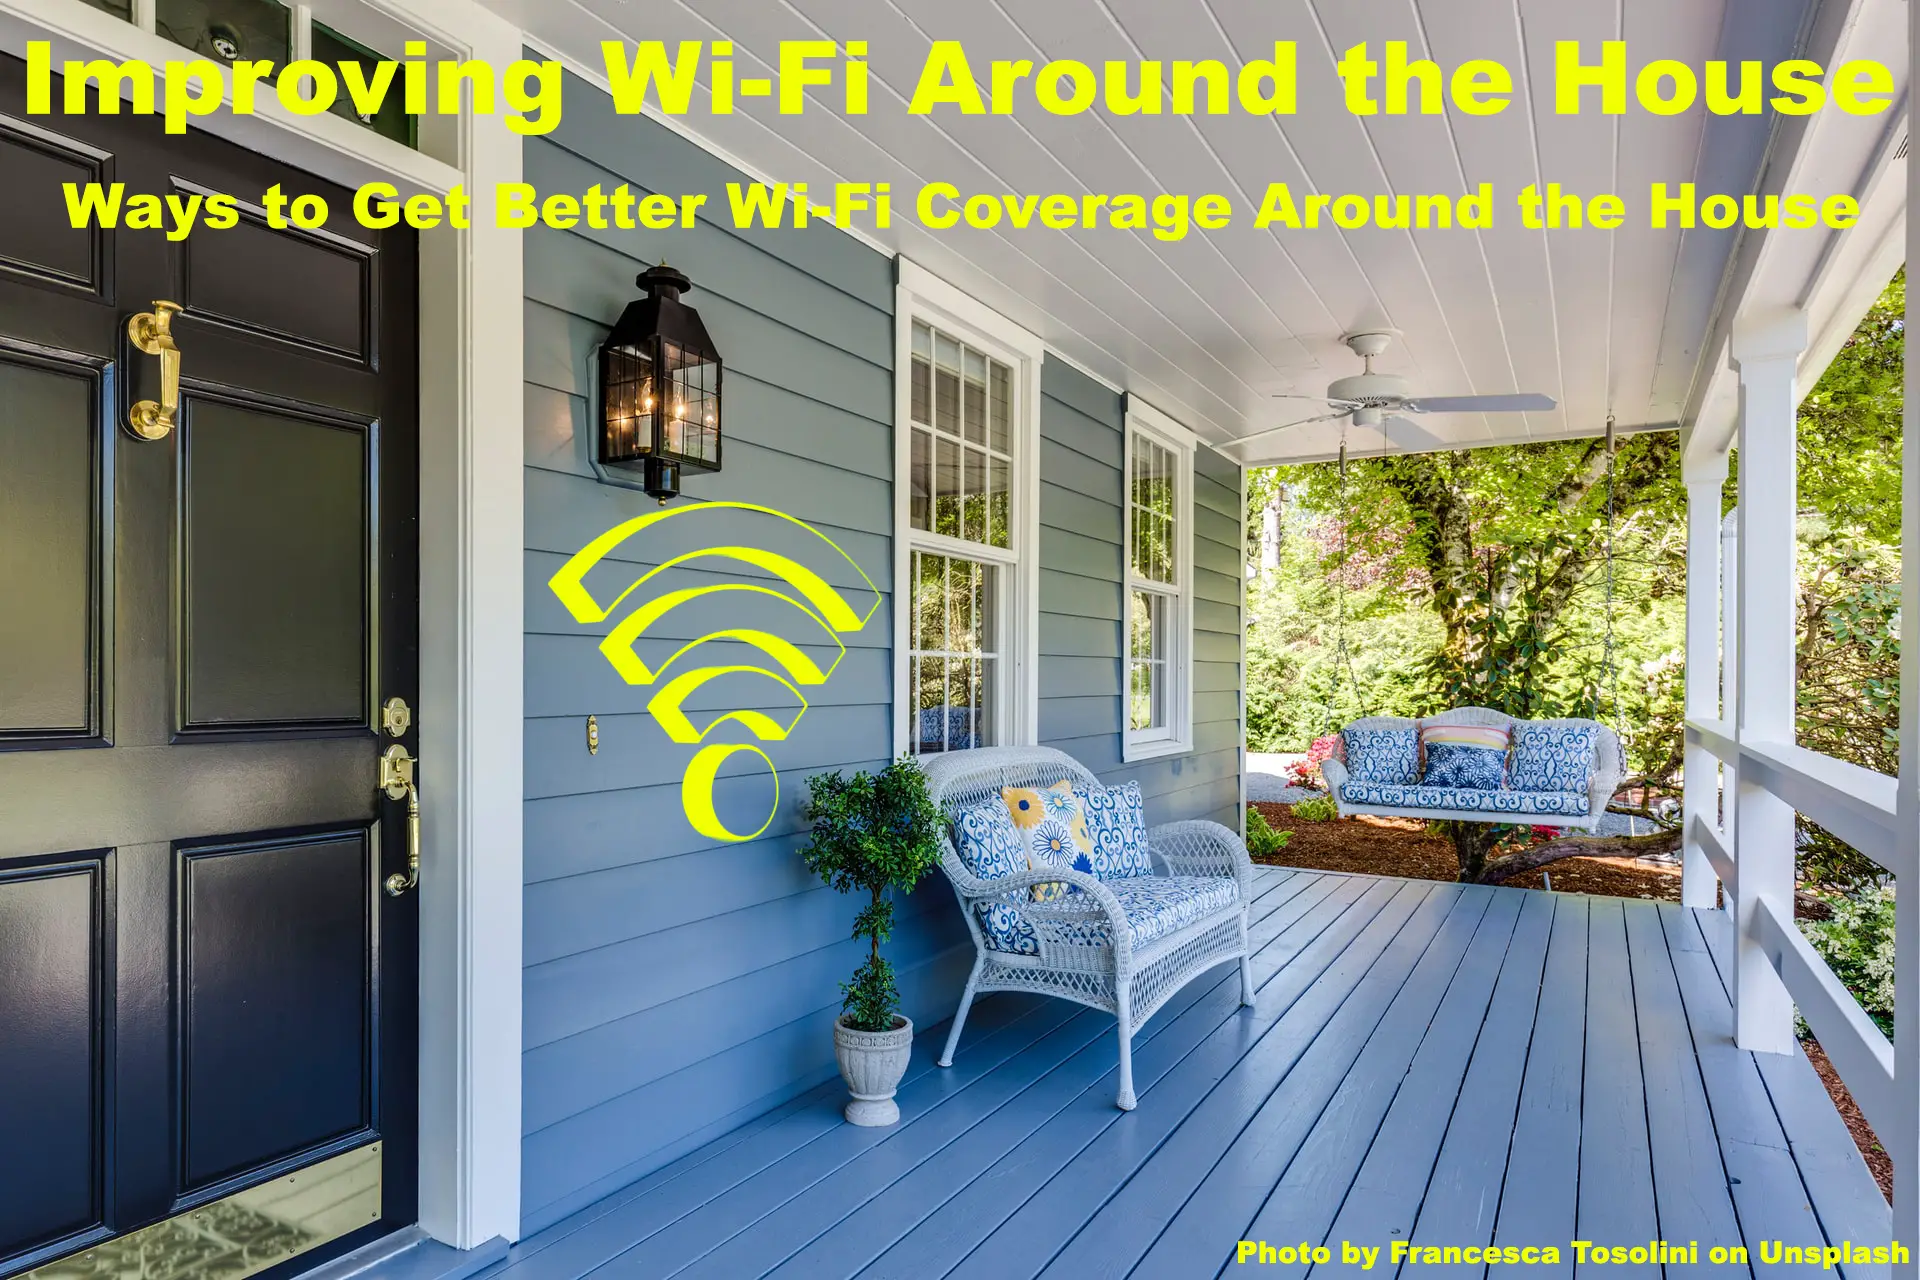
In a world where staying online is becoming an increasingly essential part of life, nothing is more annoying than sluggish Wi-Fi.
Luckily, most speed-related problems can be easily, and cheaply, solved with just a few tricks and tweaks.
Below, we highlight a few tips that can help improve the speed and range of your home Wi-Fi.

CONTENTS
1. Change Your Router’s Position
If your signal is noticeably weak in some parts of your house, it is highly likely that the router is poorly positioned.
Ideally, the router needs to be placed in a central spot, away from anything that could obstruct signals.

This includes walls, cardboards, microwaves, and electronic devices like TVs and cordless phones.
For routers with a single movable antenna, tune the antenna to be perpendicular to the router instead of the standard sideways position.
This way, the signals will mostly be dispersed laterally, with very few of them shooting upwards or downwards.
However, if your router has multiple aerials, you can keep them at different angles so you have the signals going in every possible direction.
2. Change Your Frequency to 2.4GHz
5GHz is quickly becoming many people’s preferred frequency band, mostly because of its incredible speed.
However, if you want to maintain high speeds across all rooms, you are better off going with 2.4GHz.
Although 2.4GHz speeds are slightly slower than those of 5GHz, the signals have more range and power.

This means they can travel to every corner of your house, and through most barriers such as walls. In contrast, 5GHz signals are weaker and do not easily penetrate these barriers.
If you’re using a phone or laptop, try to force the device to connect to your router’s 2.4GHz band. In most cases, this option is available from the Settings>Connections>Wi-Fi menu.
If the router is a newer model and combines the two frequencies into a dual-band, things can get a little tricky since the router chooses the frequency for each device automatically.
Luckily, most router brands allow you to split the two frequencies and give them different names for easier connections.
3. Check Whether the Router’s Firmware is Up to Date
Sometimes, the hardware is not even the problem. The lags you are experiencing could be a result of out-of-date software.
Updating the router’s firmware should therefore be a top consideration if you want to improve Wi-Fi speed and efficiency, just like you do with your smartphone.
Most manufacturers try to make the update process easier by integrating the function into the user interface. As such, all you need to do is hit the Software Update button and the process will complete by itself.
With some devices, you need to manually download and install the update. As tedious and frustrating as this process can be, it is definitely worth a try if you want to fix your router’s speed, efficiency and security.
Here are the steps:
- Go to any web browser and type the router’s IP address in the address bar. In some cases, the IP is written on the router itself.
- Log in to the router’s web portal by keying in the username and password.
- Locate the Update or Firmware menu.
- Check if there are newer versions of the firmware by clicking on the “Check for New Versions” button.
- If newer versions are available, open a new browser tab and go to your router manufacturer’s website.
- Thereafter, go to the software updates or downloads section and search for your router model and confirm if the new version is available.
- Download the new update. These normally come in .ZIP format.
- Extract the software files using software like WinRAR and save the files to your desktop.
- Go back to the router’s web portal and select the Firmware/Software Update option. You will be prompted to select a file, typically by Browsing your PC.
- Using the Browse feature, go to the folder you extracted and select the largest file in the folder.
- Start the Update process by clicking on the Update or Proceed button after selecting the file.
- Let the process complete without interruptions. In particular, do not turn off the router as the update goes on as it could cause irreversible damage and data loss.
- Reboot the router once the update completes.
4. Make Sure the Internet Connection is Working Properly
If the internet signals getting into your router are poor, the output will be equally poor, or even worse.
The best way to test the quality of the internet connection is to directly connect the device you are using to the Ethernet cable.
Thereafter, do an online speed test to see how the speed matches up to your usual bandwidth. If the speed is slower than usual, the problem is probably with your ISP.
To do a quick speed test, go to your browser and type “internet speed test” in the search bar. At the top of the subsequent list of results will be an in-browser speed test that you can quickly launch by clicking on the Run Speed Test button (if using Chrome) or Start if using Bing or other browsers. The test will return both your upload and download speeds as well as the latency.
We would also recommend doing a wireless speed test after the first test (preferably in different spots in the house) to see if the slow speeds are constant.
If different areas have varying speeds, signal obstruction is most likely to blame. Removing any possible barriers and repositioning the router may help in this case.
However, if the wireless speed test shows poor speeds across the board, even near the router, you may need to call your ISP.
5. Change the Channel
Signal interference is a pretty common problem with home Wi-Fi networks, particularly in densely populated areas.
Sometimes, signals from your neighbors’ networks, as well as those from microwaves and cordless phones, can interfere with those produced by your router, leading to lagging and constant buffering.
What is Wi-Fi Interference?
If you suspect that to be the case, try to change the router’s Wi-Fi channel and see if things change. In most routers, this is as easy as choosing the Automatic channel selection option in Settings.
In this mode, the router will automatically change to the least congested channel. As such, you are assured of minimal to no interference.
If you are using an old router, you may have to choose the channels manually.
Here are the steps:
- Open your browser
- Enter the default IP address to log into your Wi-Fi router
- Enter your login credentials
- Go to Wireless Settings
- Under Wireless Parameters, click the Wireless Channel drop-down menu
- Select your preferred channel
- Click OK and save changes
How to Choose the Best Wi-Fi Channel
6. Reduce the Number of Devices Connected to Your Network
It is entirely plausible that the low speeds you are experiencing are caused by unwanted guests on the network.
For instance, you may find it frustrating to stream a movie on Netflix if your neighbor is also using the network to download multiple heavy files.
As such, removing some people out of your network may just be what you need to maintain good speeds.
Luckily, some routers have advanced traffic analyzers that tell you which devices are sucking up the most bandwidth, so the decision will likely not be hard to make.
The easiest and most convenient way to remove unwanted people from your network is to change your Wi-Fi password. Below is the simple how-to guide:
- Access the router’s web interface by keying in the router’s IP on your browser
- Log in to the interface by entering your current or default username and password
- Locate the menu for changing the Wi-Fi credentials (SSID and password). In most routers, it is found on the main page but in others, it is hidden in the Advanced section or Wireless Networks section.
- Once you’ve found the specific settings box, delete the existing password and username and enter the new ones, then click Apply. This will effectively change the credentials.
Having a strong password and using WPA2 or WPA3 protocols is strongly recommended as it stops hackers and other people from exploiting your network.
However, if you do not want to change your password just yet, you can manually remove the intruder by following the following steps:
- Access your router’s web interface
- Log in to the interface by providing your network credentials
- Click the Connected Devices or Wi-Fi Connections. In some routers, the connected devices are listed in the Parental Controls section.
- Have a close look at the listed devices and block or remove intruders
- Save the changes
Conclusion
In most cases, making the above tweaks is all you need to return your network speeds back to normal.
If they all fail, your hardware is most likely the issue. In that case, we would recommend getting a new router or a Wi-Fi range extender.
It may also be possible that you need to upgrade your internet plan.

Hey, I’m Jeremy Clifford. I hold a bachelor’s degree in information systems, and I’m a certified network specialist. I worked for several internet providers in LA, San Francisco, Sacramento, and Seattle over the past 21 years.
I worked as a customer service operator, field technician, network engineer, and network specialist. During my career in networking, I’ve come across numerous modems, gateways, routers, and other networking hardware. I’ve installed network equipment, fixed it, designed and administrated networks, etc.
Networking is my passion, and I’m eager to share everything I know with you. On this website, you can read my modem and router reviews, as well as various how-to guides designed to help you solve your network problems. I want to liberate you from the fear that most users feel when they have to deal with modem and router settings.
My favorite free-time activities are gaming, movie-watching, and cooking. I also enjoy fishing, although I’m not good at it. What I’m good at is annoying David when we are fishing together. Apparently, you’re not supposed to talk or laugh while fishing – it scares the fishes.