
Released in late 2017, the macOS High Sierra is a high-performance operating system for Macintosh computers.
Despite its somewhat old age, many Mac fans still use this OS because of its improved features, including High-Efficiency Video Encoding (HEVC) and enhanced compression.
This OS is like no other software of its class, as it has built-in encryption for enhanced security and supports crash-safe protections.
It also allows for simplified data back-ups on the go, meaning you don’t have to worry about losing your saved files and sensitive info in case of crashes or malfunctions.
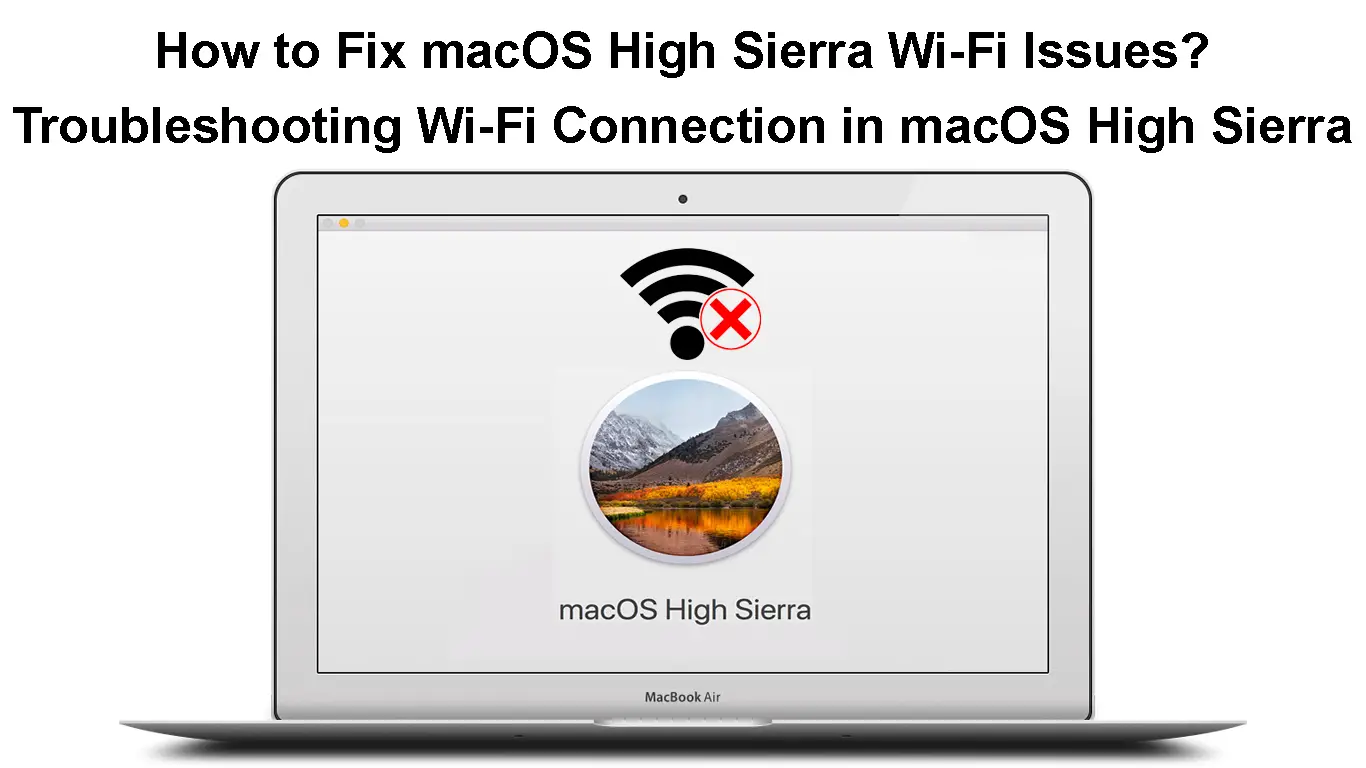
While macOS High Sierra is a formidable operating system, many users have complained that they experience issues connecting to Wi-Fi.
You may have trouble connecting to Wi-Fi with your macOS High Sierra computer even after performing a clean install.
This detailed guide addresses the major macOS High Sierra Wi-Fi issues and how to fix them appropriately.

CONTENTS
Fixing Common macOS High Sierra Wi-Fi Issues
1. Update macOS High Sierra
The first step to fixing Wi-Fi issues on macOS High Sierra is to update your operating system to the latest version.
Apple regularly releases software and security updates for its operating systems and other programs.
The primary objective of releasing these updates is to fix bugs, enhance security and improve the speed and efficiency of your operating system.
Updating macOS High Sierra requires internet access, but since your Mac already has Wi-Fi issues, you may have to connect it to your network using an Ethernet cable.
Follow these steps to update macOS High Sierra to the latest version:
- Click the Apple logo on the top of your screen
- Go to App Store
- Click Updates in the left panel
- Install available updates
Updating Your macOS Computer
https://www.youtube.com/watch?v=NGJ6_Q-Utjw
Alternatively:
- Click the Apple logo at the top corner of your screen
- Click System Preferences
- Choose Software Updates
- Click Upgrade Now to update your OS to the latest version
- Check if you can connect your Mac to Wi-Fi
2. Restart Wi-Fi on macOS High Sierra
If updating your operating system does not resolve the issue, the problem might be with your Wi-Fi connection.
Restarting Wi-Fi on your Mac can help resolve minor connectivity issues and re-establish an internet connection.
Here’s how to go about it:
- Click the Wi-Fi (Wireless) icon at the top of the screen
- Click Turn Wi-Fi Off on the drop-down menu

- Wait for at least two minutes
- Click the Wi-Fi icon again
- Select Turn Wi-Fi On
- Test if your Mac can connect to Wi-Fi
3. Reset Network Settings
Another way to fix macOS High Sierra Wi-Fi issues is to reset the network settings on your Mac.
Resetting your network settings will erase all saved Wi-Fi networks and personalized settings, giving your Mac computer a clean slate.
Nevertheless, you must re-add your removed network and reconfigure your settings after performing a reset.
Here are the steps:
- Click the Apple logo at the top of your screen
- Go to System Preferences
- Select Network
- Select your Wi-Fi name from the list of connections
- Click the minus icon
![]()
- Click Apply to save changes
- Click the plus icon to re-add your Wi-Fi network
- Enter your Wi-Fi password and try to connect
4. Change Wi-Fi Frequency Band
Wi-Fi issues might arise in your macOS High Sierra PC because of interference and network congestion.
Many wireless devices operate on the same frequency band, 2.4 GHz, leading to network congestion, Wi-Fi slowdowns, and other connectivity issues.
Switching your Mac from the 2.4 GHz band to the 5 GHz frequency band can help resolve High Sierra Wi-Fi issues.
Even though the 5 GHz band is faster and less congested, it cannot penetrate thick walls and works best over shorter distances.

Here’s how to switch your Mac to the 5 GHz band:
- Go to the Finder Menu at the top of the screen
- Select Applications in the left panel
- Select Go on the top bar of your Mac
- Click Applications in the drop-down menu to open the Applications folder
- Go to the Utilities folder and open the AirPort Utility app
- Select the Wi-Fi network you want to configure
- Click Edit and enter your Wi-Fi password
- Click Wireless
- Click the Wireless Options button at the bottom pane
- Choose 5 GHz as the default frequency channel
Note: You require a dual-band router to connect your Mac computer to the 5 GHz network.
5. Reboot Your Router
Sometimes you may experience macOS High Sierra Wi-Fi issues because of minor software bugs and technical glitches caused by static buildup.
Rebooting your router can help refresh the system memory and clear these bugs and glitches.
Follow these steps to reboot your router:
- Unplug your router’s power cord from the socket
- Unplug other cables connected to the modem
- Wait for at least 30 seconds
- Plug the power cord back into the socket
- Plug back all other cables
- Wait for the router to boot automatically
- Connect your Mac to Wi-Fi
- Check if these steps resolve the issue
How to Restart Your Router
6. Reboot Your Mac Computer
Aside from restarting your wireless router, rebooting your Mac computer can help fix macOS High Sierra Wi-Fi issues.
Using your Mac PC for long hours can cause it to overheat and build up electrostatic charges, leading to issues, including Wi-Fi connectivity problems.
Your Mac computer can become unstable if you do not refresh the system memory, and one way to go about it is to restart the PC.
Here are the steps:
- Click the Apple menu/logo
- Click Restart
- Wait for your Mac to restart and boot up
- Try to connect to Wi-Fi
7. Adjust the Date and Time
As weird as it might sound, your Mac computer might develop Wi-Fi connection issues because of incorrect date and time settings.
Setting the correct time and date on your Mac is vital since many web-based services and authorization schemes require accurate time settings.
Follow these steps to adjust the date and time on your Mac:
- Click the Apple logo at the top corner of your display
- Click System Preferences
- Go to Date and Time
- Click on the Time Zone
- Enable Location
- Set the correct time and date based on your location
- Save changes
- Test your Wi-Fi connection
Changing Date and Time on a Mac
8. Disconnect Bluetooth
Another simple trick to fix macOS High Sierra Wi-Fi issues is to disable Bluetooth on your Mac computer.
If you are not using Bluetooth on your Mac, consider disabling it and check if this resolves the issue.
Also, consider shutting off all Bluetooth devices, such as wireless speakers, which might cause signal interference.
- Click the Apple logo at the top corner of your display
- Click System Preferences
- Click Bluetooth on the left panel
- Click Disable Bluetooth
Disabling Bluetooth on a Mac
To continue using Bluetooth with your mouse or keyboard:
- Click the Apple logo at the top corner of your display
- Click System Preferences
- Select Network
- Click Set Service Order
- Drag the Wi-Fi icon above Bluetooth
macOS Wi-Fi Issues – Troubleshooting Tips
Conclusion
Even though the macOS High Sierra is a reliable operating system, you may experience Wi-Fi issues more frequently than desired.
Fortunately, you can use these proven tips to troubleshoot and fix macOS High Sierra Wi-Fi issues on your Mac PC.

Hey, I’m Jeremy Clifford. I hold a bachelor’s degree in information systems, and I’m a certified network specialist. I worked for several internet providers in LA, San Francisco, Sacramento, and Seattle over the past 21 years.
I worked as a customer service operator, field technician, network engineer, and network specialist. During my career in networking, I’ve come across numerous modems, gateways, routers, and other networking hardware. I’ve installed network equipment, fixed it, designed and administrated networks, etc.
Networking is my passion, and I’m eager to share everything I know with you. On this website, you can read my modem and router reviews, as well as various how-to guides designed to help you solve your network problems. I want to liberate you from the fear that most users feel when they have to deal with modem and router settings.
My favorite free-time activities are gaming, movie-watching, and cooking. I also enjoy fishing, although I’m not good at it. What I’m good at is annoying David when we are fishing together. Apparently, you’re not supposed to talk or laugh while fishing – it scares the fishes.