
In case you are having problems connecting your Kindle Paperwhite to Wi-Fi, you’re not alone. A decent number of Paperwhite users have reported this issue. The good thing is we have some solutions in this article that can help you fix the issue.
We are going to provide a few fixes to this problem, and hopefully, your Kindle Paperwhite will be back online in no time.
So, let’s begin!

CONTENTS
Why Won’t My Kindle Paperwhite Connect to Wi-Fi?
Although this doesn’t happen too often, your Kindle Paperwhite may refuse to connect to Wi-Fi for several different reasons.
Sometimes, there is a problem with the authentication. In other cases, it could be your device’s or the router’s fault. Maybe, the software on your Kindle Paperwhite hasn’t been updated for too long. Living airplane mode enabled on your Kindle Paperwhite could also cause the issues.
Whatever the reason is, in the next few paragraphs, we are going to guide you through the troubleshooting steps and help you get your Kindle Paperwhite back online.
How to Connect Kindle Paperwhite 4 to Wi-Fi
What to Do When Kindle Paperwhite Won’t Connect to Wi-Fi?
Is Airplane Mode Enabled?
Having the Airplane Mode enabled when you start reading a book is an excellent way to make your Kindle battery last longer. However, in some cases, people forget that they have activated Airplane Mode before, and they can’t figure out what’s the problem.
Well, to make sure that Airplane mode is not the culprit, we need to disable it.
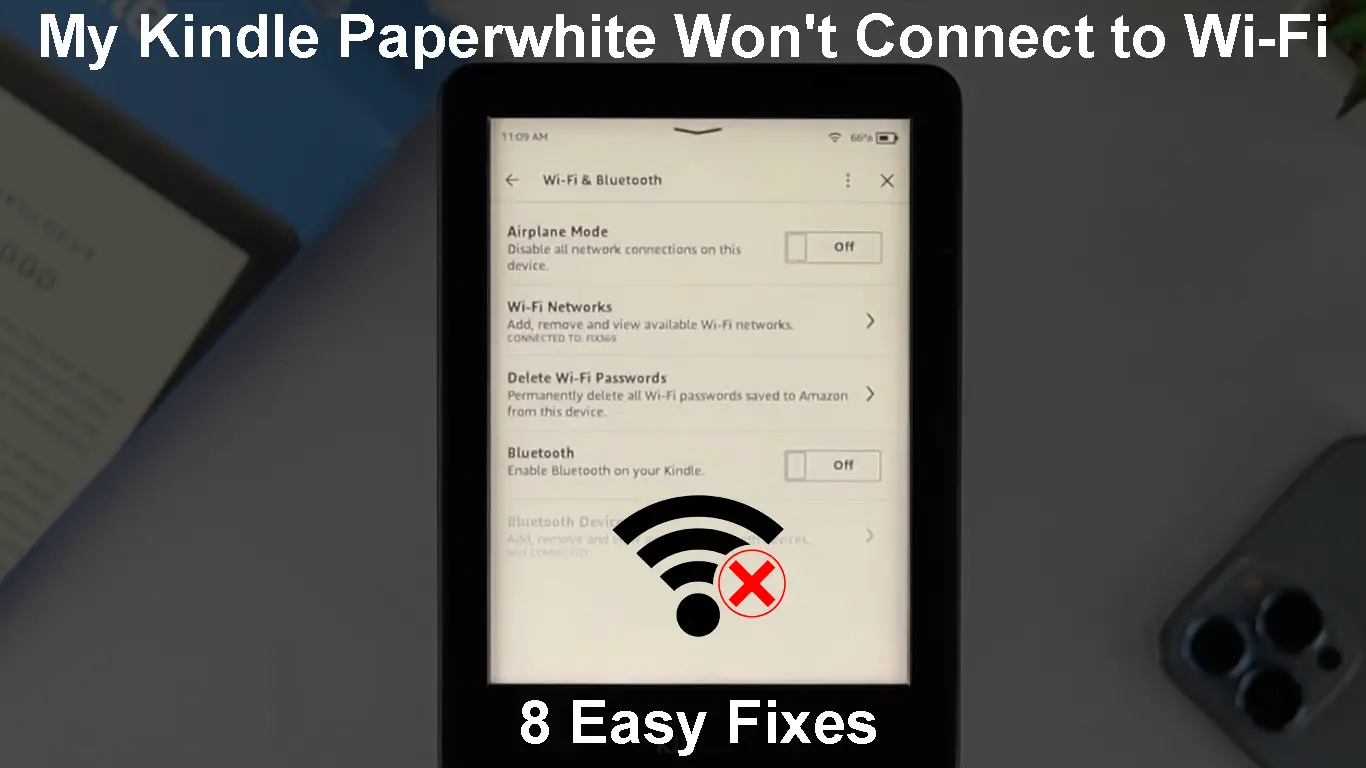
Tap on Settings, and you will see the Airplane Mode icon. Tap on it to enable or disable Airplane Mode. When you enable Airplane Mode, you will see the same icon next to the battery indicator on the top-right of the screen.

If Airplane Mode has been enabled, disable it and try to connect your Kindle to Wi-Fi. If it doesn’t connect, try the following solution.
Restart Your Kindle
Just like with other electronic devices, restarting your Kindle is a quick and easy way to fix most issues.
To restart your Kindle Paperwhite, you need to go to Settings and then tap on Device Options. You will see the Restart section. Tap on it and you will be asked whether you want to restart your Kindle. Select YES.
How to Restart Kindle Paperwhite using the Settings Menu
When your Kindle boots up try to connect it to your Wi-Fi network. If it doesn’t connect, try restarting the network.
How to Restart Kindle Paperwhite Using the Power Button
Restart Your Network
Another thing to try to fix the Kindle connectivity problem is to restart your home network. This means that you need to restart both the modem and the router in the following order.
First, turn off the modem and disconnect it from the electrical outlet. After that, do the same with the router.
If there is a battery backup on the modem, disconnect it. You can also disconnect the Ethernet and coax cable as well.
After a few minutes, connect the battery back to the modem, and connect it to the electrical outlet. Turn on the modem, and let it boot up completely.
After the modem completes booting up, connect the router to the electrical outlet, and turn it on. Give it some time to boot up completely.
When the router stabilizes, try to connect your Kindle Paperwhite to your Wi-Fi network.
Try to Connect Your Kindle to Wi-Fi Manually
In case your Kindle doesn’t see the network, you can try to connect it to Wi-Fi manually.
Swipe down with your finger from the top of the Kindle screen to open Quick Actions.
Now tap on Settings and then select Wireless. Tap on Wi-Fi Networks and then tap on the Other button at the bottom.

Type the Wi-Fi network name (SSID) and the wireless password.
Tap on Connect.
Forget the Wi-Fi Network on Your Kindle
Just like smartphones, our Kindle will save the wireless password when you connect it to a network. Whenever you are in range it will connect to the wireless network automatically.
If you have changed the Wi-Fi password recently, and haven’t updated it on your Kindle, it will try to connect using the old Wi-Fi password. To fix this problem, you need to forget the Wi-Fi network. After that when you try to connect you will be asked to enter the wireless password.
Tap on the three dots in the top-right corner of the screen. Then tap on Settings. Now select Wi-Fi Networks and tap on the network you want to forget. Select the Forget button and then try to connect again to this network. You will be asked to enter a password.

Disable The 5GHz Network and Re-Enable It
Your Kindle may have problems connecting to your 5GHz network.
To see whether this is the problem, you can either try to connect to your 2.4GHz network or disable and then enable the 5GHz network and try to connect to it again.
The 5GHz network can be disabled in the router settings, so you need to know how to access them first. There are many detailed router login guides on our website – find your router brand and follow the steps to access the router’s admin dashboard.
Once you access the router settings, go to the Wireless section and make sure to uncheck/disable the 5HGz network. Save the changes and reboot the router after that.
When the router boots back up, log in again and enable the 5GHz network. Try to connect your Kindle and see if this fix solved the problem.
Is Your Kindle Paperwhite Up-To-Date?
Click on Settings, and then tap on Device Options. Then, tap on Device Info. You will see the firmware version currently installed on your Kindle Paperwhite, so write it down. Since you can’t connect your Kindle to Wi-Fi, you can’t update it through the settings menu – you have to do it manually.
Check whether there is a new Kindle firmware version here. If there is, download it to your computer. Make sure to download the correct firmware for your Kindle.
Now connect your Kindle to your computer via a USB cable. You should see your Kindle as a USB drive. Drag and drop the firmware into the root directory of your Kindle. Make sure not to place it into one of the folders.
Disconnect the Kindle from the computer safely.
Tap on the three dots in the top-right corner of the screen and tap on Settings. Now tap on the three dots again and tap on Update Your Kindle.
Confirm your selection by tapping OK when prompted.
Your Kindle will restart once the firmware update completes. See whether your Kindle connects to Wi-Fi now.
How to Update Kindle Paperwhite Manually
Nothing Worked? Contact Support
We hope this troubleshooting guide helped you connect your Kindle Paperwhite to your Wi-Fi. However, if you have tried all the solutions presented here, and your Kindle Paperwhite still won’t connect to Wi-Fi, it is recommended to get in touch with Amazon Support.
Maybe the Kindle has become defective or there is something else going on with it. The support will determine what the problem is.
Troubleshooting Kindle Paperwhite Wi-Fi Issues
Final Words
While Kindle Paperwhite is the perfect reading companion, it may occasionally refuse to connect to Wi-Fi. Hopefully, won’t be having trouble connecting your Kindle Paperwhite to Wi-Fi again, but in case it happens again, you can always get back to this article.
As you could see, the solutions are pretty simple and range from restarting your Kindle or restarting your network to updating it to the latest version. Even some simple things like forgetting to disable Airplane Mode can cause this problem, so start with that.

Hey, I’m Jeremy Clifford. I hold a bachelor’s degree in information systems, and I’m a certified network specialist. I worked for several internet providers in LA, San Francisco, Sacramento, and Seattle over the past 21 years.
I worked as a customer service operator, field technician, network engineer, and network specialist. During my career in networking, I’ve come across numerous modems, gateways, routers, and other networking hardware. I’ve installed network equipment, fixed it, designed and administrated networks, etc.
Networking is my passion, and I’m eager to share everything I know with you. On this website, you can read my modem and router reviews, as well as various how-to guides designed to help you solve your network problems. I want to liberate you from the fear that most users feel when they have to deal with modem and router settings.
My favorite free-time activities are gaming, movie-watching, and cooking. I also enjoy fishing, although I’m not good at it. What I’m good at is annoying David when we are fishing together. Apparently, you’re not supposed to talk or laugh while fishing – it scares the fishes.