
Wireless networks are one of the easiest ways to access the internet. Various manufacturers ensure they produce routers that can support the consumer’s Wi-Fi needs. Hence, we have routers that can broadcast their Wi-Fi network over long distances and at faster speeds.
However, routers still have limitations regarding how far they can broadcast their wireless signals. And that is where Wi-Fi extenders come in handy. Router manufacturers also make extenders that work in unison with their routers to ensure Wi-Fi gets to where you want it. The extenders and router are configured to link easily and extend your Wi-Fi signal.
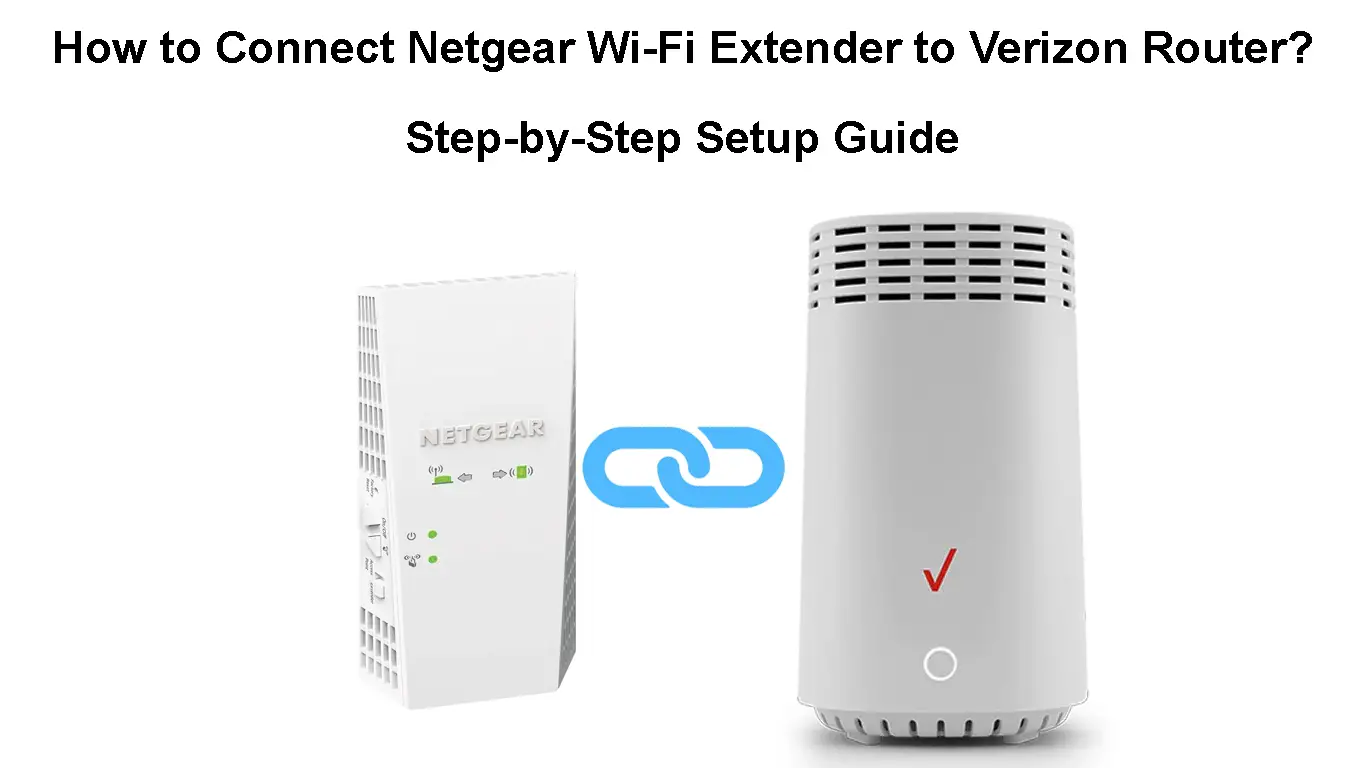
This is a welcome development; however, it does not cater to those with gadgets from different manufacturers. This article will guide you on connecting a Verizon router to a Netgear extender.

CONTENTS
Connecting Netgear Wi-Fi Extender to a Verizon Router
When connecting a Netgear extender to a Verizon router, most configurations will happen on the extender’s end.
This is because an extender’s job is to boost an available Wi-Fi network to areas the Wi-Fi cannot reach.
You can set up a Netgear extender using an Ethernet cable, Wi-Fi network, or WPS button. The easiest and fastest way to set up the extender is via WPS. However, if you use an Ethernet cable or Wi-Fi, you can customize the extender’s SSID, among other features.
Connect Netgear Extender to Verizon Router via Wi-Fi/Ethernet
Ensure the Verizon router is turned on and broadcasting its Wi-Fi SSID. Then, follow these steps:
- Unbox the Netgear extender and attach the antennas if the extender comes with antennas. If the extender did not come with antennas, proceed to the next step.
- Plug the extender into a power outlet, preferably in the same room as the Verizon router.
- Wait for the extender to boot up. You will know it is on when the power LED is on. If the LED does not light up, press the power button on the extender to turn it on.

- Search for available Wi-Fi networks around you using your computer/laptop so that you can connect to the extender.
- Connect to the extender’s SSID/Wi-Fi name. The default SSID is NETGEAR_EXT. If prompted for a password, use the default password.

- Alternatively, you can connect the extender to your laptop via an Ethernet cable. The extenders usually have ethernet ports at the bottom, top, or side.
- Once you have connected your laptop/computer to the extender, launch a web browser, and it should redirect you to the extender’s UI page. If it does not, enter mywifiext.net or 192.168.1.250 into the URL bar and hit Enter.
- Wait for the extender setup page to display and click on NEW EXTENDER SETUP.
- Next, click on YES or I AGREE to accept the terms and conditions for using the extender.
- Update the login credentials as prompted. Netgear recommends you use the default username (admin) already provided, but you should change the password to a more complex one, preferably a different one from the one you use to connect to your Wi-Fi.
- Use the drop-down menu to select and answer any two security questions. These will be useful if you forget the extender’s login credentials.
- Click Next, then YES or CONTINUE when the extender asks if you want to use the Netgear Genie to complete the set-up.
- Wait as the extender searches for Wi-Fi networks around you.
- Once it displays all the networks around you, click on the Verizon SSID (your router’s Wi-Fi name). Click on See more if you cannot see your router’s SSID.

- Tap on the 2.4GHz and 5GHz Wi-Fi network SSIDs. If the Verizon router has only one band or if you have set it to use only one, click on that one.
- Click Next, then enter your Wi-Fi password and click Next.
- The extender will then display its SSIDs for the 2.4GHz and 5GHz bands. The default SSID will then be your Verizon Wi-Fi name, followed by _2GEXT and _5GEXT for the 2.4GHz and 5GHz bands.
Also, the extender’s default Wi-Fi password will be the same as the one on Verizon Wi-Fi.

- Tap on the Enable One Wi-Fi Name option if you have mesh extenders. This optional setting will ensure the extenders and your main network use the same SSID and password. Note that not all Netgear extenders support this feature.
- Click Next and wait as the extender updates the new settings. Note that this process will take a few minutes; therefore, be patient.
- The extender’s UI page will display the extended Wi-Fi name and password; take note of them.
- Test if the connection works by connecting another device to the extended SSID. Suppose everything works as it should; click on the checkbox next to ‘Click the continue button after you connect your Wi-Fi devices.
- Finally, click continue at the bottom of the UI page and a page stating, ‘You are not connected to your extender’s Wi-Fi network.’
- Exit the page and connect your laptop to any of the extended SSIDs. You can now relocate the extender and locate it halfway between your Verizon router and the Wi-Fi dead zone.
Setting Up NETGEAR Wi-Fi Extender (Using Web UI)
Connect Netgear Extender to Verizon Router via WPS
If your Verizon router supports WPS connectivity, you can connect the extender by following the steps below:
- Ensure the router is on.
- Connect the antennas to the extender, and plug it into a power outlet, preferably in the same room where you have the Verizon router.
- You will know the extender is on if the power LED is on. If it is off, press the power button on the extender.
- Press the extender’s WPS button, wait for a few minutes, then press the WPS button n your router.
- The extender’s WPS LED will light solid green once it establishes a connection with your router.
- Relocate the extender to a location halfway between your router and the area you wish your extended network to reach.
- The extender’s power LED will indicate solid green to show it is receiving power.
After connecting the extender to your router, you should check its LEDs to ensure it is appropriately situated.
Connecting Netgear Extender via the WPS Button
What Do the Netgear Extender LEDs Mean?
The Netgear extenders usually have four LEDs that help you understand the device’s state. The LEDs are:
Power LED
When the power LED is off, the extender is also off; if the LED is green, it is powered.
On the other hand, an amber power LED indicates that the extender is booting.
WPS LED
A solid green LED means the extender is connected to your router using the WPS feature. If it blinks green, it indicates an attempt to establish a WPS connection.
If the LED is off, it means the WPS feature is off.
Client link LED
This LED will help you determine if the extender’s Wi-Fi reaches where you want it to reach.
When the LED lights are solid green, that means the distance is ok, and the devices have established a good connection.
An amber LED indicates that the connection is fair, but moving the client device closer to the extender will better the connection.
A solid red color indicates a poor connection, and you should move the client device closer to the extender.
If it is off, it means no client device is connected to your extender.
Router link LED
The LED provides information between your router and the extender. If the LED indicates a solid green color, the distance is good, and so is the connection.
A solid amber color indicates a fair signal. A solid red color indicates a poor signal, and you should improve it by moving the extender closer to the router.
If the LED is off, that means a connection has not been established.
If the extender has problems connecting to the Verizon router, consider resetting the extender and router, then try re-establishing a connection.
Netgear’s website also has troubleshooting tips specific to your extender.
Conclusion
Hopefully, you can now connect the Netgear extender to your Verizon router. Ensure both devices have the latest firmware to avoid incompatibility issues and ensure your network is secure.
If you encounter problems during the set-up process, contact Netgear, considering that is where the problem is likely originating. You can also visit their customer support page for further assistance.

Hey, I’m Jeremy Clifford. I hold a bachelor’s degree in information systems, and I’m a certified network specialist. I worked for several internet providers in LA, San Francisco, Sacramento, and Seattle over the past 21 years.
I worked as a customer service operator, field technician, network engineer, and network specialist. During my career in networking, I’ve come across numerous modems, gateways, routers, and other networking hardware. I’ve installed network equipment, fixed it, designed and administrated networks, etc.
Networking is my passion, and I’m eager to share everything I know with you. On this website, you can read my modem and router reviews, as well as various how-to guides designed to help you solve your network problems. I want to liberate you from the fear that most users feel when they have to deal with modem and router settings.
My favorite free-time activities are gaming, movie-watching, and cooking. I also enjoy fishing, although I’m not good at it. What I’m good at is annoying David when we are fishing together. Apparently, you’re not supposed to talk or laugh while fishing – it scares the fishes.